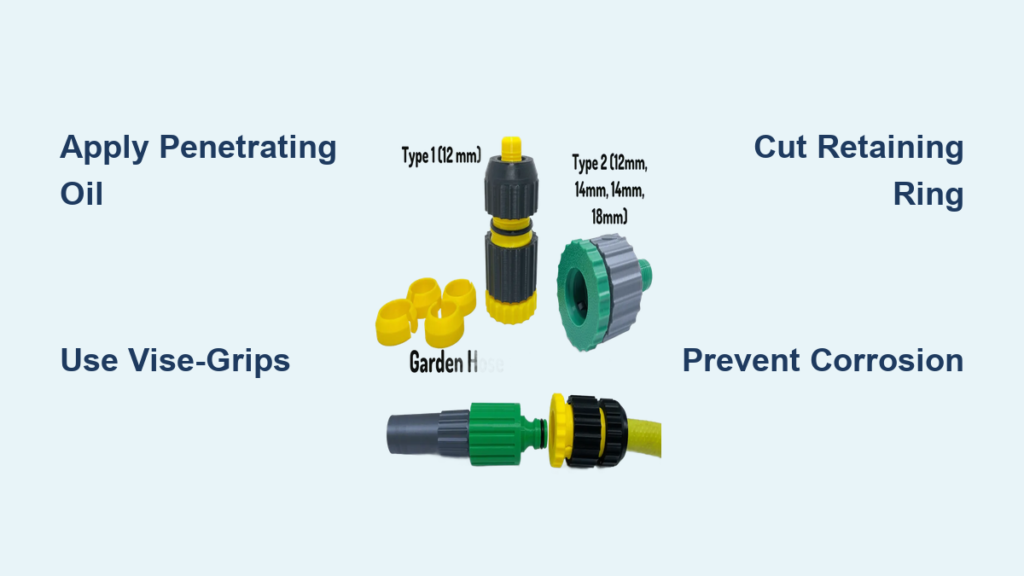
You’re ready to water the lawn, but your hose won’t budge. The connector is frozen in place—rusted, corroded, or fused like it’s welded on. It’s one of the most common outdoor plumbing headaches, especially after winter or in hard water areas. The good news? You can remove it safely without breaking the spigot or ruining your faucet. This guide reveals six proven methods, from simple lubrication to precision cutting, plus prevention tips so you never face this again.
We’ll walk you through each step, show you the right tools, and help you avoid costly mistakes—like snapping a pipe or stripping threads. Whether it’s minor rust or a fully seized connection, there’s a solution that works. Let’s get that hose off.
Apply Penetrating Oil Before Using Force
Spray and Wait for the Lubricant to Work
Start with the safest method: penetrating oil. Most stuck connectors are held by rust, mineral buildup, or corrosion between the hose fitting and faucet threads. A high-quality product like PB Blaster dissolves these bonds far better than standard lubricants.
Spray the oil generously around the base of the connector where it meets the faucet. Aim at a slight angle so the fluid flows into the seam and down into the threads. This helps it penetrate deeper.
Let it sit for 5–10 minutes. For older or heavily corroded connections, leave it overnight and reapply if needed.
Why WD-40 Isn’t Enough for Severe Corrosion
Many people grab WD-40 first, but it’s not designed for heavy-duty rust. It works well for light moisture and prevention, but lacks the deep-penetrating power of dedicated formulas like PB Blaster.
One user soaked a connection overnight with WD-40 and saw no improvement—only freeing it later with Vise-Grips and a wire brush. If WD-40 is all you have, try it, but don’t rely on it for stubborn cases.
Test the Connection Gently After Soaking
After waiting, try turning the hose by hand. If it doesn’t move, use pliers—but avoid sudden jerks. Work the fitting back and forth slightly (tighten a little, then loosen) to break the bond gradually. If it still won’t budge, move to mechanical leverage.
Use Locking Pliers with Extra Leverage

Grip the Fitting Firmly with Vise-Grips
When oil fails, locking pliers (Vise-Grips) are your next best option. They clamp tightly and won’t slip, giving you full control.
Lock the jaws onto the hex flats of the hose connector. Make sure they’re fully seated to prevent rounding the edges.
Stabilize the Faucet to Prevent Pipe Damage
Critical step: Have a helper hold the faucet body firmly. If you twist without stabilizing, you risk breaking the pipe at the wall—a plumbing emergency.
Never apply force directly to the faucet handle or body with a wrench. Older spigots, especially galvanized or thin brass ones, can crack under pressure.
Add a Pipe Extension for More Torque
If the pliers alone don’t work, slide a 2-foot metal pipe over the handle. This lever arm multiplies your force—often enough to break the seal.
One user succeeded only after using Vise-Grips, WD-40, and a monkey wrench together. The key is gradual pressure, not brute force.
Try Heat to Break the Bond (With Caution)
Heat the Female Fitting to Expand the Metal
Heat causes metal to expand, which can loosen a seized connection. Use a propane or MAPP gas torch to heat the female hose connector—not the faucet.
Apply the flame for 30–60 seconds, then immediately try loosening it with pliers.
Avoid Softening the Brass Fitting
Warning: Brass softens when heated. Overheating can make the fitting mushy, causing wrenches to strip the flats. One user damaged their connector because the brass was too soft after heating.
Also, avoid this method near flammable materials or plastic parts.
Stop If Heat Makes It Worse
Some users report heat worsened the problem, especially with galvanic corrosion. If the fitting deforms or still won’t move, stop heating and switch to cutting methods.
Cut the Retaining Ring with a Hacksaw
Make a Clean Cut Just Above the Threads
When other methods fail, cut the outer ring of the hose connector. This is a damage-free method that preserves the faucet threads.
Use a hacksaw with a fine-tooth blade. Position the blade just above the hose base, parallel to the faucet. Target the metal retaining ring, not the spigot.
Cut Only Through the Hose Ring
Carefully saw through the ring until you feel it break. Do not cut into the faucet threads. Keep the blade flat and steady.
Once the cut is complete, insert a flathead screwdriver into the slit and twist gently. The ring will pop open, releasing the hose’s grip.
Remove the Hose Without Force
With the ring broken, the hose is no longer locked. Use pliers to turn it off by hand. You’ll feel the resistance drop immediately.
This method works even on connections that feel “welded” and avoids risking faucet damage.
Use a Dremel for Precision Cuts in Tight Spaces
Slice Through the Fitting Safely
For tight areas or when a hacksaw won’t fit, a rotary tool (Dremel) with a cut-off wheel offers precision.
Attach a metal cut-off wheel to the mandrel. Carefully slice down through the side of the female fitting until you reach the male threads.
Work slowly—visibility is limited. Use good lighting and wear eye protection.
Split the Fitting with a Screwdriver
Once the cut reaches the inner thread, insert a flathead screwdriver and twist. This splits the fitting apart.
Then, use Vise-Grips to unscrew the remaining piece. It should turn freely now.
Real-World Success After Other Methods Failed
One user said: “I cut down to the iron with my Dremel, even though it was hard to see, and was able to turn it off with Vise-Grips.” This method saved their faucet after WD-40, heat, and wrenches failed.
Cut the Hose as a Last Resort
When Replacement Is Acceptable
If the hose is old, cracked, or already damaged, cutting it off may be the fastest solution.
Use a hacksaw to cut the hose body near the base, being careful not to nick the faucet threads. Once the hose is removed, deal with the remaining fitting separately.
Remove the Stub and Install a New Connector
After cutting, the metal stub may still be stuck. Apply penetrating oil and use pliers to remove it. Clean the threads, then install a new connector.
One frustrated user put it simply: “Get mad, cut off end of hose and install new fitting.” Sometimes, that’s the smartest move.
Clean and Repair Threads After Removal

Remove Rust and Mineral Buildup
Once the connector is off, inspect the faucet threads. Use a wire brush or flathead screwdriver to scrape out rust, calcium, and debris.
Work gently to avoid damaging the threads. For packed buildup, a brass brush cleans effectively without scratching.
Fix Minor Thread Damage
If threads are slightly worn, use a file to smooth them. For deeper damage, consider a thread chaser or tap.
One user had to “wire brush and file the threads” to restore function. If threads are stripped or cracked, replace the spigot.
Seal Threads Before Reconnecting
Wrap the cleaned threads with 3–4 layers of Teflon tape, clockwise. This ensures a watertight seal and makes future removal easier.
Install a New Connector the Right Way
Choose All-Brass Fittings to Prevent Corrosion
Avoid aluminum connectors on brass faucets—they cause galvanic corrosion, a chemical reaction that fuses metals. One user said: “They make hose ends out of aluminum, and I’ve had serious issues with brass fittings.”
Opt for all-brass connectors from reputable brands. Skip low-quality options—some users report Gilmore fittings have declined in durability.
Hand-Tighten Only—No Wrench Needed
Over-tightening is a top cause of stuck connectors. Hand-tighten the new fitting—no wrench required. If it leaks, snug it slightly, but never force it.
Use Silicone Lubricant for Longevity
Before connecting, apply a silicone-based lubricant to the threads. Unlike WD-40, it won’t degrade rubber washers.
Some users test automotive anti-seize compound, but silicone is safer for outdoor use.
Prevent Future Stuck Connectors
Disconnect Before Winter Freezes
Number one rule: Remove your hose before freezing temperatures. Trapped water expands when frozen, seizing the fitting.
Store hoses indoors during winter. Use an insulating cap on the spigot to protect it.
Lubricate and Inspect Threads Regularly
Every spring, clean and lubricate faucet threads. Apply silicone lubricant or Teflon tape before reconnecting.
Avoid WD-40 on rubber parts—it can dry them out and cause leaks.
Upgrade to Quick-Connect Fittings
Consider installing quick-connect hose couplings. They’re easier to attach and detach, reducing wear and corrosion risk.
Just ensure both parts are compatible metal types to avoid galvanic issues.
Avoid These Common Mistakes
Don’t Overtighten the Connection
Tight isn’t better. Hand-tight is enough. Over-tightening strips threads and accelerates corrosion.
Don’t Cut Into the Faucet Threads
When using a hacksaw or Dremel, only cut the hose ring or fitting. Never let the blade touch the spigot threads.
Don’t Work Alone Without a Helper
Never twist a stuck hose without someone holding the faucet. The pipe can break at the wall, leading to a plumbing emergency.
Don’t Use WD-40 on Rubber Washers
It degrades rubber over time. Use silicone-based lubes instead.
Frequently Asked Questions About Stuck Garden Hose Connectors
Why won’t my garden hose connector come off?
Your connector is likely stuck due to rust, mineral buildup, or galvanic corrosion between dissimilar metals. Freezing temperatures or long-term moisture exposure can also fuse the connection. Start with penetrating oil and work up to cutting if needed.
Can I use WD-40 to remove a stuck hose connector?
WD-40 can help with light rust or prevention, but it lacks the penetrating power for severe corrosion. Use PB Blaster instead for better results. Never use WD-40 on rubber parts—it can degrade them.
How do I remove a hose connector without damaging the faucet?
Use the hacksaw method: cut only the outer retaining ring of the hose connector, not the faucet. Then, insert a screwdriver to split the ring. This preserves the spigot threads and avoids costly damage.
What causes a garden hose to fuse to the spigot?
Galvanic corrosion occurs when aluminum fittings connect to brass spigots. Moisture, hard water, and freezing temperatures accelerate this reaction, making the connection feel “welded.” Use all-brass fittings to prevent it.
Should I heat a stuck hose connector to remove it?
You can try heating the female fitting with a propane torch, but brass softens when hot and can be damaged by wrenches. If the fitting deforms, stop and use a cutting method instead.
How can I prevent my hose connector from getting stuck again?
Disconnect before winter, store hoses indoors, and lubricate threads with silicone or Teflon tape. Use all-brass fittings and hand-tighten only. Regular maintenance prevents future issues.
Key Takeaways for Removing a Stuck Garden Hose Connector
- Start with PB Blaster—it’s stronger than WD-40 for rust and corrosion.
- Use Vise-Grips with a pipe extension for maximum leverage without breaking the faucet.
- Cut the retaining ring if the hose feels welded on—it’s safe and effective.
- Upgrade to all-brass connectors to prevent galvanic corrosion.
- Store hoses indoors and lubricate threads each season.
A stuck garden hose connector doesn’t have to ruin your day. With patience, the right tools, and these proven methods, you can remove it safely and prevent it from happening again. The key is starting gentle, escalating wisely, and preventing recurrence. Now that you know how, you’ll never fear a frozen hose again.