You’ve noticed the telltale three-leaf clusters spreading through your flower beds—clover is taking over your garden. While it may look harmless or even charming in a lawn, clover in garden beds competes aggressively with ornamental plants for water, sunlight, and nutrients. It thrives in poor soil and spreads quickly, forming dense mats that smother desirable plants. The good news is you can eliminate clover without harming your flowers or shrubs. With the right techniques—ranging from hand removal to targeted treatments—you can reclaim your garden and stop clover from returning.
This guide walks you through proven, plant-safe methods to get rid of clover in garden settings. You’ll learn how to remove it manually, apply herbicides without damaging nearby plants, improve soil conditions to discourage regrowth, and use mulch and cultural practices to keep your beds weed-free. Whether you’re dealing with a few scattered patches or a full-blown invasion, these strategies will help you regain control—safely and effectively.
Remove Clover by Hand Using a Precision Trowel
For small infestations or clover growing close to delicate plants, manual removal is the safest and most targeted approach. This method avoids chemicals entirely and gives you full control over what gets pulled and what stays.
Dig Deep to Extract the Entire Root System
Clover regrows from root fragments left in the soil, so surface pulling isn’t enough. Use a narrow, pointed trowel to dig deep around the base of each plant. Gently loosen the soil and lift the entire plant, ensuring the taproot and lateral roots come out intact.
Work slowly to avoid disturbing the roots of nearby flowers or shrubs. Focus on complete removal—leaving behind even a small piece of root can lead to regrowth in a few weeks.
Pro Tip: Pull clover after a rain or watering session. Soft, moist soil makes extraction easier and reduces the risk of breaking roots.
Choose the Best Time for Hand-Pulling
Early morning or cool, overcast days are ideal for weeding. The soil retains moisture, helping you pull out roots cleanly. Your garden plants also experience less stress during these times.
Avoid pulling weeds in midday heat. Exposed roots of desirable plants can dry out quickly, increasing transplant shock and slowing recovery.
Spot-Treat Clover with a Paper Cup Shield
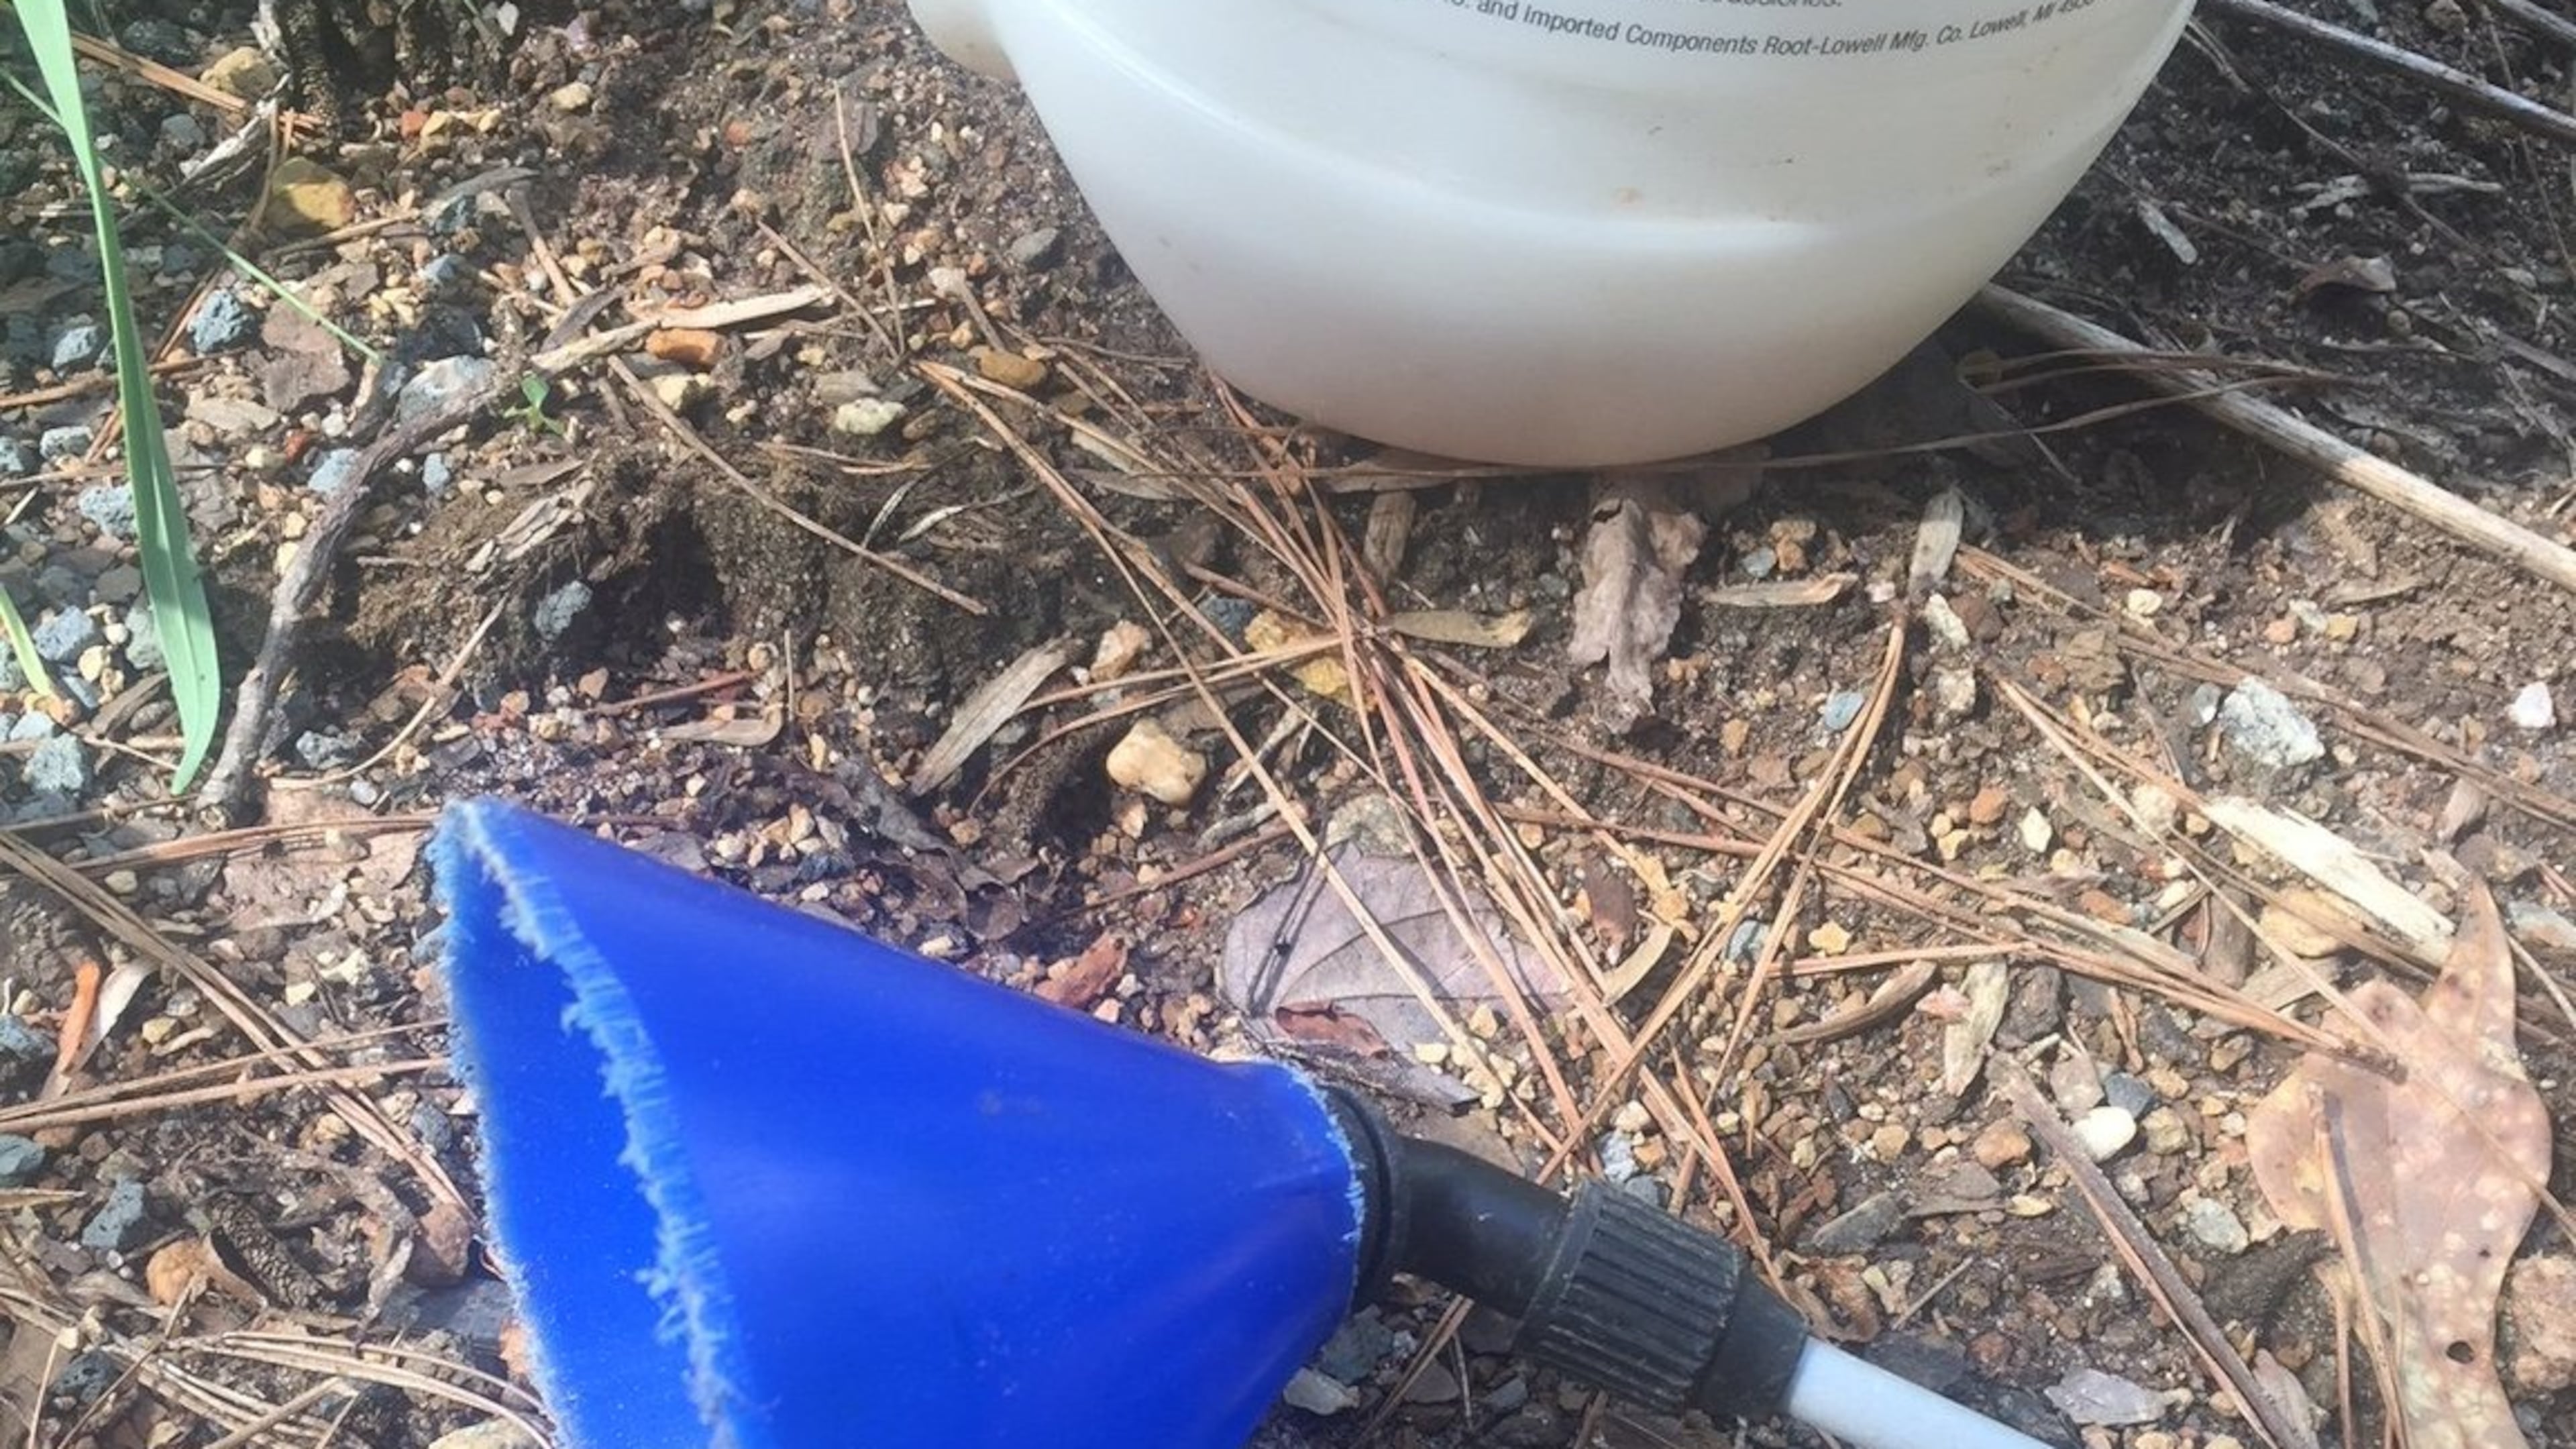
When clover is tangled among flowers or shrubs, spraying herbicide directly risks damaging your prized plants. A simple paper cup acts as a physical barrier, allowing you to target clover only—without drift or overspray.
Apply Herbicide Safely with a DIY Shield
- Cut the bottom out of a standard paper cup.
- Place the cup over the clover, pressing it lightly into the soil to seal the edges.
- Spray a selective broadleaf herbicide through the open bottom of the cup.
- Hold the cup in place for a few seconds to contain mist and prevent escape.
- Carefully lift and move the cup to the next clover patch.
This technique confines the herbicide to the target area and blocks wind-blown particles from reaching surrounding foliage.
Warning: Never use non-selective herbicides like glyphosate near ornamental plants—even minimal contact can cause severe damage or death.
Select the Right Herbicide for Garden Safety
Choose a selective herbicide containing 2,4-D, dicamba, or triclopyr. These ingredients kill broadleaf weeds like clover while sparing grasses and most ornamental plants—when applied correctly.
Always check the product label to confirm it’s safe for use around your specific plants. Some species, such as roses, lilies, and certain perennials, are more sensitive to herbicides than others.
Expert Note: Apply herbicides on calm, cool days to prevent vapor drift. High temperatures can cause some chemicals to volatilize and harm nearby plants even without direct contact.
Improve Soil Health to Stop Clover from Returning
Clover thrives in nitrogen-poor, compacted soil. Unlike most garden plants, clover fixes its own nitrogen from the air, giving it a major advantage in weak soil. By improving fertility and structure, you create conditions where your plants outcompete clover naturally.
Boost Nitrogen Levels with Targeted Fertilization
Test your soil to determine nutrient levels. If nitrogen is low, apply a balanced organic fertilizer in spring and again in mid-season. Healthy, well-fed plants grow denser and shade the soil, making it harder for clover to establish.
Expert Note: The presence of clover often signals low nitrogen—think of it as a natural soil health indicator.
Loosen Compacted Soil for Better Root Growth
Use a hand aerator or garden fork to break up compacted areas, especially near walkways or high-traffic zones. Looser soil allows water, air, and roots to move freely, encouraging deeper root development in your plants and reducing bare spots where clover seeds germinate.
Smother Clover with Proper Mulching

Mulch is one of the most effective tools for suppressing clover. A thick layer blocks sunlight, prevents seed germination, and reduces the need for constant weeding.
Apply Mulch Correctly for Maximum Impact
- Use organic mulch such as shredded bark, pine straw, or compost.
- Spread a 2–3 inch layer around plants, keeping it 1–2 inches away from stems to prevent rot.
- Replenish mulch every 6–12 months as it breaks down.
Avoid: Piling mulch against plant stems (“volcano mulching”), which can lead to stem rot, pest infestations, and girdling roots.
Add Landscape Fabric for Severe Infestations (Optional)
For persistent clover problems, lay permeable landscape fabric before applying mulch. This creates an extra barrier while still allowing water and air to penetrate. Cut X-shaped slits to plant through and secure the edges with landscape pins.
Caution: Over time, fabric can hinder organic matter from reaching the soil and may trap roots. Monitor regularly and replace as needed.
Prevent Future Clover Growth with Smart Gardening Habits
Eliminating existing clover is only half the battle. Long-term success depends on preventing new growth through consistent care and proactive landscaping.
Fill Bare Spots with Dense Plant Coverage
Clover invades thin or bare areas where sunlight reaches the soil. Fill gaps with groundcovers, perennials, or seasonal color plants to create a living mulch that shades the soil and blocks weed establishment.
Water Deeply and Infrequently
Frequent, shallow watering encourages shallow-rooted weeds like clover. Instead, water deeply but less often to promote strong root systems in your plants and discourage weed growth.
Time-Saving Tip: Use soaker hoses or drip irrigation to deliver water directly to plant roots without wetting foliage or open soil—where weeds thrive.
Monitor Weekly and Act Fast
Check your garden weekly during the growing season. Remove new clover sprouts immediately before they develop deep roots or produce seeds. One mature clover plant can release hundreds of seeds that remain viable in the soil for years.
Natural Alternatives (Limited Results)

Some gardeners prefer chemical-free options. While these methods may suppress young clover, they rarely eliminate established plants and often require repeated applications.
Vinegar-Based Sprays
Household vinegar (5% acetic acid) can burn clover foliage on contact but rarely kills the root system. Multiple applications may weaken the plant over time.
Limitation: Vinegar is non-selective and can damage nearby plants. Avoid using on windy days or near desirable foliage.
Boiling Water
Pouring boiling water on clover kills visible growth but doesn’t affect roots or seeds. It can also sterilize the soil and harm beneficial microbes.
Best Use: Suitable only for cracks, gravel paths, or isolated areas—not recommended for flower beds.
Corn Gluten Meal
This natural pre-emergent herbicide inhibits seed germination and may reduce new clover growth. Apply in early spring before soil temperatures reach 55°F.
Note: It has no effect on existing clover and must be reapplied annually to maintain effectiveness.
When to Seek Professional Garden Help
If clover covers large areas or keeps returning despite repeated efforts, it may be time to consult a garden care specialist. They can test your soil, identify underlying issues, recommend targeted treatments, and design a long-term maintenance plan tailored to your landscape.
Key Takeaways for Getting Rid of Clover in Garden
Clover doesn’t have to take over your garden. With careful hand removal, targeted herbicide use, and improved soil health, you can eliminate clover safely and effectively. Focus on fixing the conditions that invite clover—like low nitrogen and compacted soil—and use mulch and dense planting to block future growth. Stay consistent with monitoring and maintenance to prevent comebacks.
Start early, act decisively, and protect your plants with precision methods that work. A healthy, well-maintained garden is your best defense against clover and other invasive weeds.
Frequently Asked Questions About Getting Rid of Clover in Garden
Why is clover growing in my flower bed?
Clover thrives in nitrogen-poor, compacted soil. Its presence often indicates low soil fertility. Unlike most garden plants, clover fixes its own nitrogen, giving it a competitive edge in weak soil conditions.
Can I remove clover without harming my flowers?
Yes. Use a narrow trowel for hand removal or a paper cup shield when applying selective herbicides. These methods target clover while protecting surrounding plants from damage.
What is the best herbicide to kill clover in garden beds?
Use a selective broadleaf herbicide containing 2,4-D, dicamba, or triclopyr. These ingredients target clover and other broadleaf weeds without harming most ornamental plants—when applied correctly.
Does vinegar kill clover permanently?
No. Household vinegar burns clover foliage but rarely kills the roots. Repeated applications may weaken the plant, but it won’t provide long-term control.
How can I prevent clover from coming back?
Improve soil fertility with balanced fertilization, mulch garden beds with 2–3 inches of organic material, fill bare spots with plants, and water deeply but infrequently. Healthy, dense plantings naturally resist clover invasion.
Is corn gluten meal effective against clover?
Corn gluten meal acts as a pre-emergent herbicide and can reduce new clover seedlings. However, it does nothing to kill existing clover and must be reapplied each spring to be effective.