
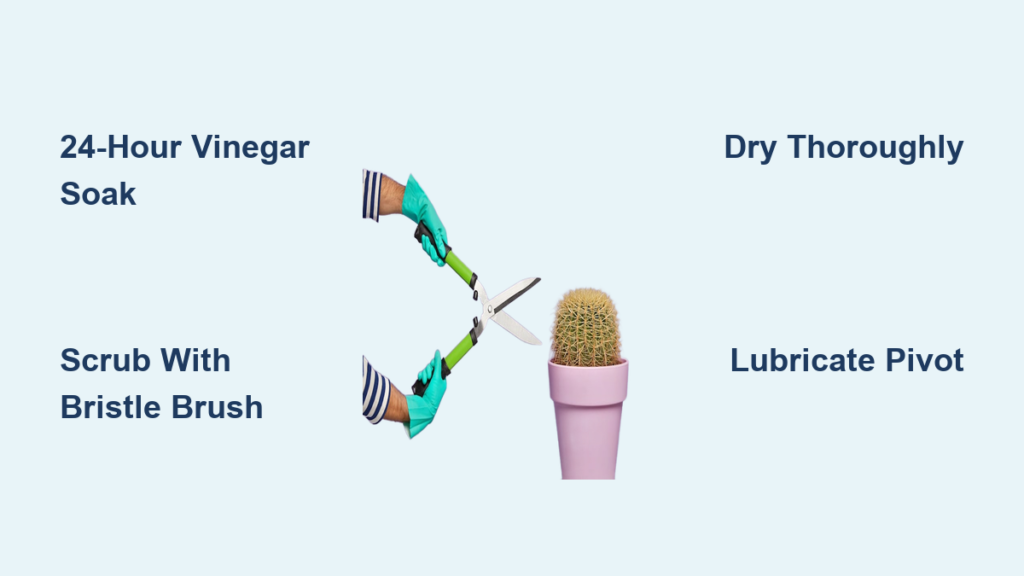
If your garden clippers are struggling to cut through stems or leaving ragged, crushed ends, it’s time for a deep clean. Dull, rusty, or sticky pruners don’t just make gardening harder—they can harm your plants by spreading disease and slowing healing. Knowing how to clean garden clippers properly is essential for both tool performance and plant health.
Regular maintenance removes rust, sap buildup, and mineral deposits that accumulate with use. A simple 24-hour vinegar soak can restore blades to like-new condition, while proper lubrication and sharpening ensure smooth operation season after season. In this guide, you’ll learn the exact steps to deep-clean, oil, and sharpen your pruners—plus when and how to do it right. Whether you’re prepping for spring pruning or reviving old tools, this complete care routine will keep your clippers sharp, rust-free, and ready to work.
Deep-Clean Garden Clippers with a 24-Hour Vinegar Soak
The most effective way to remove rust, sap, and grime from garden clippers is a full vinegar soak. This method dissolves corrosion and mineral buildup without damaging the metal.
Submerge Clippers in Undiluted White Vinegar
Fill a container with white vinegar and fully submerge your clippers. Make sure the blades, pivot point, and spring are all covered. Let them soak for 24 hours—this gives the vinegar time to break down rust, sap, and hard water deposits. The acidity safely loosens years of buildup, especially on tools used throughout the growing season.
Scrub Blades and Hinges with a Bristle Brush
After soaking, remove the clippers and use a stiff bristle brush dipped in vinegar to scrub away any remaining residue. Focus on the cutting edge, hinge, and crevices where dirt hides. Most seasonal buildup lifts off in under five minutes. For stubborn spots, re-soak for another 12 hours. Avoid steel wool—it can scratch the metal and invite future rust.
Wipe and Dry All Parts Thoroughly
Use a microfiber cloth to wipe down every surface. Dry the pivot joint, spring, and blade edges completely. Moisture trapped in hinges causes rust and stiffness. If your clippers have removable bolts, take them out to dry internal parts. Only reassemble when all components are fully dry.
Lubricate Pruners for Smooth Cutting Action

Proper lubrication prevents rust, restores spring tension, and keeps the pivot joint moving freely.
Apply a Few Drops of Lubricating Oil
Once dry, apply sewing machine oil, mineral oil, or general-purpose tool oil to the pivot point and blade surfaces. Open and close the handles several times to work the oil into the joint. This restores smooth action and protects against future moisture damage.
Wipe Off Excess Oil to Prevent Gunk Buildup
Use a clean cloth to remove any leftover oil. Excess attracts dust, sawdust, and plant debris, which can turn into a sticky paste over time. A light, even coating is all you need. For long-term storage, apply a slightly heavier coat and wipe it off before your next use.
Sharpen Blades for Clean, Precise Cuts
Sharp blades make clean cuts that heal quickly. Dull pruners crush plant tissue, inviting disease and pests.
Clamp Clippers Securely Before Sharpening
Hold the pruners in a vise or clamp them to a workbench. Never sharpen while holding them in your hand—this is dangerous and leads to uneven edges. Always point the sharpener away from your body.
Use a Handheld Sharpener or Stone at the Correct Angle
Run the tool along the beveled edge of the blade at the factory angle—usually 20–25 degrees. Use smooth, consistent strokes from base to tip. Only sharpen the beveled side on bypass pruners. Avoid rounding the edge, as this weakens the blade.
Test Performance on a Twig
After sharpening, cut a small stem to check results. A clean, smooth cut means you’re done. If the twig crushes or snags, repeat the process with even pressure. Re-sharpen throughout the season, especially after heavy use.
Prevent Rust and Sap Buildup with Daily Habits
Regular care prevents long-term damage and keeps your clippers working like new.
Wipe Blades After Every Use
After pruning, wipe the blades with a dry microfiber cloth. This removes sap and moisture before they harden. For extra protection, use a cloth dampened with rubbing alcohol to disinfect and dry the metal.
Store in a Dry, Climate-Controlled Area
Never leave clippers in a damp shed, garage floor, or wet sheath. Hang them or store in a toolbox with silica gel packs to reduce humidity. Moisture is the main cause of rust and spring failure.
Apply a Light Oil Coating Before Long-Term Storage
Before storing for weeks or months, coat all metal parts with a thin layer of oil. This creates a moisture barrier. Wipe off the excess before your next use to avoid attracting dirt.
Fix Stiff or Sticky Pivot Joints
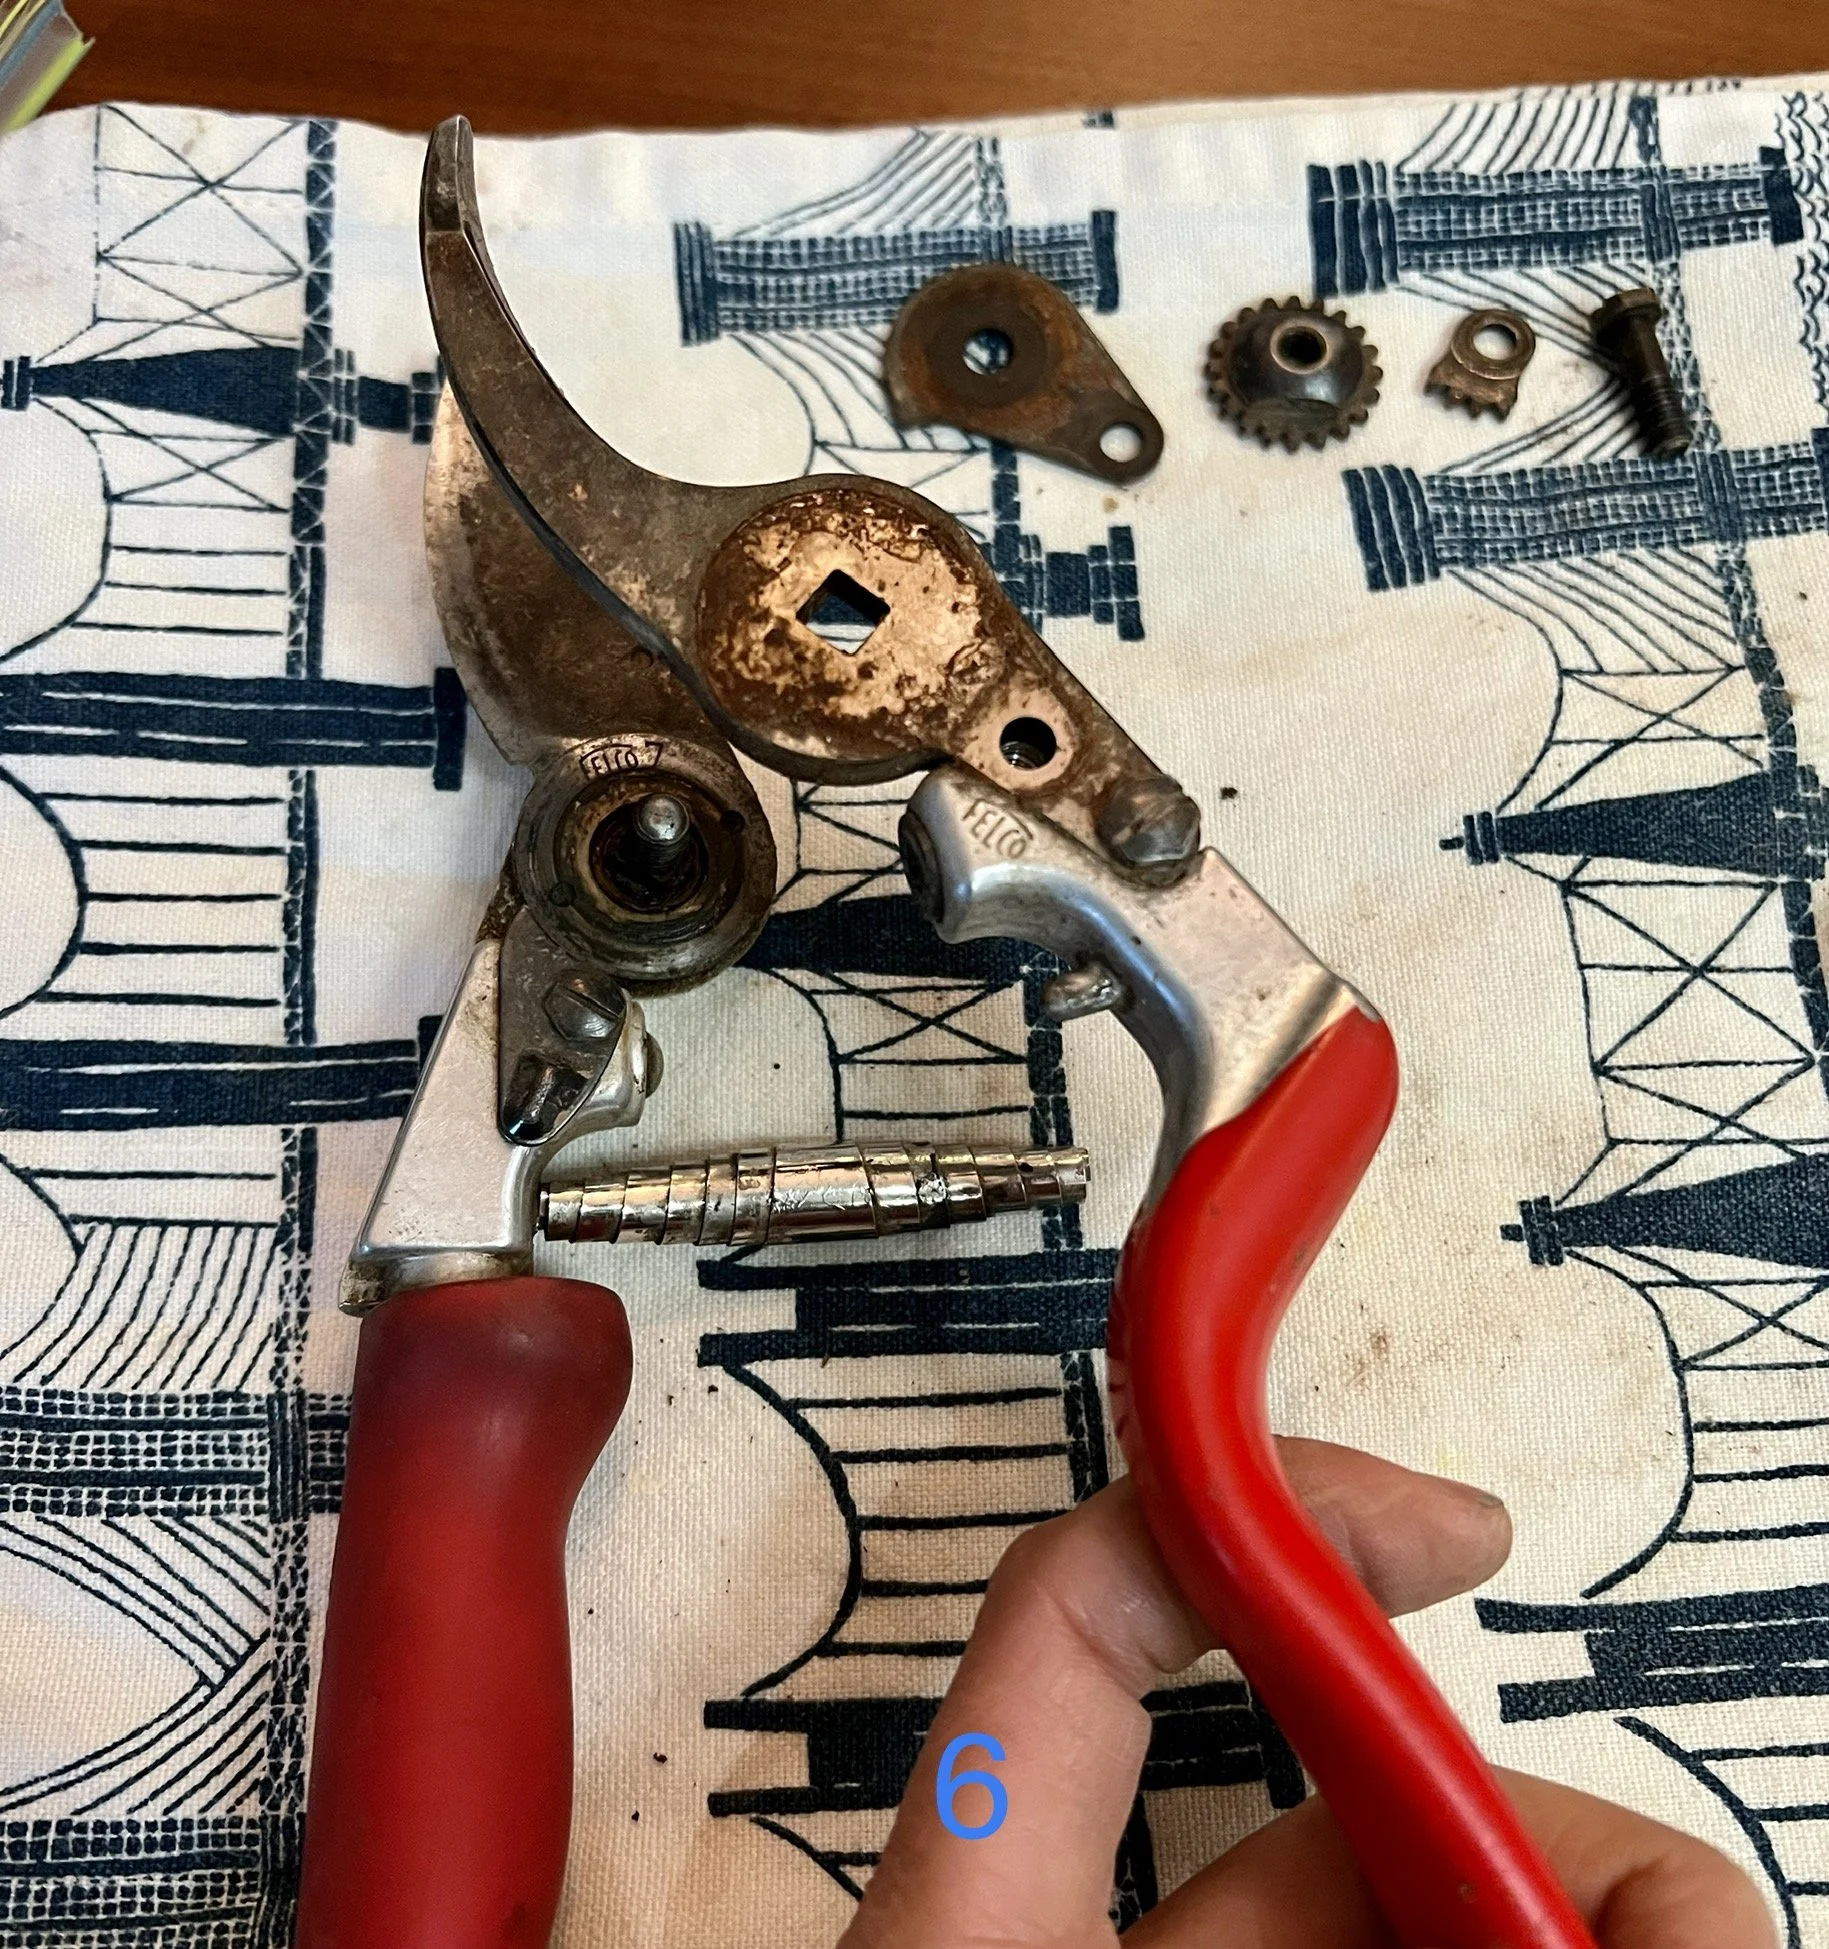
Stiffness often means debris is trapped in the hinge. A deep clean usually restores full function.
Disassemble and Clean the Pivot Point
Remove the central bolt if possible. Soak and scrub each part with vinegar and a brush. Flush out old grease, sap, and grit that restrict movement. Reassemble only after all pieces are dry.
Re-lubricate the Spring and Joint
Apply fresh oil to the spring and pivot point. Work the handles back and forth to restore tension and smooth action. If the spring doesn’t rebound, it may be worn and need replacement.
Know When to Replace Garden Clippers

Even the best care can’t fix every problem. Some damage is beyond repair.
Replace Clippers with Deep Pitting or Cracked Blades
If the metal is deeply pitted, cracked, or bent, sharpening won’t restore performance. Severely corroded pivot points or broken springs also mean it’s time for a new tool. Most budget pruners aren’t repairable.
Replace After Pruning Diseased Plants
If you’ve cut infected branches—like those with fire blight or rose canker—and disinfection fails, replace the tool. Lingering pathogens can spread to healthy plants, undoing your garden care.
Follow a Seasonal Maintenance Schedule
A simple routine keeps your clippers in top shape all year.
Perform a Pre-Season Deep Clean
At the start of the growing season, complete a full cycle: soak, scrub, dry, oil, and sharpen. Even if stored clean, a quick refresh removes any moisture damage and ensures peak performance.
Do In-Season Wipe-Downs After Use
After each pruning session, especially on sappy plants, wipe blades with a vinegar-dampened cloth. This prevents buildup and reduces cleaning time later. Keep a microfiber rag in your garden bucket for quick cleanups.
Prepare for Storage with a Post-Season Tune-Up
Before winter or long-term storage, give clippers a final clean. Soak if needed, then lubricate generously and store in a dry place. This prevents rust and keeps them ready for next year.
Avoid These Common Garden Clipper Cleaning Mistakes
Even small errors can shorten your tool’s life or reduce performance.
Never Skip the 24-Hour Vinegar Soak
A quick rinse won’t remove rust or mineral deposits. For tools used all season, the full 24-hour soak is essential. Shortcuts lead to recurring stiffness and poor cutting.
Avoid Harsh Chemicals Like Bleach or Ammonia
These can damage metal finishes and degrade rubber grips. Stick to white vinegar and mild soap if needed. For disinfecting, rubbing alcohol is safer and effective.
Never Store Wet or Damp Clippers
Even a few drops in the hinge can cause rust within days. Always dry completely before oiling or storing. Check crevices and the spring mechanism.
Don’t Over-Oil the Pivot Joint
Too much oil attracts dirt and sawdust, creating a gummy paste that slows movement. Apply sparingly and wipe off excess.
Use the Right Tools and Supplies for Best Results
Having the right kit makes maintenance quick and effective.
• White vinegar – for soaking and cleaning
• Bristle brush – stiff nylon or brass for scrubbing
• Microfiber cloths – lint-free and absorbent
• Lubricating oil – sewing machine, mineral, or tool oil
• Handheld sharpener or sharpening stone – for blade maintenance
Safety gear to use:
• Work gloves – protect hands from sharp edges
• Safety glasses – wear when sharpening or disassembling
• Vise or clamp – secure pruners during sharpening
Watch for These Warning Signs of Poor Maintenance
Early detection prevents bigger problems.
Visible Rust or Flaking Metal
Reddish spots or peeling metal mean immediate cleaning is needed. Left untreated, rust weakens the blade and spreads quickly.
Difficulty Cutting Through Stems
If you’re squeezing hard but stems crush instead of cutting cleanly, your blades are dull or sticky. Clean and sharpen before continuing.
Stiff or Loose Pivot Joint
A stiff joint needs cleaning and oiling. A loose one may need tightening or spring replacement.
Sticky Sap or Resin Buildup
This slows blade action and attracts dirt. Wipe it off after each use to prevent hardening.
Maximize Garden Clipper Longevity with Consistent Care
Clean Cuts Promote Plant Health
Sharp, clean blades make smooth cuts that heal fast. Dull or dirty pruners tear plant tissue, inviting pests and disease. Your garden’s health starts with clean tools.
Regular Maintenance Saves Money
Well-cared-for clippers last years longer. A 10-minute cleaning session can prevent the need for a $30 replacement.
Invest Time to Reap Long-Term Rewards
Spending an hour each season on maintenance pays off in smoother pruning, healthier plants, and tools that work like new. Make it a ritual—your future self (and garden) will thank you.
Frequently Asked Questions About Cleaning Garden Clippers
How often should I clean my garden clippers?
Clean them after every use by wiping the blades. Perform a deep clean with vinegar at the start of the season and as needed during heavy use. If you notice rust or stiffness, clean immediately.
Can I use bleach to disinfect garden clippers?
Yes, but only briefly and with caution. Rinse thoroughly and dry completely afterward, as bleach promotes rust. Rubbing alcohol is a safer, rust-free alternative for disinfecting.
Why are my pruners still sticky after cleaning?
Residual sap or excess oil may be the cause. Re-soak in vinegar for 12–24 hours and scrub again. Wipe off all oil after lubricating—leftover oil traps debris.
Should I sharpen both sides of bypass pruners?
No. Only sharpen the beveled (angled) side. The flat side should remain smooth. Sharpening both sides alters the cutting angle and reduces effectiveness.
What’s the best oil for garden clipper maintenance?
Sewing machine oil, mineral oil, or general-purpose tool oil work best. They’re light, non-gumming, and protect against rust without attracting dirt.
Can I clean garden clippers without vinegar?
Yes, but vinegar is the most effective at removing rust and mineral deposits. Alternatives include lemon juice (less potent) or commercial rust removers—but these may be harsher on metal.
Key Takeaways for Keeping Garden Clippers Clean and Sharp
Properly maintaining your garden clippers ensures clean cuts, protects your plants, and extends tool life. The core routine—24-hour vinegar soak, thorough drying, lubrication, and sharpening—should be done at the start of each season. Wipe blades after every use and store in a dry place with a light oil coating. Avoid common mistakes like skipping the soak, over-oiling, or using harsh chemicals. With just a little time and the right supplies, your pruners will stay sharp, rust-free, and ready for every gardening task. Make cleaning a habit, and your tools—and garden—will thrive for years.



