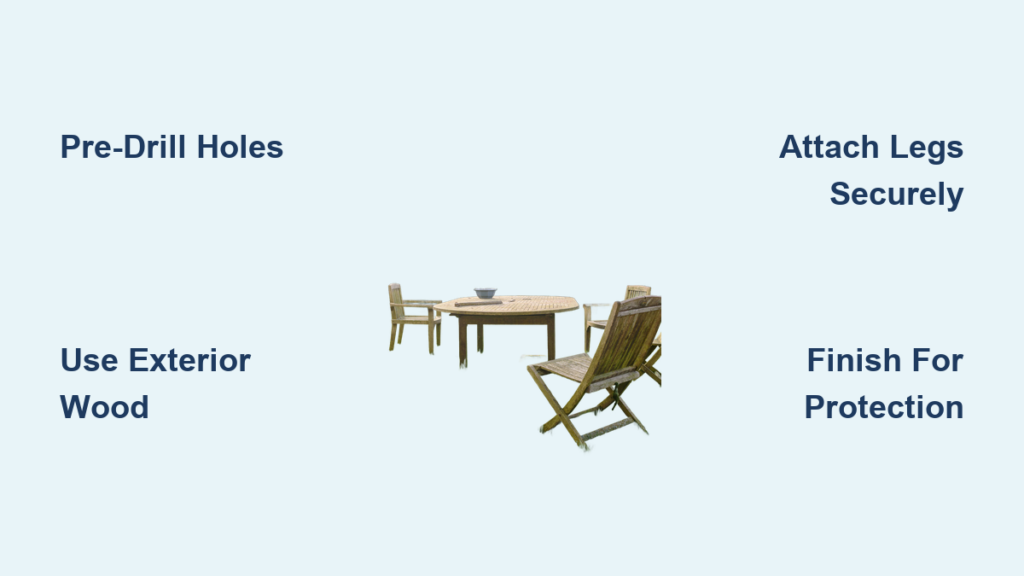
Nothing beats gathering around a hand-built garden table for morning coffee, family dinners, or weekend barbecues. Building your own outdoor table isn’t just cost-effective—it’s deeply satisfying. Whether you’re a beginner with a drill or an experienced DIYer craving a weekend project, constructing a durable, weather-ready garden table is well within reach. This guide covers three proven designs—from a simple £50 build to a sturdy farmhouse-style centerpiece—all using exterior-grade materials and smart joinery techniques. You’ll learn how to choose the right lumber, avoid common mistakes like wood splitting, and finish your table for long-term outdoor use. By the end, you’ll have a clear path to a custom table that seats six, withstands years of weather, and becomes the heart of your outdoor space.
Choose the Right Garden Table Design for Your Skill Level

Match Your Build to Tools, Time, and Budget
Your ideal garden table depends on your experience, available tools, and how much you want to spend. The simple UK-style table costs under £50 and takes one afternoon—perfect for beginners. The US slat table uses pocket holes for clean joints and seats six, ideal for those with a Kreg jig. The farmhouse table, built for stability and style, costs under $100 and uses lag screws to create a 300-pound heirloom piece. All three use pressure-treated pine, cedar, or redwood to resist rot, UV damage, and moisture.
Compare Build Difficulty and Features
| Feature | Simple Table | Slat Table | Farmhouse Table |
|---|---|---|---|
| Difficulty | Beginner | Intermediate | Intermediate-Advanced |
| Tools Needed | Saw, drill, sander | Miter saw, Kreg jig | Table saw, router, impact driver |
| Joinery Method | Screws + pilot holes | Pocket holes + glue | Lag screws + angled fasteners |
| Build Time | 3–4 hours | 6–8 hours | 6–10 hours |
Start with the simple design if you’re new to woodworking—no complex cuts or jigs required. Choose the slat table for a modern look with evenly spaced boards. Go for the farmhouse table if you want maximum durability and rustic charm, though it demands more precision and tools.
Gather Lumber and Tools by Design Type
Select Exterior-Grade Wood for Longevity
Always use pressure-treated pine, cedar, or redwood to prevent warping and decay. Avoid interior-grade lumber—it won’t survive rain or sun exposure.
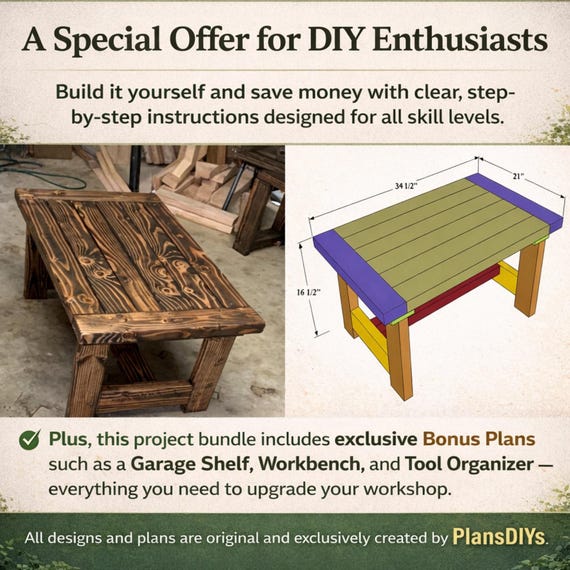
Simple Garden Table (UK):
– 4 planks: 182 cm × 14.5 cm × 2 cm (tabletop)
– 2 pieces: 5 cm × 5 cm × 153 cm (long frame)
– 2 pieces: 5 cm × 5 cm × 50 cm (end supports)
– 1 piece: 5 cm × 5 cm × 40 cm (center crosspiece)
– 4 legs: 7 cm × 7 cm × 70 cm
Slat Dining Table (US):
– 14 slats: 1×6 boards, 6 ft long (actual: 0.75″ × 5.5″)
– 16 spacers: 1×3 boards, ½” thick, 16 in long
– 4 aprons: 1×4 boards, 30 in long
– 2 supports: 2×4 boards, 30 in long
– 4 legs: 4×4 posts, 30 in long
Farmhouse Table (Under $100):
– Deck boards: 8–10 pieces, 6 ft long (tabletop)
– 2x4s: For frame, supports, and reinforcement blocks
– 4×4: One 12-ft post cut into four 28.5-in legs
– 2x2s: Six blocks cut from 2x4s for angled fastening
Use the Right Tools for a Professional Finish
Beginner Tools (Simple Table):
– Circular saw or handsaw
– Drill with driver bit
– Countersink bit
– Measuring tape and pencil
– Sander (orbital or hand)
Intermediate Tools (Slat Table):
– Miter saw (for precise cuts)
– Kreg Pocket Hole Jig
– Clamps
– Foam brush (for stain)
– 1/8″ paint sticks (spacer correction)
Advanced Tools (Farmhouse Table):
– Table saw (for ripping 2x4s into 2x2s)
– Router with ½” roundover bit
– Impact driver (for lag screws)
– 90° Baltic Birch clamp
– Speed square and drywall square
Rent or borrow specialty tools like routers or Kreg jigs to save money on one-time projects.
Cut and Prepare Each Wood Piece Accurately
Measure and Mark Before Cutting
Use a speed square to mark straight, 90° lines on every board. For the slat table, build a stop block jig on your miter saw to cut all 14 slats to the same length—this ensures consistency and saves time. For the farmhouse table, use a drywall square to align deck boards perfectly before securing them.
Avoid Common Wood Cutting Mistakes
- Milling variance: 1×3 spacers may be slightly under ½” thick. Fix this by adding 1/8″ paint sticks to each end of the spacer—this ensures consistent ½” gaps between slats.
- Uneven ends: Sand or trim rough edges after cutting for a clean fit.
- Overheating blades: Let your saw cool between cuts, especially in pressure-treated wood, which is harder on blades.
Label each piece as you cut—especially legs and supports—to avoid mix-ups during assembly.
Build a Square and Stable Table Frame
Assemble the Base with Precision
Start by laying out the long and short frame pieces. For the simple table, use two 153 cm side rails and two 50 cm end supports. Attach the 40 cm center crosspiece for added rigidity. Clamp pieces together before drilling to maintain alignment.
Pre-Drill Holes to Prevent Wood Splitting
One of the most common mistakes is splitting wood when driving screws. Always pre-drill pilot holes, especially near the ends of boards. Use a drill bit slightly smaller than your screw diameter. For 7 cm × 7 cm legs, pre-drill two holes per side where they meet the frame.
Use Countersink Bits for a Clean Look
A countersink bit creates a recess so screw heads sit flush with the wood surface. This prevents snagging and gives a professional look. Drive screws through the frame into the legs from the outside—this hides the hardware and strengthens the joint.
Attach the Tabletop Without Visible Screws
Position Planks for Even Overhang
Lay the tabletop planks across the frame, ensuring equal overhang on all sides—typically 10–15 cm on each end and side. For the simple table, the 182 cm planks fit perfectly over a 153 cm frame, giving about 14.5 cm overhang.
Fasten from Beneath to Hide Hardware
Never screw through the top—this damages the surface and looks messy. Instead, pre-drill up through the frame and into the underside of the planks. Use flush trim screws (small heads, exterior-rated) to secure the tabletop from beneath. Space screws every 12–16 inches for full support without over-fastening.
Prevent Gaps and Warping in the Top
For slat tables, place ½” spacers between each board. If spacers are undersized, add 1/8″ paint sticks to both ends. For deck board tops, butt boards tightly together and clamp with a drywall square to keep alignment. A rigid 2×4 frame underneath prevents warping over time.
Install Legs for Maximum Stability and Strength

Place Legs at Outer Corners for a Wide Stance
For the farmhouse table, position legs at the outermost corners—as far from the center as possible. This creates a wide stance, enhancing stability and giving the classic farmhouse look. For slat tables, legs fit snugly against aprons.
Secure Legs with Lag Screws for Unshakable Hold
The strongest leg attachment method uses ½” × 4″ lag screws. Here’s how:
1. Clamp a 90° Baltic Birch corner bracket to the leg and frame.
2. Drill a 3/8-inch pilot hole through the bracket and into the leg.
3. Insert the lag screw and tighten with an impact driver.
4. Repeat for all four legs—eight screws total.
This method pulls the leg tightly into the bracket, preventing any movement. It’s far stronger than pocket holes alone.
Reinforce with Angled Fastening Blocks
For extra strength, use angled flush trim screws through 2×2 blocks. Clamp the block to the frame, then drive screws at two different angles into the leg. This dual-angle technique resists loosening from seasonal expansion and contraction.
Finish Your Garden Table for Weather Protection
Sand and Round Edges for Safety
Before finishing, sand the entire table with 120–220 grit paper. Focus on edges, corners, and joints. Use a router with a ½” roundover bit to chamfer all sharp edges—this prevents splinters and gives a refined look.
Choose a Durable Outdoor Finish
Your finish protects the wood and defines the style.
Paint Options:
– RustOleum Garden Paint: Durable, UV-resistant, available in gray, white, or terrazzo speckle.
– Stencils: Add decorative patterns for a custom look.
Stain and Sealant:
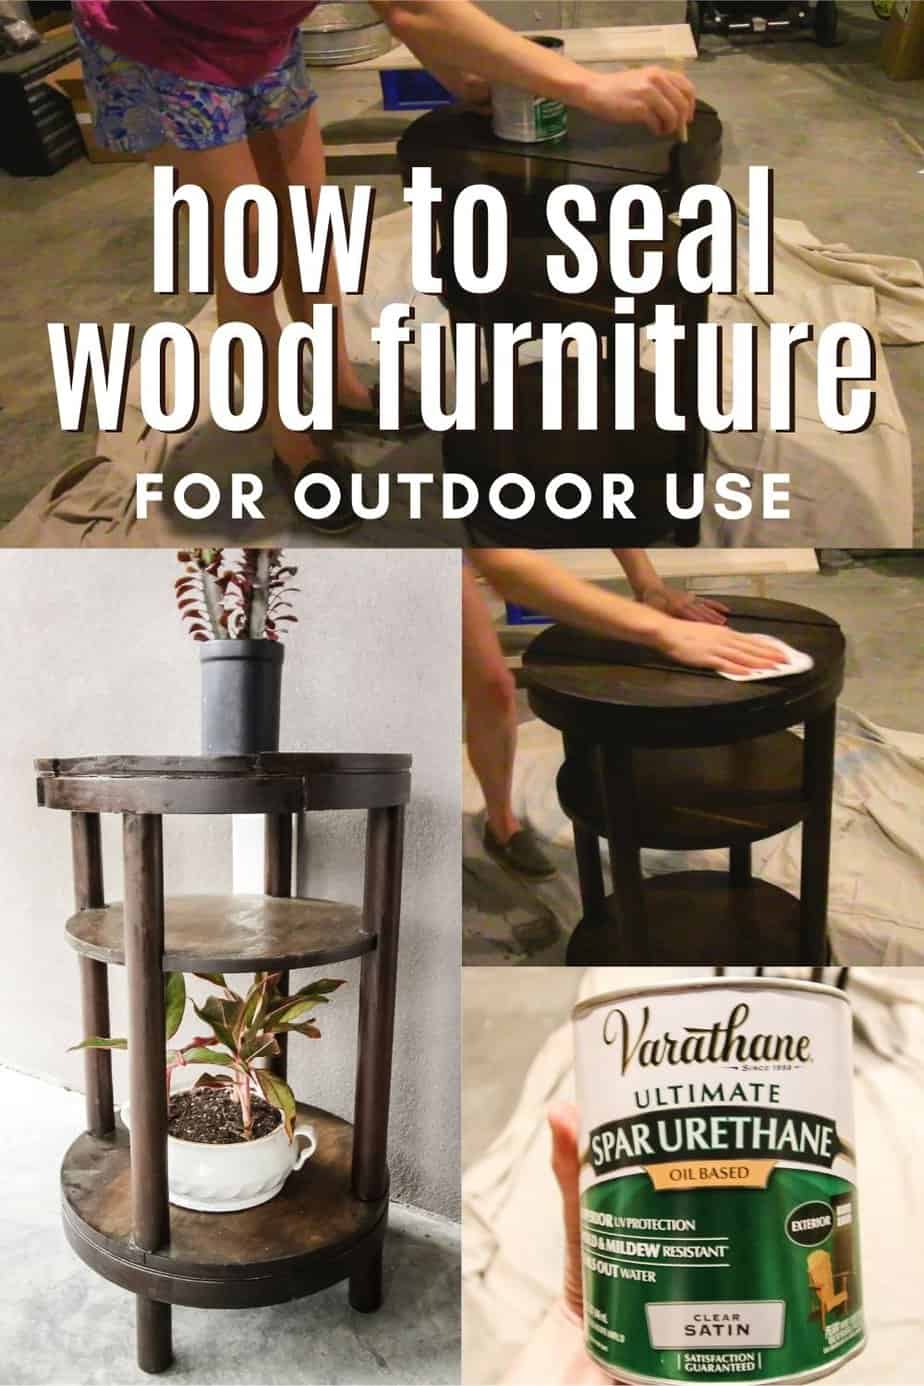
– Valspar Exterior Stain: Waterproof, UV-protected, easy to apply with a foam brush.
– Deck stain and sealant: Use cobalt blue or natural tones for a rustic patina.
Wait 3–4 weeks after building to let the wood dry before staining—this prevents peeling and ensures even absorption.
Allow Natural Weathering for a Rustic Look
For a soft, weathered look, skip the stain and let the wood age naturally. After 18 months, pressure-treated pine develops a silvery-gray patina that blends beautifully with gardens and patios. This low-maintenance option requires no refinishing.
Add Practical Upgrades to Your Garden Table
Drill a 2-Inch Umbrella Hole
Make your table shade-ready by adding a 2-inch umbrella hole:
1. Find the center of the tabletop.
2. Use a 2″ hole saw bit to drill straight through.
3. Sand the edges to prevent splintering.
This upgrade lets you add a cantilevered umbrella, which rotates freely and doesn’t block seating.
Build Matching Benches from Leftover Wood
Use leftover deck boards or 1×6s to build custom benches that fit perfectly under the table. Cut two 6-foot 2x4s for legs and attach slats with pocket holes. Benches save space and create a cohesive outdoor set.
Make Legs Removable for Easy Storage
For easy storage or transport, skip glue and use corner brackets instead of lag screws. Attach brackets to the apron, then bolt legs on with carriage bolts. This lets you disassemble the table in minutes.
Maintain Your Garden Table for Long-Term Use
Clean and Inspect Monthly
Dust, leaves, and moisture shorten a table’s life. Clean monthly with mild soap and water. Check all screws and joints every season—tighten any that have loosened.
Reapply Finish Every 2–3 Years
Repaint or restain every 2–3 years, depending on climate. In sunny or rainy areas, touch up finishes annually. For painted tables, avoid repainting over peeling layers—sand first for better adhesion.
Use a Waterproof Cover for Year-Round Protection
Protect your investment with a waterproof outdoor cover. It shields against rain, UV rays, and debris, especially during winter. A cover can extend your table’s life by years.
Troubleshoot Common Garden Table Problems
Fix Uneven Stain Application
Problem: Lap marks from slow staining.
Solution: Work quickly and use a foam brush to maintain a wet edge. Apply stain in one continuous motion across each section.
Stop Wood from Splitting During Assembly
Problem: Screws crack the wood.
Solution: Always pre-drill pilot holes, especially in end grain. Use exterior-grade screws designed for pressure-treated lumber.
Correct a Wobbly Table on Uneven Ground
Problem: Table rocks on uneven ground.
Solution: Attach adjustable furniture glides to the bottom of legs. Or, sand one leg slightly shorter until stable.
Prevent Screws from Showing on the Tabletop
Problem: Screws mar the surface.
Solution: Use flush trim screws and drive them from underneath. For pocket holes, plug with wood filler if needed.
Frequently Asked Questions About Building a Garden Table
How much does it cost to build a garden table?
Most DIY garden tables cost between £50 and $100, depending on design and materials. The simple UK-style table costs under £50, while the farmhouse table comes in at around $95, including stain and hardware.
Can I build a garden table as a beginner?
Yes, the simple UK-style table is perfect for beginners. It requires only basic tools—saw, drill, sander—and no complex joinery. With pre-cut planks and straightforward assembly, you can finish it in one afternoon.
What wood should I use for an outdoor table?
Use pressure-treated pine, cedar, or redwood for maximum weather resistance. These woods resist rot, insects, and UV damage. Avoid untreated pine or interior-grade lumber for outdoor use.
How do I prevent gaps between tabletop slats?
Use ½” spacers between slats. If your 1×3 boards are undersized, add 1/8″ paint sticks to each end of the spacer. This ensures consistent spacing and a professional look.
Should I stain or paint my garden table?
Both work well. Paint (like RustOleum Garden Paint) offers bold color and UV protection. Stain (like Valspar Exterior Stain) enhances wood grain and requires less prep. Wait 3–4 weeks after building to let the wood dry before applying either.
How long will a DIY garden table last?
With proper materials and maintenance, a DIY garden table can last 2–3 years or more. The simple UK table has been tested for over three years of outdoor use. Regular cleaning, refinishing, and covering extend its lifespan significantly.
Key Takeaways for Building a Durable Garden Table
Building a garden table is more than a DIY project—it’s an investment in outdoor living. Whether you choose the £50 simple build or the 300-pound farmhouse centerpiece, each design delivers durability, style, and lasting value. With pre-drilled joints, weather-resistant finishes, and smart reinforcement, your table can last 2–3 years or more with minimal care. Now that you know how to build a garden table the right way, grab your tools and start creating a space where memories are made.