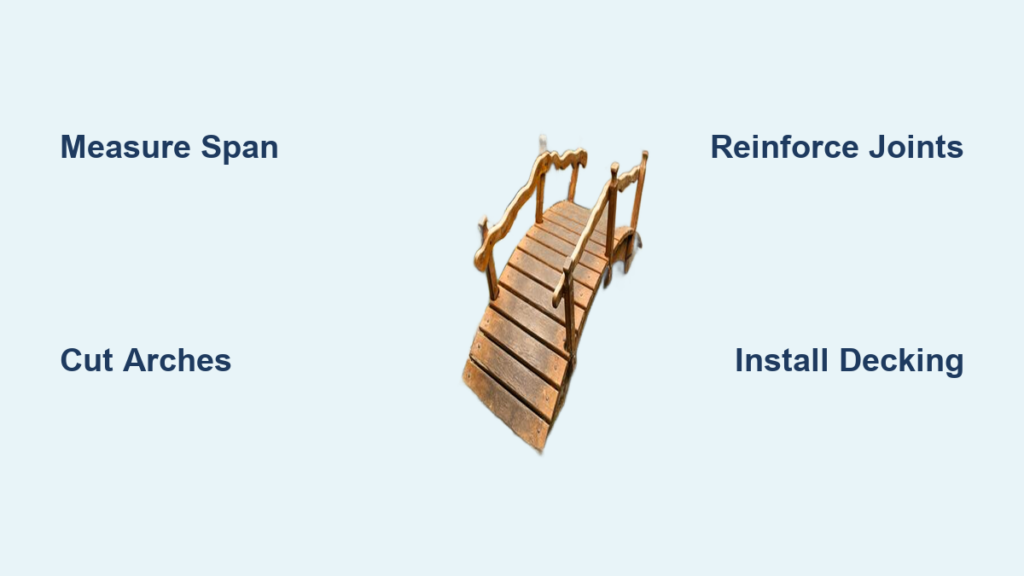
Adding a garden bridge instantly transforms your outdoor space—whether it spans a koi pond, dry creek bed, or lush flowerbed, a well-built bridge brings charm, elevation, and a sense of journey to your landscape. If you’ve ever wondered how to build a garden bridge that’s both sturdy and beautiful, you’re in the right place. This guide walks you through constructing a simple arched pond bridge using treated pine and basic tools. No advanced carpentry skills needed—just careful planning, attention to symmetry, and a few smart techniques to ensure durability and visual appeal.
You’ll learn how to shape smooth arches, reinforce joints for long-term stability, install decking with proper spacing, and finish with a natural look that blends into your garden. Whether you’re building over water or creating a focal point in your yard, this DIY garden bridge is designed to last for years with minimal maintenance.
Design Your Garden Bridge
Determine Bridge Length and Slope
Start by measuring the span you need to cross. The original design called for a 150 cm bridge, but adding a 10 cm sloped extension on one side improved usability and created a gentle transition from deck to ground. This brought the total length to 160 cm—ideal for most small to mid-sized ponds.
A sloped approach prevents tripping and integrates the bridge naturally into the landscape. Use this formula:
– Main span: Match pond width + 10–20 cm for overhang
– Extension: 10–15 cm for gradual descent
Set Arch Height and Symmetry
The arch height should feel proportional—too low looks flat, too high feels exaggerated. A rise of 25–35 cm at the peak works well for a 150–160 cm span.
To ensure symmetry:
– Mark quarter, half, and three-quarter points on a straight board
– Use these to align your arch template
– Trace both frame sides together to guarantee matching curves
Pro tip: Cut one arch first, then use it as a stencil for the second piece.
Cut the Arched Frame
Trace a Smooth Curve
Use a flexible strip of scrap wood (like a thin batten) to create a natural, flowing curve. Bend it between two fixed points and trace the shape onto your 140mm × 35mm treated pine frame pieces.
- Secure the ends of the batten at the bridge’s base and peak
- Adjust the bend until the curve looks balanced
- Trace the line with a pencil
This method avoids awkward kinks and produces a graceful arc.
Cut With a Jigsaw or Circular Saw
Once traced, cut along the line using a jigsaw for precision on curves or a circular saw for straighter sections.
- Clamp the wood securely
- Cut slowly to maintain control
- Sand rough edges after cutting
Extend the curve smoothly into the 10 cm sloped section so the transition from arch to ground feels organic.
Visual cue: Hold both frame halves side-by-side to confirm they mirror each other.
Assemble the Bridge Frame

Reinforce Joints With Glue and Screws
Strong joints are critical—the frame carries all the load. Follow these steps:
- Pre-drill all holes to prevent splitting, especially in end grains
- Apply wood glue to mating surfaces before joining
- Use:
– 2 long screws at the top (peak)
– 3 long screws at the bottom (base) - Drive screws at opposing angles for better grip
This creates a rigid triangle structure that resists twisting.
Add Corner Brackets for Stability
Install 8 heavy-duty 90-degree corner brackets—two at each joint (top and bottom) on both sides.
- Position brackets across mitered or butt joints
- Secure with screws included in the kit
- Ensure brackets lie flat against wood
Warning: Skipping brackets risks joint failure over time due to weather and foot traffic.
Use Clamps and Spacers
During assembly:
– Clamp pieces tightly while glue dries
– Use a consistent spacer (like a scrap block) to align joints
– Wipe excess glue immediately
Let the frame sit for at least 2 hours before moving to the next step.
Install Cross Beams for Support
Position Beams Evenly
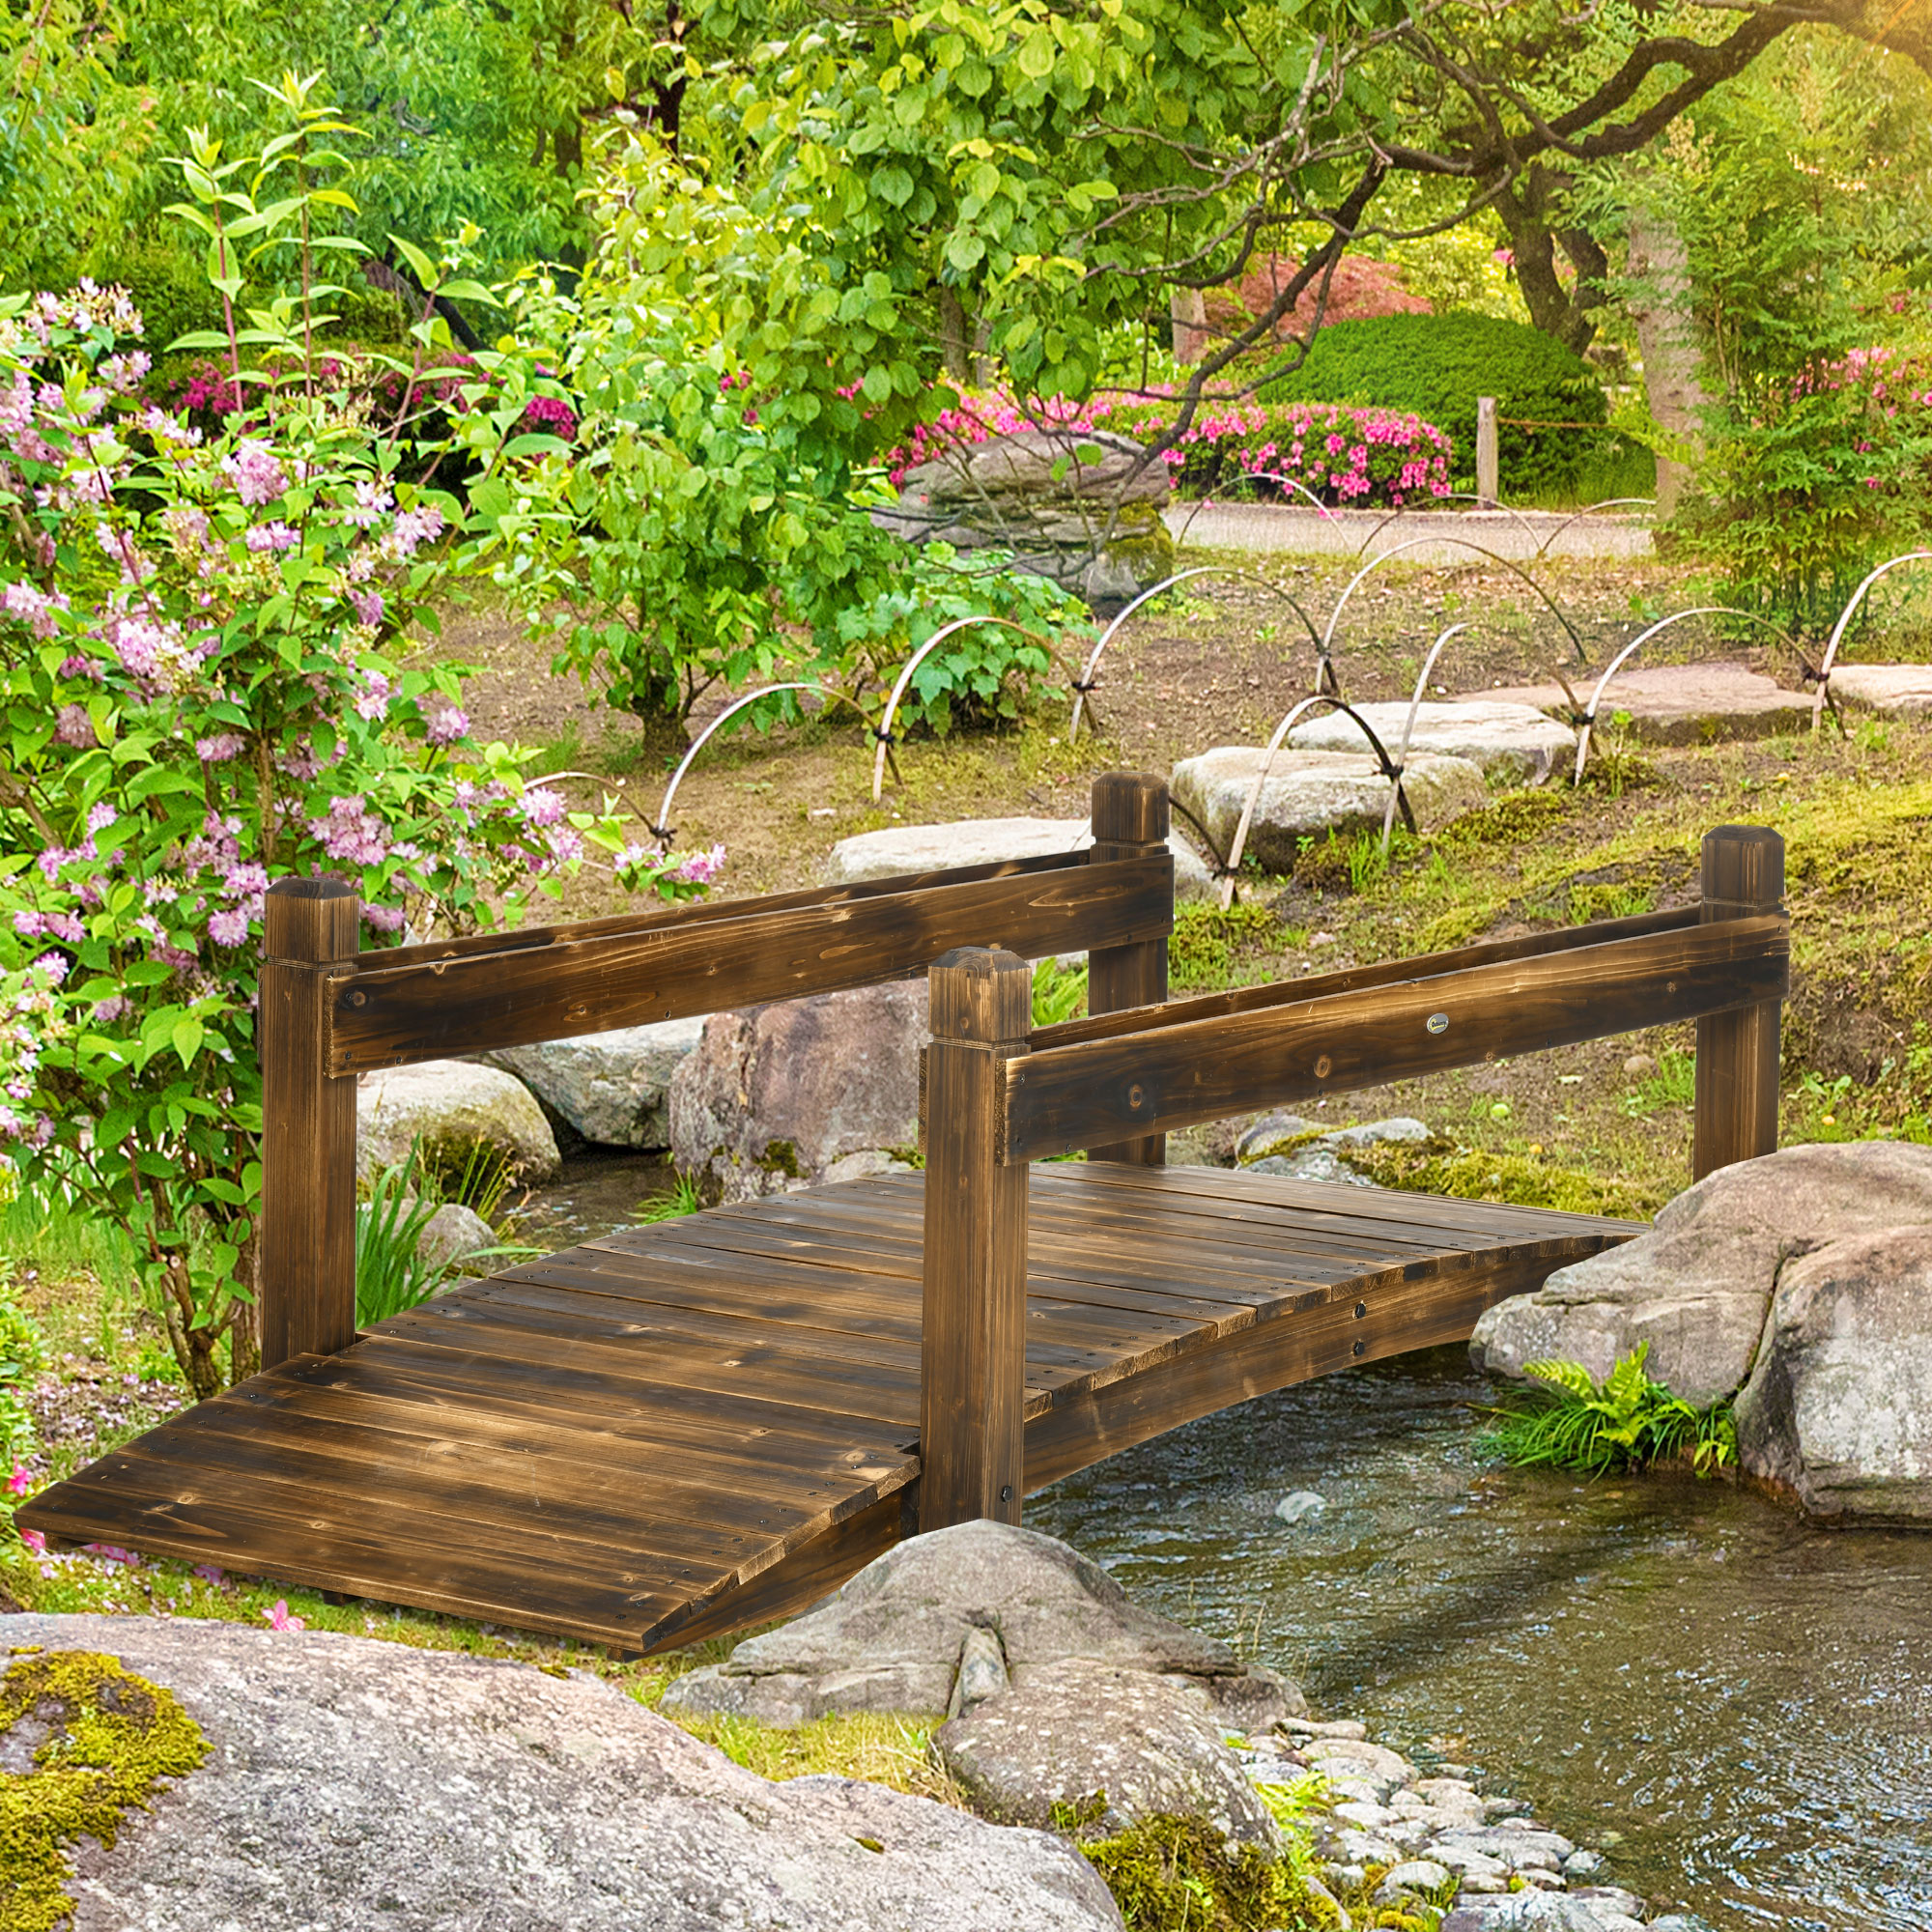
Cross beams prevent the arches from bowing inward under weight. Install 2–3 beams across the span:
- One near each end (10–15 cm from edge)
- One at the center (optional for longer bridges)
Space them evenly if using three.
Attach With Screws and Brackets
Secure each beam:
– With decking screws driven through the arch into the beam ends
– Reinforce with 90-degree brackets underneath
Ensure all beams are level. Use a small spirit level to check before final tightening.
Common mistake: Skipping brackets here leads to sagging over time.
Build the Decking Surface
Cut Slats to Proper Length
Use 90mm-wide treated decking pine for the walking surface. Cut each slat to 80 cm to allow a 10 cm overhang on each side of a 160 cm bridge.
- This overhang improves safety and aesthetics
- Ensures feet don’t catch on edges
Round Edges and Sand Surfaces
For a smooth, rustic finish:
– Use a jigsaw or router to round the corners of each slat
– Lightly sand all surfaces with 120-grit paper
– Remove splinters and rough spots
This step is essential for barefoot safety and comfort.
Install Slats With Even Gaps
Use a decking spacer (or a 5–8 mm scrap piece) to maintain consistent gaps between slats.
Why gap slats?
– Allows water to drain
– Prevents warping from trapped moisture
– Reduces debris buildup
Follow this process:
1. Pre-drill both ends of each slat
2. Attach with one screw per end first
3. Align all slats before driving in remaining screws
4. Use shorter decking screws to avoid piercing through
Pro tip: Face the grooved side down—this boosts airflow and reduces moisture retention.
Finish the Garden Bridge
Apply Stain for Protection and Beauty
Staining protects the wood and enhances grain. Focus on:
- Top surface: Apply 2–3 coats for full protection
- Underside and frame: Light coat—moisture resistance matters more than appearance
Use an exterior-grade timber stain or oil. Let each coat dry fully before applying the next.
Note: New treated timber may resist stain at first. Wait 4–6 weeks after build for best absorption, or use a stain designed for green timber.
Fill Screw Holes (Optional)
For a cleaner look:
– Fill visible screw heads with timber filler
– Sand smooth once dry
– Touch up with stain
This step is purely cosmetic but adds a polished, custom feel.
Install the Bridge in Your Garden

Position and Level the Structure
Place the bridge over your pond or pathway:
– Ensure the deck side aligns flush with your existing platform
– The extended side slopes gently into the soil
– Test stability by walking on it lightly
Adjust surrounding terrain as needed.
Secure With Natural Supports
Don’t anchor the bridge permanently—let it rest naturally. Instead:
– Pack soil or small stones under the base ends
– Place flat rocks or pavers beneath contact points to prevent sinking
– Tuck in native grasses or moss around the feet
This creates a seamless, organic look and supports wildlife.
Bonus benefit: The arched underside forms a microhabitat for frogs, lizards, or beneficial insects.
Maintain Your Garden Bridge
Inspect Annually for Wear
Check once a year for:
– Loose screws or brackets
– Cracked or rotting wood
– Warped or lifted slats
Tighten, replace, or reseal as needed.
Reapply Stain Every 1–2 Years
UV exposure fades color and breaks down wood fibers. Refresh the top surface with a new coat of stain to extend lifespan.
Pro tip: Clean the bridge with a soft brush and mild detergent before restaining.
Troubleshooting Common Issues
Bridge Feels Wobbly
Causes:
– Loose joints
– Missing or weak brackets
– Uneven ground contact
Fix:
– Retighten all screws
– Add extra brackets at stress points
– Level support areas with stone or gravel
Wood Splits During Assembly
Prevent:
– Always pre-drill holes, especially near ends
– Use blunt-tipped screws to reduce splitting
– Avoid over-tightening
Slats Warp Over Time
Prevent:
– Use proper spacing for airflow
– Install with grooves down
– Choose kiln-dried or fully seasoned timber
Replace warped slats promptly to avoid tripping hazards.
Garden Bridge Design Ideas
Match Your Landscape Style
- Rustic: Use rough-sawn timber, leave edges natural
- Modern: Paint black or gray, use straight lines
- Japanese-inspired: Add a red stain, low profile, curved rails
Add Railings (Optional)
For safety or aesthetics:
– Use matching pine or bamboo
– Install vertical balusters every 10–12 cm
– Cap with a rounded top rail
Ensure railings are at least 60 cm high if used for child safety.
Light the Bridge
Install low-voltage LED spotlights:
– Bury fixtures in surrounding soil
– Aim upward to highlight the arch
– Use warm white for a cozy glow
Solar path lights along the edges also work well.
Frequently Asked Questions About Building a Garden Bridge
How long does it take to build a garden bridge?
Most DIYers complete the project in 1–2 weekends. Cutting and assembling the frame takes about 4–6 hours. Adding decking, finishing, and installation adds another 4–8 hours depending on drying times and detail work.
What wood is best for a garden bridge?
Treated pine is ideal for affordability and weather resistance. For longer lifespan, consider hardwoods like blackbutt or ironbark, or composite decking materials in high-moisture areas.
Can I build a garden bridge without power tools?
Yes, but it’s significantly more labor-intensive. A handsaw can cut the frame and slats, and a hand drill can pre-drill holes. However, a jigsaw and power drill save time and improve precision.
How much weight can a DIY garden bridge hold?
A properly built arched bridge with reinforced joints and cross beams can safely support 200–250 kg, enough for one or two adults. Avoid jumping or concentrated heavy loads.
Should I anchor my garden bridge?
No. Let it rest naturally on packed soil, stones, or pavers. Anchoring can restrict natural movement and cause stress cracks. Natural settling helps the bridge blend into the landscape.
How do I prevent water damage under the bridge?
Ensure slats are spaced properly and grooves face down for airflow. Elevate ends slightly on pavers or rocks to prevent direct soil contact. Reapply stain regularly to protect against moisture.
Key Takeaways for Building a Durable Garden Bridge
Building a garden bridge is a rewarding project that blends function and artistry. With treated timber, careful assembly, and attention to detail, your DIY bridge will become a lasting centerpiece in your outdoor space. Focus on symmetry, reinforce every joint, and allow for drainage and airflow to prevent rot.
Now that you know how to build a garden bridge, grab your tools and start creating a path worth walking. Your garden—and your weekend projects—will never be the same.