
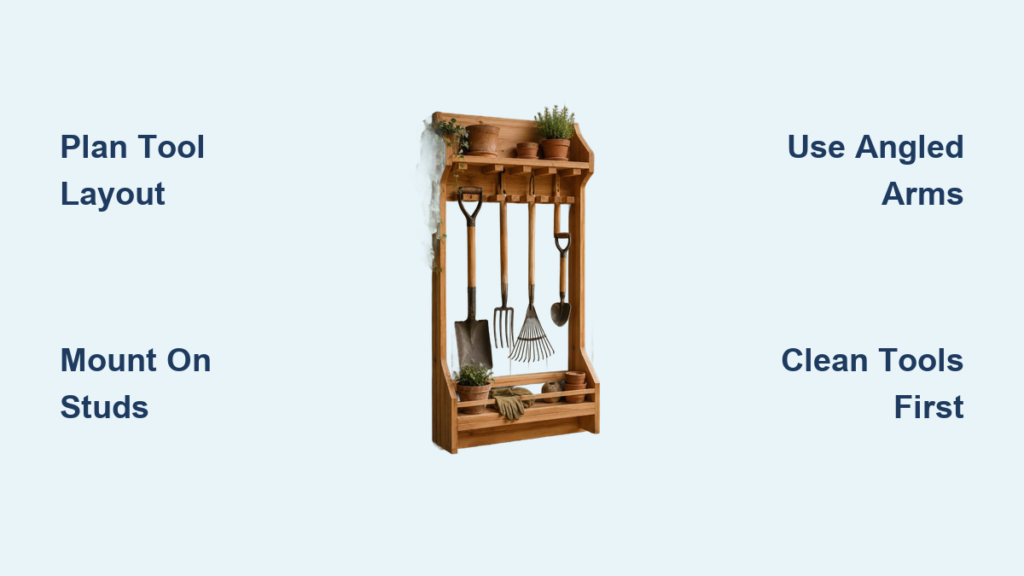
Tired of wading through a jungle of rakes, shovels, and trowels every time you garden? Learning how to organize garden tools properly can turn your chaotic shed into a streamlined workspace. A well-organized system saves time, extends tool life, and makes gardening more enjoyable. With a simple DIY wall-mounted organizer built from basic lumber and screws, you can store everything vertically—keeping tools dry, accessible, and out of the way. This guide shows you how to plan, build, and maintain a custom storage solution that fits your exact tool collection and space.
You’ll learn how to lay out your tools efficiently, construct sturdy wall runners and angled arms, and avoid common mistakes that lead to damage or frustration. Whether you’re working in a small shed or a spacious garage, this system is fully customizable, costs under $30, and requires no advanced skills. By the end, you’ll have a clean, functional setup that makes tool access instant and put-away effortless.
Plan Your Tool Layout First

Before cutting any wood, lay out all your garden tools on the floor. This critical step determines how to organize garden tools for both space efficiency and daily usability. Group tools by handle length and how often you use them. Place long-handled items like shovels, rakes, and hoes together, and keep hand tools—trowels, pruners, cultivators—separate.
Why Two Vertical Layers Save Space
Design your organizer with two stacked layers. The upper tier holds long tools with handles angled upward; the lower tier stores shorter tools or seasonal backups. This vertical stacking reduces floor footprint by up to 60% compared to flat racks.
✅ Visual Tip: Stand tools upright and step back. Look for natural gaps where handles don’t overlap—those are ideal spots for mounting arms.
Avoid placing arms too close together. Allow 4–6 inches between supports to prevent handle wear and make it easy to remove tools without knocking others loose.
Build Strong Wall Runners for Lasting Support
The foundation of your system is two horizontal wall runners made from 1×3 or 1×4 lumber. These distribute weight evenly and anchor the entire rack.
Choose the Right Runner Length
Cut each runner between 24 and 36 inches, depending on your tool count and wall space. Match the size to your actual needs—larger isn’t always better.
Mount Runners with Maximum Stability
- Use a level to align both runners perfectly.
- Space them 12 inches apart vertically—this fits most shovel heads above and allows rakes to rest below.
- Locate wall studs with a stud finder. Never rely on drywall anchors for heavy loads.
- Secure each runner with 3.5-inch screws driven into studs at every connection point.
⚠️ Warning: Skipping stud mounting risks collapse. If studs don’t align, install a backer board across them first, then attach the runners to the board.
Create Angled Tool Arms That Hold Tools Securely
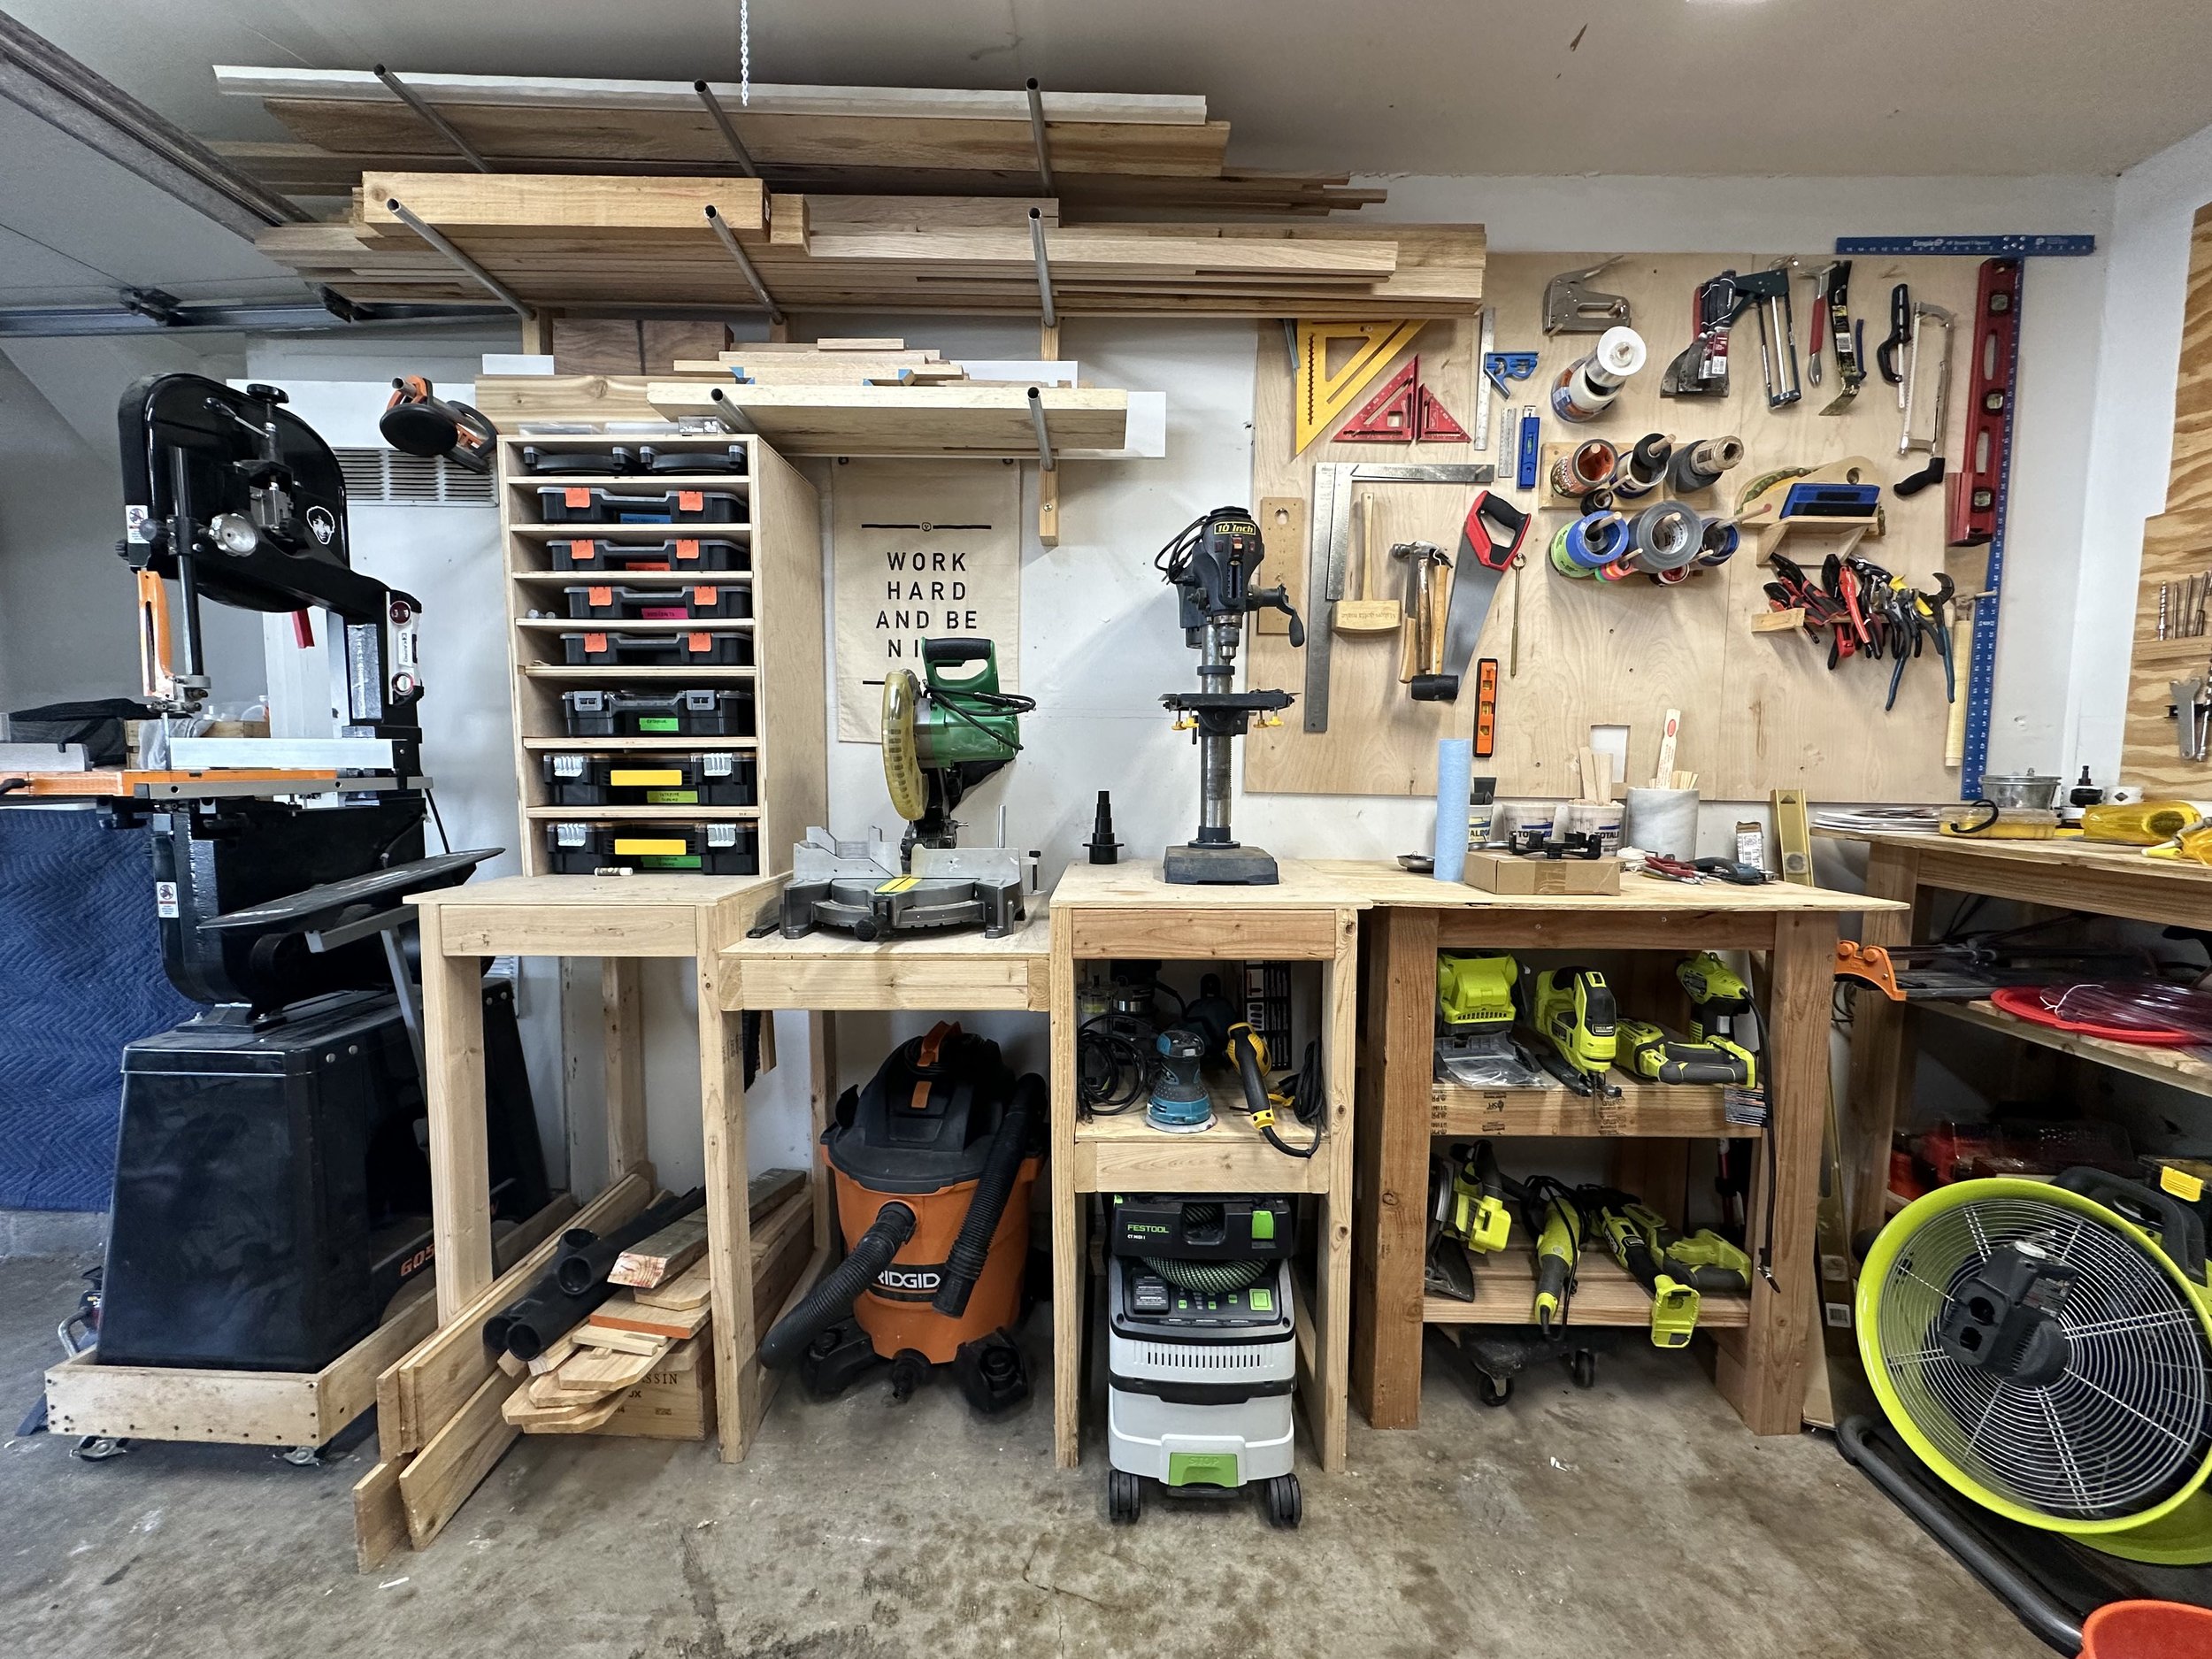
These wooden arms cradle tool handles with precision. They’re not shelves—they use gravity to lock tools in place.
Cut and Notch the Support Blocks
Use 2×3 or 2×4 lumber to cut 6-inch blocks. Set your miter saw to 45 degrees and make a single angled cut on one end of each block. This creates a V-shaped notch that grips the handle tightly.
✅ Pro Fit: The 45-degree angle lets tools slide in easily but locks them when pulled down—no extra fasteners needed.
Attach Arms to Runners for Smooth Access
- Pre-drill holes in both block and runner to prevent splitting.
- Position each arm with the notch facing upward.
- Drive 3.5-inch screws from the back of the runner into the block. Keep screw heads flush to avoid snags.
✅ Stacking Hack: Install multiple arms side-by-side to hold several trowels or pruning shears in one zone—saves space and groups similar tools.
Install and Load Your Garden Tools Properly
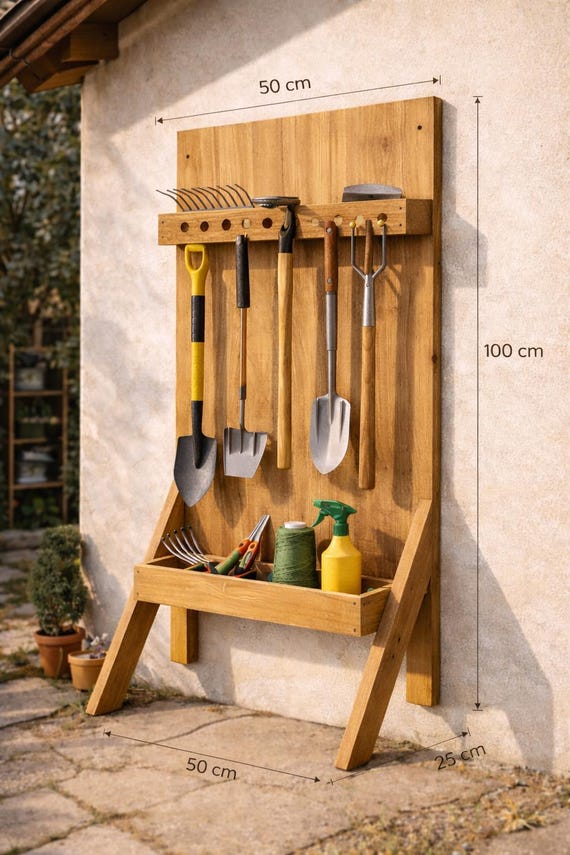
With runners mounted and arms attached, it’s time to hang your tools. Slide each handle into its notch. The angled design ensures a snug fit without clamps or straps.
Which Tools Fit This System Best?
• Shovels & Spades: Rest handle in top-tier arms; blade hangs freely
• Rakes & Hoes: Place in lower tier; tines or head extend below
• Hand Tools (Trowels, Cultivators): Stack 2–3 in one arm space using staggered placement
• Pruners & Shears: Hang by handle or store in nearby bins
✅ Access Tip: Keep frequently used tools at eye level. Reserve upper or lower zones for seasonal or rarely used items.
Customize the Organizer for Your Space
One size doesn’t fit all. Adjust the design to match your shed, garage, or tool collection.
Adjust Arm Spacing for Different Tools
• Wide tools (leaf rakes) need 6-inch gaps
• Narrow tools (transplanters) can share 4-inch spacing
• Use longer blocks (8″) for heavier tools needing extra support
Add Complementary Storage Solutions
Boost functionality by adding:
• Pegboard sections for gloves, twine, or spray bottles
• Small bins or jars mounted underneath for seeds or nails
• Hook strips for hoses or watering cans
✅ Space-Saver Idea: Mount the whole unit on a narrow shelf—add storage above for pots or fertilizers.
Maintain Your Tool Storage System Year-Round
Organization only works if it’s easy to maintain. Build habits that keep your system functional long-term.
Clean Tools Before Hanging
Never store dirty tools. Wipe blades and dry handles after each use. Moisture causes rust and wood rot—both damage tools and weaken the organizer over time.
Inspect Screws and Supports Annually
Check all screw connections once a year. Tighten any that have loosened due to vibration or humidity. Watch for wood warping, especially in damp sheds.
Rotate Seasonal Tools for Year-Round Use
Use the lower tier for off-season storage. In spring, swap out snow shovels for garden forks. Keep only active tools front and center.
Avoid Common Garden Tool Organization Mistakes
Even smart setups fail when small errors go unnoticed.
❌ Don’t Mount on Drywall Alone
Hollow walls can’t support heavy tools. Always anchor into studs or a backer board.
❌ Don’t Ignore Handle Thickness
Very thick or tapered handles may not fit the standard 45° notch. Test one arm first. Adjust angle or notch depth if needed.
❌ Don’t Overcrowd the Rack
Packing tools too tightly causes scratches and makes retrieval hard. Leave breathing room—organization should save time, not create frustration.
Why This DIY Organizer Beats Store-Bought Racks
Plastic and metal racks are common online, but most fail under real garden conditions.
Superior Strength and Durability
This wood-and-screw build supports over 50 pounds easily. Metal racks often bend; plastic cracks in cold weather.
Full Customization Options
Unlike fixed retail units, this design lets you:
• Set exact arm positions
• Adjust spacing per tool
• Expand later with matching sections
Budget-Friendly Build
Materials cost under $30:
• Two 8-foot 1x4s (~$12)
• One 8-foot 2×3 (~$8)
• Screws and basic hardware (~$10)
Compare that to $60+ for a name-brand rack with less flexibility.
Alternative Storage Ideas for Small or Tight Spaces
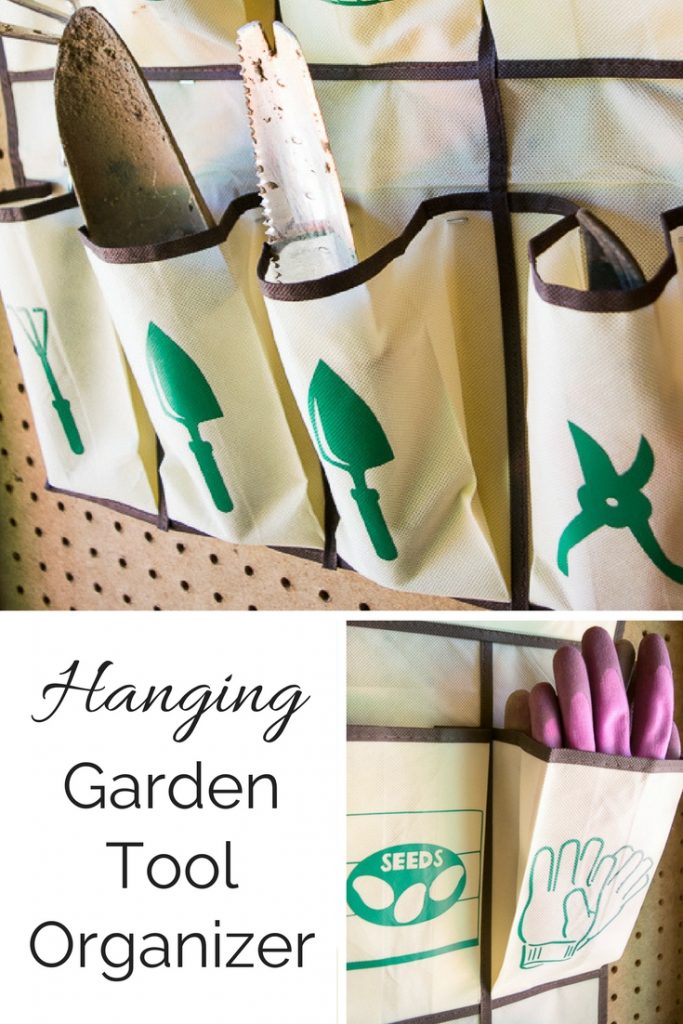
No wall space? Try these compact solutions when a full rack isn’t possible.
Over-the-Door Hanging Pockets
Use UV-resistant canvas or mesh organizers on shed doors. Ideal for:
• Trowels
• Gloves
• Seed packets
• Measuring tape
✅ Tip: Hang on the back of the door—out of the way but easy to reach.
Bucket or Barrel Caddy
Repurpose a 5-gallon bucket:
• Mount it on a wall or post
• Insert PVC pipes cut to size
• Slide tool handles into tubes
Keeps blades off the ground and resists tipping.
Magnetic Strips for Metal Tools
Install strong magnetic bars inside cabinets or on walls. Great for:
• Pruners
• Weeders
• Metal scrapers
✅ Safety Note: Keep magnets away from children and electronics.
Frequently Asked Questions About Organizing Garden Tools
How do I organize garden tools in a small shed?
Use vertical wall space with a DIY rack or over-the-door pockets. Mount tools at different heights and add bins for small items to maximize every inch.
Can I build a tool organizer without power tools?
Yes. Use pre-cut lumber and a hand saw to notch blocks. A drill is helpful for screws, but you can use a screwdriver if needed.
What wood should I use for a garden tool organizer?
Use exterior-grade lumber like cedar or pressure-treated pine. Seal or paint it to resist moisture and extend life.
How do I prevent rust on garden tools?
Clean and dry tools after each use. Apply a light coat of oil to metal parts. Store them in a dry, ventilated area.
Can I paint or stain the organizer?
Yes. Apply outdoor wood sealant or paint to protect against moisture and UV damage. Choose a color that matches your shed for a polished look.
How many tools can this DIY rack hold?
A 36-inch rack with two layers can hold 8–12 tools, depending on size. Add more arms or build a second unit for larger collections.
Key Takeaways for How to Organize Garden Tools Effectively
Learning how to organize garden tools doesn’t require expensive gear or complex builds. With basic lumber, screws, and smart planning, you can create a durable, space-saving wall system that keeps every tool visible, protected, and ready to use. The two-layer design maximizes vertical space, while angled arms use gravity to hold tools securely. By anchoring into studs and sealing the wood, your rack will last for years.
Start by laying out your tools, build the runners and arms step by step, and customize spacing for your collection. Add bins, pegboards, or magnetic strips to boost functionality. Make it a habit to clean and return tools after each use. With this system, you’ll spend less time searching and more time gardening. Build it once, use it forever.



