
Weeds don’t wait. They invade quietly, compete for nutrients, and turn garden maintenance into a never-ending chore. If you’re looking for a reliable way to slash weeding time and keep your soil healthy, learning how to use weed barrier in garden setups correctly is essential. Woven landscape fabric—breathable, durable, and effective—can suppress weeds for years when installed with precision. Unlike plastic, it lets water and air reach the roots while blocking sunlight that fuels unwanted growth.
This guide walks you through every phase of installing a high-performance weed barrier. From choosing the right woven fabric and securing edges in raised beds to cutting planting holes and avoiding common pitfalls, you’ll learn how to build a long-lasting, low-maintenance garden bed. Whether you’re revamping an overgrown plot or building a new vegetable garden, mastering how to use weed barrier in garden systems ensures cleaner soil, less watering, and more time enjoying your harvest.
Choose the Best Weed Barrier for Long-Term Results
Woven Fabric vs. Plastic: Why Breathability Matters
When you’re serious about garden health, woven weed barrier fabric is the only choice. It allows water and air to pass through, supporting root development and beneficial soil microbes. Plastic sheeting may block weeds initially, but it traps moisture, leads to compaction, and degrades quickly under sunlight. Over time, plastic creates a hostile environment for plants.
Woven fabric is also more durable. It resists tearing, holds up under foot traffic, and integrates naturally into the soil. While new fabric may bead water at first due to its tight weave, it becomes more permeable after a few rainfalls. Choose black woven fabric—it blocks light effectively and blends seamlessly under mulch.
What to Look for When Buying Weed Barrier
Not all fabrics are created equal. To ensure lasting performance, check for these key features:
– Breathability: Must allow water and air penetration
– UV resistance: Look for 3+ year durability
– Tear strength: Thicker weaves resist punctures from tools and roots
– Black color: Blocks light and stays hidden under mulch
Avoid thin, non-woven materials—they degrade fast and won’t survive a full growing season.
Gather the Right Tools Before You Start
Essential Supplies for a Secure Installation
To install a weed barrier that lasts, you’ll need:
– Woven weed barrier fabric (enough to cover your bed with 6-inch overlaps)
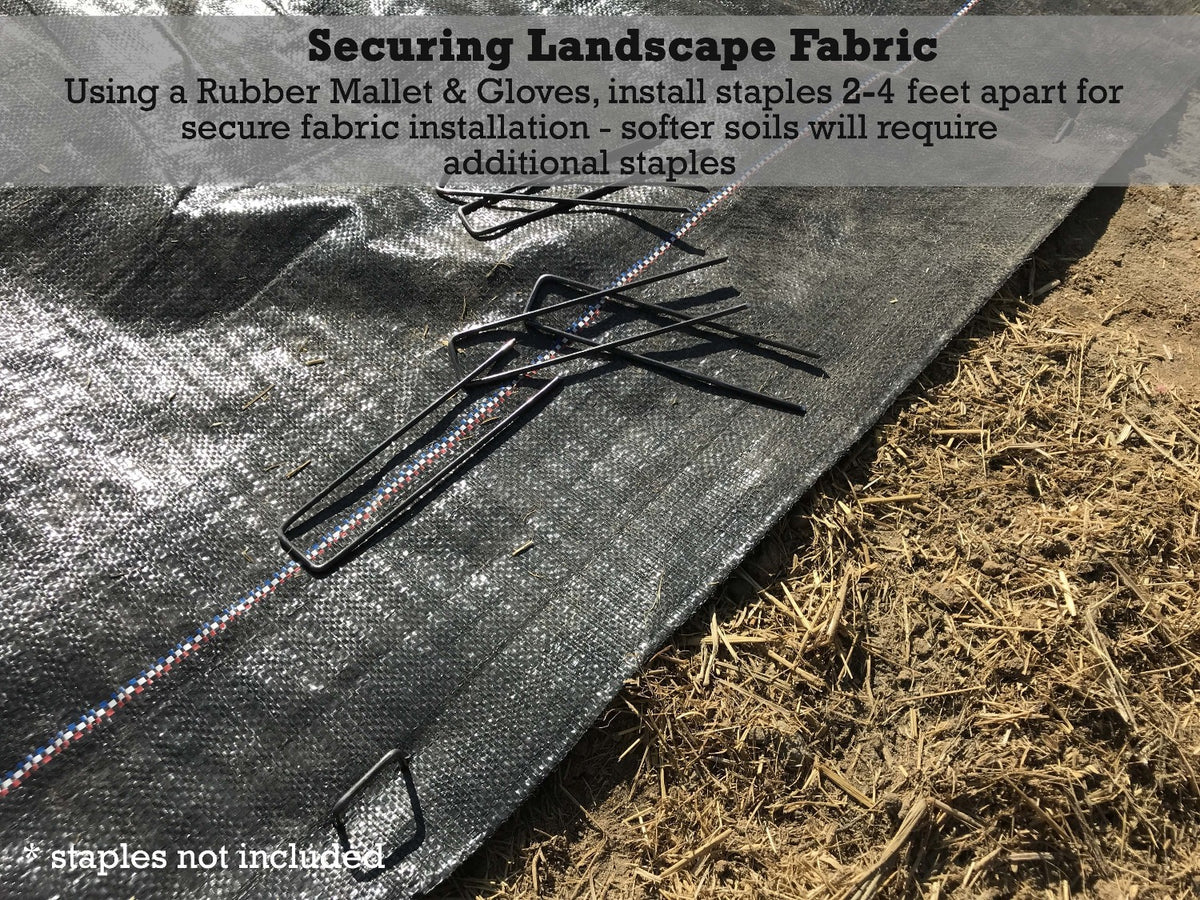
– 6-inch landscape staples (galvanized metal or plastic)
– Sharp utility knife or scissors
– Mallet (for driving staples into hard soil)
– Measuring tape
– Furring strips (for sealing raised bed edges)
For large gardens, buy extra staples—running out mid-project risks loose fabric and weed breakthroughs.
Why 6-Inch Staples Are Crucial
Use 6-inch staples in soft or loose soil for maximum hold. In compact ground, 4-inch staples may work, but undersized staples pull out easily. Weeds exploit even small gaps, so secure anchoring is non-negotiable. Always space staples every 12–18 inches along edges and every 2–3 feet across wide areas.
Prepare Your Garden Bed for Installation
Clear and Measure the Area First
Start by measuring your garden space. Unroll the fabric without cutting it—this helps you plan coverage and overlaps. Lay it from one end of the bed to the other, securing the tail end to prevent shifting.
No tilling or soil prep is needed. The fabric will kill existing weeds by blocking sunlight. Just remove large rocks or debris that could create wrinkles and pockets for weeds.
Plan for Overlaps and Second Layers
Leave a 1–2 inch gap between the fabric edge and the outer edge of your raised bed. This allows room for a second layer installed perpendicularly later, ensuring full coverage with no weak spots. Skipping this step leads to exposed soil and edge weeds.
Install the First Layer with Tension and Precision
Anchor Corners and Pull Taut
Begin by stapling one corner securely—use a mallet if the soil is hard. Pull the fabric tight and staple the opposite corner. This creates tension and prevents sagging.
Add a staple every 12–18 inches along the sides, always pulling the fabric taut before securing. For beds wider than 2 feet, place a center staple every 2–3 feet to maintain stability.
Prevent Edge Fraying with Folded Ends
Woven fabric can unravel at the ends. To stop this:
– Fold under the first 2–3 inches of fabric at both ends
– Staple through the doubled layer
This strengthens the anchor point and prevents fraying. Cut the fabric slightly longer than needed to allow for folding.
Overlap Rows by at Least 6 Inches
The 6-Inch Overlap Rule Is Non-Negotiable
Overlap rows by at least 6 inches—any gap, no matter how small, gives weeds access to sunlight. Weeds are persistent; they can grow through slivers and even work between layers if the overlap is insufficient.
Always lay the second row so it fully covers the edge of the first. Think of it like shingling a roof—each layer protects the one beneath.
Why Cross-Lapping Works
A 6-inch overlap eliminates weak points and increases durability. For long-term beds or high-weed-pressure areas, install a second layer perpendicular to the first. This cross-hatch pattern blocks directional weave gaps and doubles protection.
Seal Raised Bed Edges to Stop Side Weeds
Why Edge Weeds Are a Common Failure Point
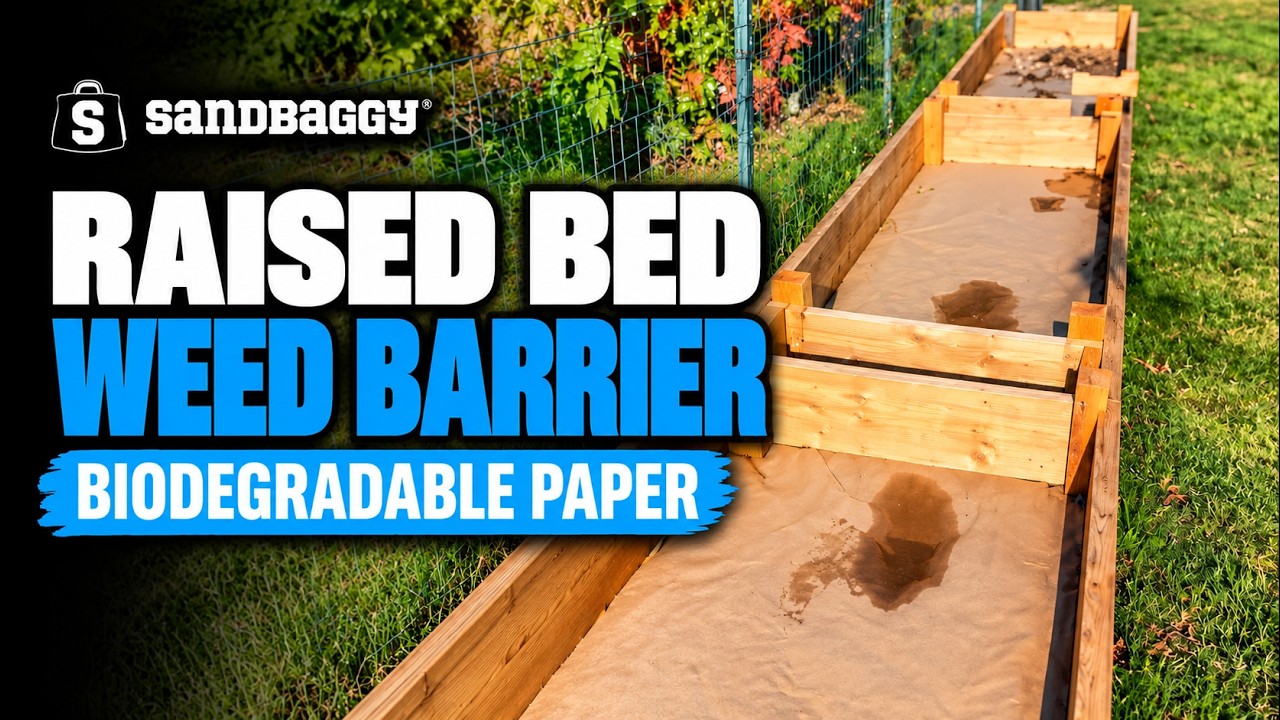
One of the biggest mistakes? Leaving raised bed edges exposed. Even perfect interior coverage fails if weeds grow up from the sides.
The fix: seal the edges completely.
Use Furring Strips for a Tight, Lasting Seal
Here’s how:
1. Cut the fabric to extend 6–12 inches up the inside wall of the bed
2. Attach furring strips along the inside edge
3. Staple the fabric to the furring strips, pulling it taut
4. Tuck the excess fabric down into the bed so it lies flat
This creates a continuous barrier—no gaps, no edge weeds.
Cut Planting Holes Without Inviting Weeds
Make Clean, Small Openings for Plants
Once the fabric is secured, cut X-shaped or circular holes where you want to plant. Use sharp scissors or a utility knife for clean cuts.
Remove soil from the hole, then plant your seedling or sow seeds. Keep holes only as large as necessary—bigger openings invite weeds.
Keep Plant Sites Weed-Free
Before planting, pull any weeds that sprouted in the hole during installation. These are the only places weeds can emerge through a properly installed barrier.
After planting, cover the hole with mulch or compost to:
– Hide the opening
– Retain moisture
– Discourage weed seeds from settling
Staple Strategically for Maximum Hold
Follow Spacing and Placement Rules
Staple every:
– 12–18 inches along edges
– 2–3 feet across the surface
– Center of wide runs (over 2 feet)
This keeps the fabric taut and prevents wind lift.
Staple Through the Weave, Not the Threads
Woven fabric can resist staples, especially with double layers. Aim to insert the staple through the open weave, not the threads. This reduces resistance and prevents bending or tearing.
Apply steady pressure—don’t hammer too hard. If staples keep bending, slow down and reposition.
Troubleshoot Common Installation Problems
Fix Wrinkles and Loose Fabric Immediately
Wrinkles create pockets where water pools and weeds grow. If you see slack:
– Remove nearby staples
– Pull the fabric tight
– Restaple securely
Always install with taut fabric from the start.
Handle Staple Shortages Smartly
If you run low:
– Prioritize edges and corners—they’re most prone to lifting
– Use rocks or bricks to temporarily hold down sections
– Return for more staples as soon as possible
Never leave large areas unsecured.
Don’t Panic Over Temporary Water Beading
New fabric may bead water at first due to its tight weave. This is normal. After a few rainstorms, it settles and becomes more permeable. No action needed—just give it time.
Maintain Your Weed Barrier for Years of Service
Inspect Seasonally for Damage
Check your barrier once a season. Look for:
– Lifted staples
– Torn sections
– Exposed soil
– Weeds at planting holes
Repair small tears with fabric patches or extra staples. Replace damaged sections if necessary.
Replenish Mulch Annually
Mulch breaks down and should be topped off each year. This protects the fabric from UV damage and keeps the garden looking neat.
Avoid using string trimmers near the edges—they can shred the fabric.
Avoid These 5 Costly Weed Barrier Mistakes
Common Errors That Invite Weeds
❌ Skipping the 6-inch overlap → weeds invade
❌ Not folding edges → fabric unravels
❌ Using too few staples → fabric lifts
❌ Leaving edge gaps → weeds grow up from sides
❌ Cutting holes too big → more weed pressure
Each shortcut undermines the entire system.
Benefits of Doing It Right
When you master how to use weed barrier in garden setups:
– Weeding drops by 90% or more
– Soil stays moist, reducing watering needs
– Soil structure improves—no compaction
– Microbial activity thrives under breathable fabric
You’re not just blocking weeds—you’re creating better growing conditions.
Final Checklist Before Adding Mulch
Verify Every Detail Is Correct
Before mulching, walk through this checklist:
– [ ] All edges folded under and stapled
– [ ] No wrinkles or slack
– [ ] Overlaps are at least 6 inches
– [ ] Staples every 12–18 inches on edges
– [ ] Center staples in wide runs
– [ ] Raised bed edges sealed with furring strips
– [ ] Planting holes covered with mulch
If everything checks out, you’re ready for mulch.
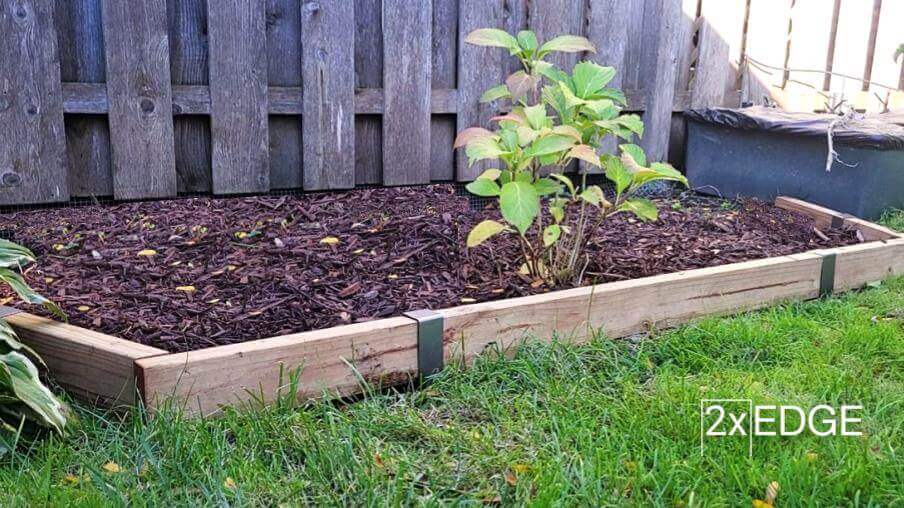
Add 2–3 Inches of Mulch for Full Protection
Cover the fabric with 2–3 inches of mulch (wood chips, straw, or compost). This:
– Protects the fabric from UV damage
– Improves appearance
– Adds organic matter as it breaks down
– Further suppresses stray weed seeds
Avoid piling mulch against plant stems—this can cause rot.
Frequently Asked Questions About Using Weed Barrier in Garden
Can I install weed barrier over existing weeds?
Yes. Woven fabric kills existing weeds by blocking sunlight. Just ensure the surface is smooth and free of large debris. Weeds beneath will die within a few weeks.
How long does woven weed barrier last?
High-quality woven fabric lasts 3–5 years or more, depending on UV exposure and foot traffic. With proper installation and mulch cover, it can remain effective for over five growing seasons.
Should I use plastic or fabric in my vegetable garden?
Use woven fabric, not plastic. It allows water and air to reach plant roots, supports healthy soil, and prevents compaction. Plastic suffocates soil life and creates drainage issues.
Can I plant directly through the weed barrier?
Yes. Cut X-shaped or circular holes where you want to plant, remove soil, and place seedlings or seeds directly in the ground. Keep holes small to prevent weed growth.
Do I need to remove the fabric after a few years?
No. You can leave it in place. Over time, it breaks down slightly but continues to suppress weeds. When it starts to degrade, simply add a new layer on top.
Will water pool on top of new weed fabric?
New fabric may bead water initially due to its tight weave. This is temporary. After a few rains, it becomes more permeable and allows water to soak through freely.
Key Takeaways for Using Weed Barrier in Garden Successfully
Mastering how to use weed barrier in garden systems transforms your gardening experience. With the right woven fabric, 6-inch overlaps, sealed edges, and proper stapling, you create a nearly maintenance-free bed that lasts for years. No more daily weeding, less watering, and healthier soil—all from one smart installation.
Follow the steps in this guide, avoid common mistakes, and inspect your barrier seasonally. Add fresh mulch each year to extend its life. Once installed correctly, your garden will stay clean, productive, and weed-free for growing season after growing season.



