
You’ve got limited space, tired soil, or aching knees—but you still want fresh herbs, crisp lettuce, and vibrant flowers at your fingertips. A garden box solves all that. This elevated planter lets you grow healthy plants in small areas like patios, balconies, or driveways, without bending or digging into poor ground. Built from rot-resistant cedar and simple hardware, a DIY garden box is durable, accessible, and easy to customize. In this guide, you’ll learn exactly how to build a sturdy, long-lasting garden box using basic tools and readily available materials—no advanced skills required. By the end, you’ll know how to cut, assemble, line, and plant your own raised garden bed for seasons of homegrown harvests.
Choose the Right Materials for Durability and Safety

Use Rot-Resistant Cedar Boards for Long-Lasting Sides
Select 1×6 cedar boards with tongue and groove edges to form the walls of your garden box. Cedar naturally resists rot and insects, making it ideal for outdoor planters. The interlocking design keeps boards tightly aligned, reducing gaps and warping over time. Unlike pressure-treated lumber, cedar won’t leach harmful chemicals into the soil—making it safe for growing vegetables and herbs. To ensure clean joints, remove the tongue from the top edge and the groove from the bottom edge of each board so they sit flush when stacked.
Install Douglas Fir Support Posts for Sturdy Legs
Cut 4×4 Douglas fir posts to your preferred height—typically between 24 and 36 inches—for comfortable gardening without kneeling. These posts support the entire structure and elevate the bed off the ground, improving drainage and deterring pests. While Douglas fir isn’t naturally rot-resistant, it’s strong and affordable. Since these legs will touch the soil, inspect them annually and plan to replace them every few years to maintain stability.
Reinforce with 1×4 Support Strips for Structural Strength
Attach 1×4 cedar or pine boards along the inside bottom edge of the frame to support the weight of wet soil. These horizontal strips prevent the side boards from bowing outward under pressure. Cedar offers better longevity, but pine is a budget-friendly alternative. Mount the support strip flush with the bottom of the vertical posts to create a solid base for the drainage layers.
Prepare and Cut All Components Accurately
Measure Twice, Cut Once to Ensure a Perfect Fit
Begin by measuring your desired garden box size—4 feet long by 2 feet wide is a common, manageable dimension. Mark cutting lines on both sides of each 4×4 post to ensure straight, even cuts through thick wood. Use a circular saw, making two passes (one per side) if necessary. For the cedar side boards, cut them to length so they fit snugly between the posts. Double-check all measurements before cutting to avoid costly mistakes.
Sand Edges for Safety and Smooth Assembly
After cutting, sand all rough or splintered edges with medium-grit sandpaper. Smooth surfaces protect your hands during assembly and give the finished box a polished look. Focus on the ends of the tongue-and-groove boards, being careful not to damage the interlocking edges while smoothing them for a clean fit.
Assemble the Frame Securely for Stability
Build L-Shapes First to Ensure Square Corners
Clamp one cedar board to a 4×4 post, forming an L-shape. Use a speed square to confirm a perfect 90-degree angle. Pre-drill pilot holes through the board into the post to prevent splitting the wood, then drive in 2-inch screws to secure the joint. Repeat this process to create a second L-shape at the opposite corner. This method ensures accurate alignment before final assembly.
Join Corners into a Rectangle for a Level Base
Place the two L-shaped sections parallel to each other. Insert the remaining two posts to complete the rectangular frame. Clamp each board to its post, verify alignment with the speed square, pre-drill, and screw. Work slowly and check for levelness at every connection—any wobble now will compromise the entire structure later.
Add the Second Row of Boards for Proper Height

Lock in Tongue-and-Groove Boards for Easy Stacking
Slide the second row of 1×6 cedar boards into place using the tongue-and-groove system. The lower board’s tongue fits into the upper board’s groove, creating a self-aligning stack that holds boards in position without clamps. This design speeds up installation and ensures consistent alignment around all four sides.
Screw Boards into Posts Only to Allow Wood Movement
Pre-drill through the second-row boards into the 4×4 posts, then secure with 2-inch screws. Do not screw the boards to each other—only into the posts. This allows the wood to expand and contract with moisture and temperature changes, preventing warping or splitting over time. Continue around all four sides until the full height (typically two rows) is complete.
Strengthen the Bottom Structure for Longevity
Attach the Base Support Board to Prevent Sagging
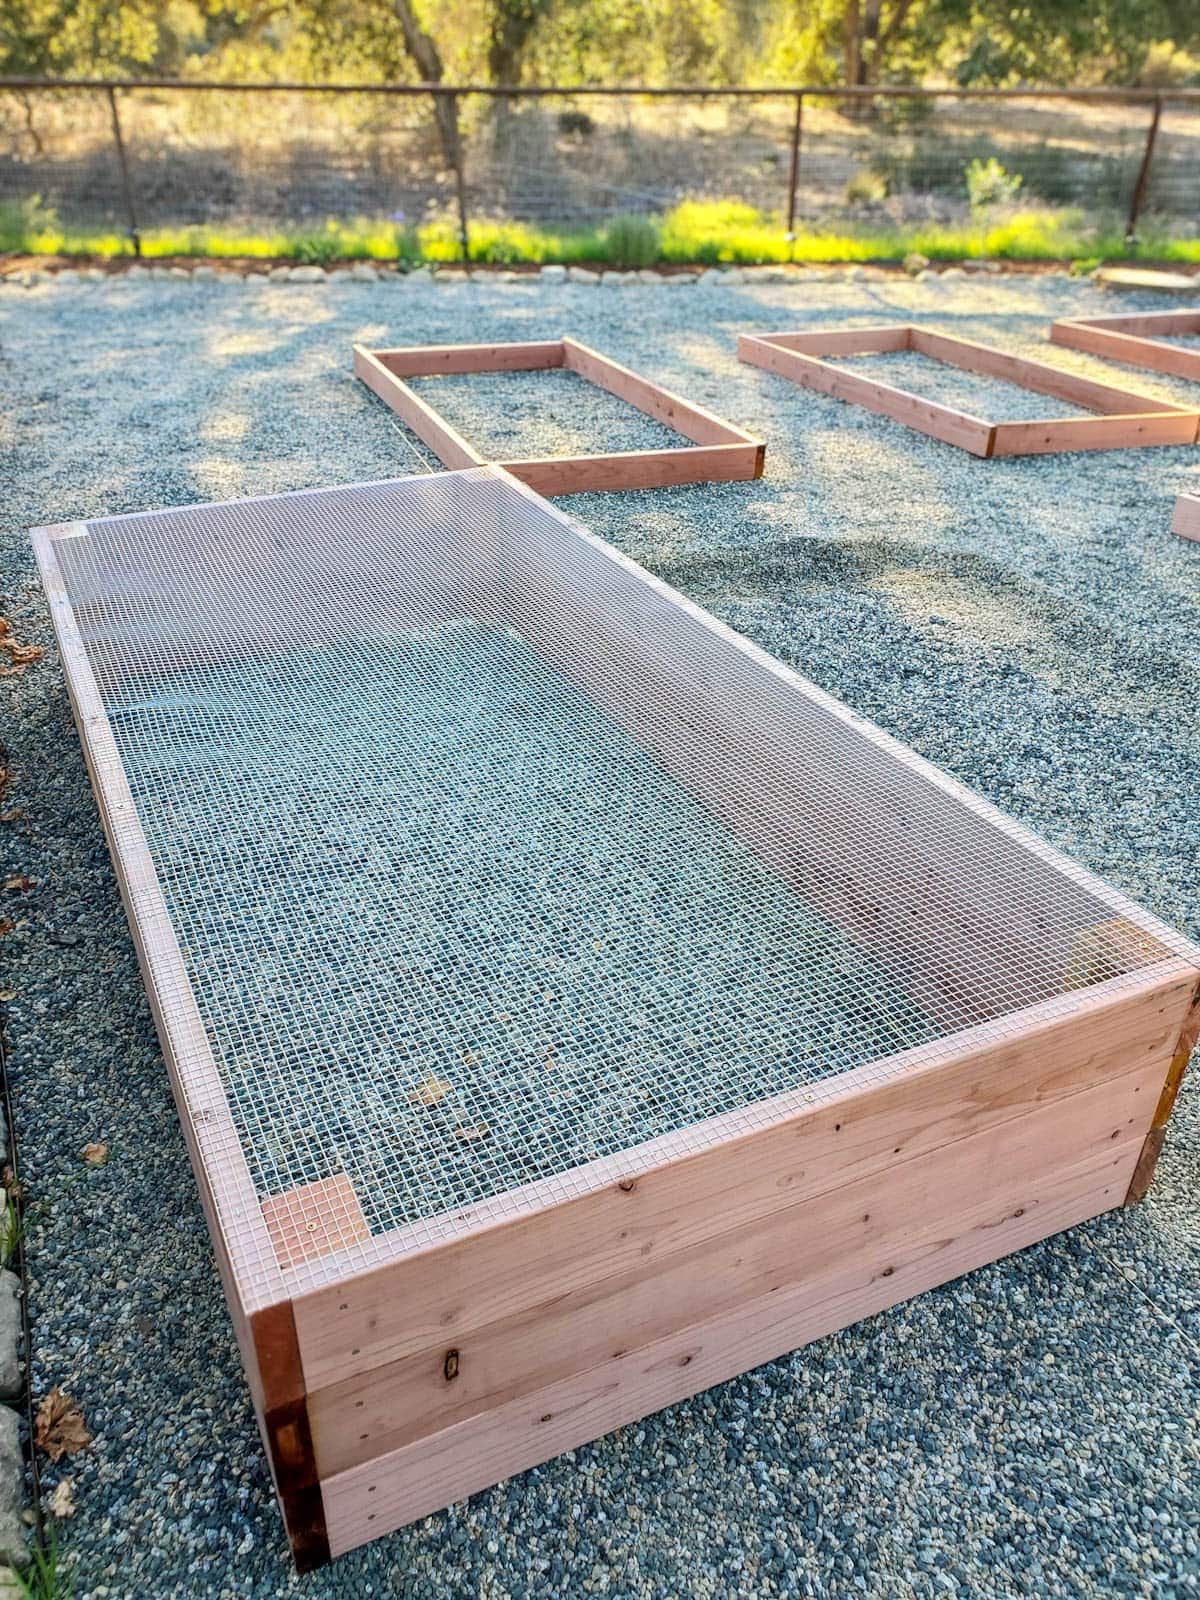
Install a 1×4 board horizontally along the inside bottom edge of the frame, running between the posts. This adds rigidity and supports the weight of the soil. Screw it in place from the outside, ensuring it’s level and flush with the bottom of the side boards. This shelf will hold the wire mesh and landscape fabric securely.
Install Steel Wire Mesh to Stop Soil Loss
Cut 1/4-inch steel wire fencing to match the interior dimensions of the box. This mesh prevents soil from washing out while allowing water to drain freely. Lay it flat across the bottom and staple it tightly to the 1×4 support board using a staple gun. Pull the mesh taut as you go and staple every 2–3 inches to prevent sagging and ensure full coverage.
Line the Base for Optimal Drainage and Soil Retention
Apply Landscape Fabric to Prevent Clogging
Place landscape fabric over the entire wire mesh, extending it 4–6 inches up the inside walls of the box. This stops fine soil particles from clogging the mesh while letting water pass through. Always place the soil on top of the fabric—never underneath—to maintain efficient drainage and prevent waterlogging.
Trim Excess Fabric for a Clean Finish
Use scissors to cut away any overlapping or loose edges. Tuck the upper portion neatly against the sides so it doesn’t interfere with planting. Avoid puncturing the fabric during later use, as tears can lead to soil loss and reduced drainage performance.
Fill With Proper Soil Mix for Healthy Plant Growth
Start With Quality Potting Mix for Best Results
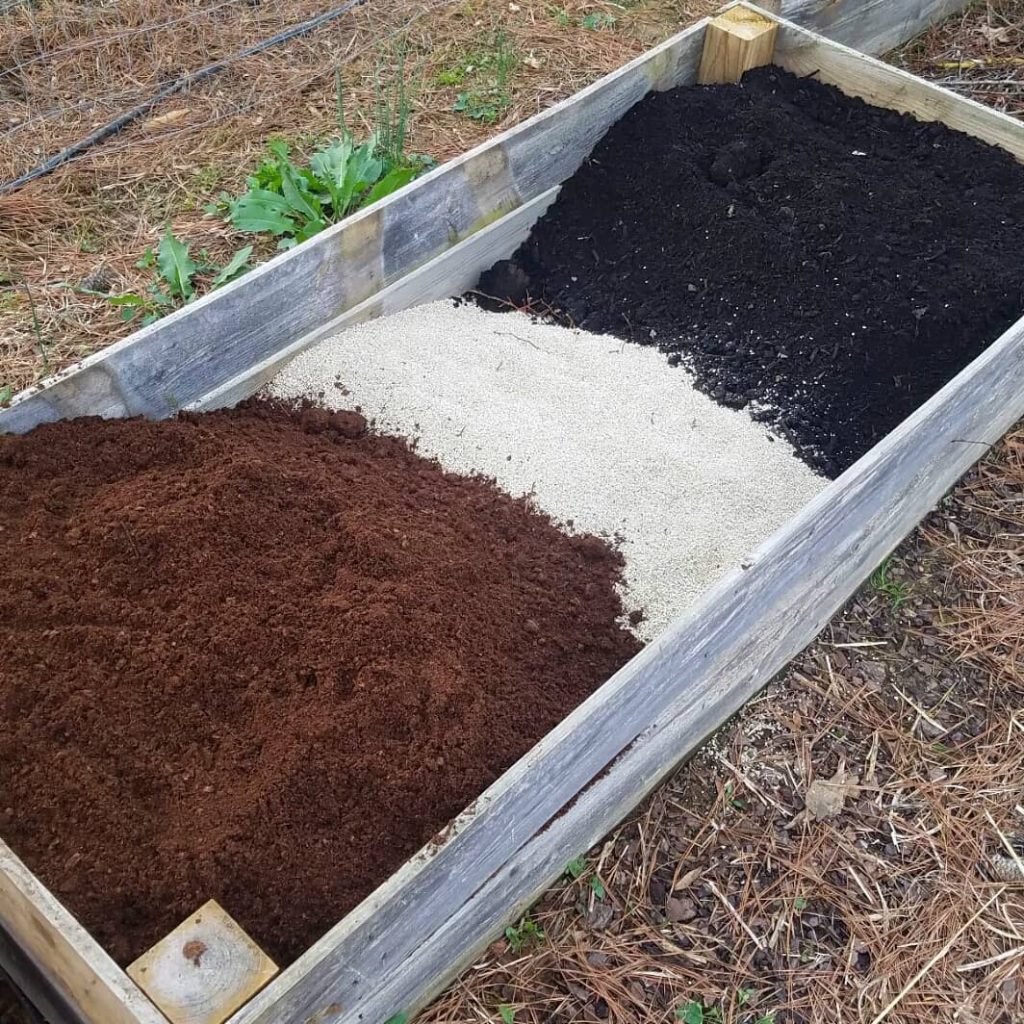
Use high-quality potting soil—not garden soil or topsoil. Begin with two full bags for a standard 4×2-foot box; three bags may be excessive unless building a taller bed. Pour the mix directly onto the landscape fabric. Fluff and level it with your hands or a small rake. Potting mix provides the right balance of aeration, nutrients, and moisture retention.
Avoid Soil Compaction to Support Root Development
Do not pack the soil down. Loose, aerated soil allows roots to spread easily and water to drain properly. Leave about 1–2 inches of space below the top edge to prevent spillage when watering. Compacted soil restricts root growth and increases the risk of root rot.
Plant Suitable Crops for Maximum Yield
Grow Leafy Greens and Herbs in Shallow Soil
Fill your garden box with fast-growing, shallow-rooted plants like lettuce, spinach, kale, and arugula. These thrive in the warm, well-drained environment of an elevated bed. Add culinary herbs such as basil, thyme, parsley, and cilantro—they benefit from good air circulation and easy access for harvesting.
Add Flowers for Pollinators and Pest Control
Include marigolds, nasturtiums, or pansies to attract pollinators and deter pests. Their roots stay relatively shallow, making them perfect for container-style gardening. Mix colors and textures for visual appeal and companion planting benefits.
Maintain Long-Term Performance for Years of Use
Inspect Posts Annually to Prevent Structural Failure
Check the Douglas fir legs each year for soft spots, cracks, or rot—especially where they meet the ground. Replace them promptly if damaged. Doing so extends the life of the entire structure and prevents collapse under soil weight.
Refresh Soil Each Season to Restore Nutrients
Top off or replace soil annually to replenish nutrients. Over time, organic matter breaks down and compacts. Adding compost or a fresh layer of potting mix boosts fertility for the next planting cycle.
Monitor Screws and Joints for Stability
Tighten loose screws and re-staple any lifted mesh sections. Wind, watering, and soil pressure can shift components over time. A quick inspection every few months keeps your garden box in top shape.
Enjoy the Benefits of Elevated Gardening
Reduce Back Strain and Increase Accessibility
A raised garden box eliminates the need to bend or kneel. This makes gardening possible for people with mobility issues, older adults, or anyone seeking comfort. Wheelchair users can roll right up to the edge for easy tending and harvesting.
Deter Pests and Weeds Naturally
Elevating the bed discourages slugs, snails, and burrowing rodents. You also avoid weed seeds and compacted soil from existing ground layers. With clean potting mix and fabric lining, your garden starts weed-free and stays cleaner longer.
Improve Drainage and Warmth for Faster Growth
Raised beds drain faster than in-ground plots, preventing root rot. The soil also warms earlier in spring, giving you a longer growing season. This is especially helpful in cooler climates where early planting is limited.
Customize and Expand Your Garden Box Design
Build Multiple Boxes for Crop Rotation
Create additional garden boxes to separate plant families and rotate crops seasonally. This prevents nutrient depletion and reduces disease buildup. Place them side by side for a modular garden system.
Adapt Size for Space Constraints
Modify dimensions to fit tight areas. A 2×2-foot box fits most balconies. Use shorter legs (18 inches) for seating-height planters or taller ones (36 inches) for stand-up gardening. Adjust materials accordingly—smaller boxes need fewer boards and less soil.
Paint or Stain for Style (Optional)
While cedar ages beautifully to a silver-gray patina, you can stain it to preserve its original color. Use non-toxic, outdoor-safe finishes if growing edibles. Avoid painting the interior to prevent chemical leaching into the soil.
Frequently Asked Questions About Building a Garden Box
What is the best wood for a garden box?
Cedar is the best choice because it’s naturally rot-resistant, safe for edibles, and long-lasting. Douglas fir is suitable for support posts but will need replacement every few years due to ground contact.
How high should a garden box be?
A height of 24 to 36 inches is ideal for reducing back strain and improving accessibility. For children or seated gardeners, 18 inches works well. Taller boxes require stronger support and more soil.
Do I need drainage holes in a garden box?
Yes—drainage is critical. The combination of steel wire mesh and landscape fabric at the base allows water to escape while retaining soil. Never block the bottom or use solid materials that prevent drainage.
Can I place a garden box on concrete or a balcony?
Yes. Garden boxes are perfect for hard surfaces like patios, driveways, or balconies. Just ensure the area gets at least 6 hours of sunlight and has safe weight capacity for soil and water.
How often should I replace the soil?
Refresh the soil annually by adding compost or a fresh layer of potting mix. Full replacement may be needed every 3–5 years, depending on plant density and soil compaction.
Can I grow vegetables in a garden box?
Absolutely. Leafy greens, herbs, tomatoes, peppers, and root vegetables like radishes grow well in garden boxes. Just ensure proper depth—deeper-rooted plants need taller beds.
Key Takeaways for Building a Successful Garden Box
Building a garden box gives you control over soil quality, reduces physical strain, and maximizes small spaces. By using rot-resistant cedar, reinforcing the base, and layering wire mesh with landscape fabric, you ensure durability and proper drainage. Fill with quality potting mix, plant suitable crops, and inspect annually to keep your bed performing well.
Now that you know how to create a garden box, gather your materials and start building. In just a few hours, you’ll have a functional, attractive planter ready for planting—perfect for growing fresh food and beautifying your space.



