You’ve turned off the spigot and twisted the hose—only to find it won’t budge. A stuck garden hose isn’t just frustrating; it can damage your faucet, lead to leaks, or even require costly plumbing repairs if mishandled. The culprit is usually rust, mineral buildup, or over-tightening that fuses the brass fitting to the spigot threads. The good news? With the right tools and techniques, you can safely free the connection without harming your outdoor water system. This guide walks you through proven methods—from gentle penetrating oils to precise cutting techniques—so you can remove a seized hose efficiently and prevent it from happening again.
You’ll learn how to apply lubricants correctly, use leverage without breaking the spigot, and when to switch to cutting. We’ll also cover how to clean the threads, install a new hose end, and adopt simple habits that keep your connections smooth for years. Whether you’re dealing with a minor bind or a fully seized fitting, this step-by-step approach ensures you protect your faucet and get back to watering your garden fast.
Break the Bond with Penetrating Oil
When your garden hose won’t twist free, start with the least destructive method: chemical penetration. Corrosion and mineral deposits often weld the brass fitting to the spigot, but a quality penetrating oil can dissolve those bonds safely.
Apply PB Blaster or Similar Lubricant
Spray PB Blaster generously around the seam where the hose end meets the spigot. Focus on the joint so the liquid seeps into the threads. Let it sit for 5–10 minutes to penetrate deep into the corrosion.
Pro Tip: Angle the nozzle slightly downward so the oil flows into the connection, not just over the surface.
Use Locking Pliers for Controlled Force
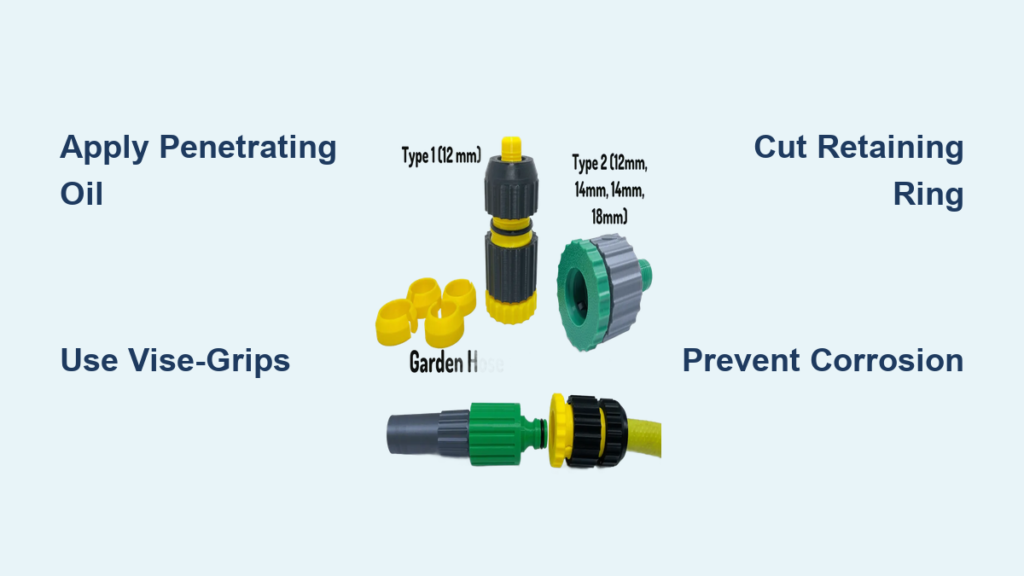
After the oil soaks in, grip the hose connector with locking pliers (Vise-Grips). The lock mechanism prevents slippage and reduces hand strain. Turn counterclockwise to loosen.
Critical: Have a helper hold the faucet body steady. If the entire spigot rotates, you risk cracking the pipe behind the wall.
Add Leverage if Needed
If resistance remains, slide a 2-foot metal pipe over the plier handles. This extension increases torque, helping break the bond with less physical effort. You’ll often feel a sudden release when the rust gives way.
Note: WD-40 is not a substitute for penetrating oil. It displaces moisture but doesn’t cut through heavy rust like PB Blaster.
Try Heat to Loosen Metal Fittings

If oil fails, heat can break the bond by expanding the metal. This method works well on severely corroded connections where rust has fused the parts.
Heat the Connection Safely
Use a butane torch or heat gun to warm the metal fitting for 30–60 seconds. Focus on the base of the hose connector. Avoid overheating—just enough to expand the metal slightly.
Warning: If you used WD-40 or any flammable lubricant, rinse it off first. Residue can ignite under open flame.
Remove Immediately After Heating
While the metal is still warm, use an adjustable wrench to turn the fitting counterclockwise. Apply steady pressure. Avoid pliers that can crush the nut, making future removal harder.
Pro Tip: Heat works best after oil application. Thermal expansion helps the lubricant penetrate deeper.
Fall Back to Cutting If Heat Fails
If the hose still won’t budge, move to mechanical removal. Heat may have weakened the bond, but cutting is now your most reliable option.
Cut the Hose at a 45° Angle

When chemical and thermal methods fail, a precise angled cut gives you leverage to pry the fitting loose—without damaging the spigot threads.
Make a Strategic Angled Cut
Position your hacksaw just behind the stuck fitting. Cut at a 45° angle, angling away from the spigot. Cut deep enough to expose the full depth of the threads.
Critical: Never cut parallel to the threads. That risks nicking the spigot and ruining the connection.
Pry Open the Gap with a Screwdriver
Insert a flathead screwdriver into the angled cut. Rock it gently to widen the gap. This motion breaks the seal and starts to unscrew the fitting.
Warning: Don’t force it. If the screwdriver slips, you could scratch the spigot. Recheck your cut depth if progress stalls.
Unscrew with Pliers
Once the fitting moves, grip it with tongue and groove pliers and turn counterclockwise. It should unscrew smoothly. Remove the entire hose end from the spigot.
Note: This method destroys the hose end. Plan to replace it.
Remove the Outer Ring to Free the Hose
If you want to preserve the spigot and don’t need the old hose end, cutting the retaining ring is a smart alternative. This method leaves the faucet untouched.
Cut the Metal Retaining Ring
Use a hacksaw to make a single, straight cut through the outer metal ring that holds the hose to the spigot. Keep the blade parallel to the faucet and cut only the ring—not the spigot threads.
Pro Tip: A Dremel tool with a cutoff wheel works well in tight spaces.
Break the Ring with a Screwdriver
Slide a flathead screwdriver into the cut. Twist gently to pop the ring open. Once broken, the ring loses its clamping force.
Pull the Hose Off
With the ring broken, the hose should slide right off. Use pliers to twist and pull if needed. No excessive force required.
Note: This method works best when the hose itself is the issue—not the internal threads.
Clean and Prepare the Spigot Threads

After removal, the spigot threads are likely caked with rust, calcium, or old tape. Cleaning them properly ensures a leak-free reconnection.
Scrape Off Debris
Use a wire brush or flathead screwdriver to remove all buildup from the threads. Work gently to avoid gouging the metal.
Check: Run your finger along the threads. They should feel smooth, not rough or jagged.
Inspect for Damage
Look for signs of stripped, bent, or missing threads. Minor wear is normal, but if more than 30% of the threads are damaged, consider replacing the spigot.
Pro Tip: Shine a flashlight at an angle to spot hidden corrosion.
Apply Teflon Tape Correctly
Wrap 3–4 layers of Teflon tape clockwise around the threads (same direction as tightening). This prevents leaks and reduces friction for easier future removal.
Warning: Never apply tape to the hose end—only the spigot.
Replace the Hose End Properly
A damaged or corroded hose end should be replaced, not reused. Installing a new fitting ensures a secure, leak-free connection.
Cut the Hose Clean
Use a utility knife or hacksaw to make a straight, perpendicular cut on the hose. Remove any frayed edges.
Note: Leave 1–2 inches of hose for the new fitting.
Insert the New Brass Connector
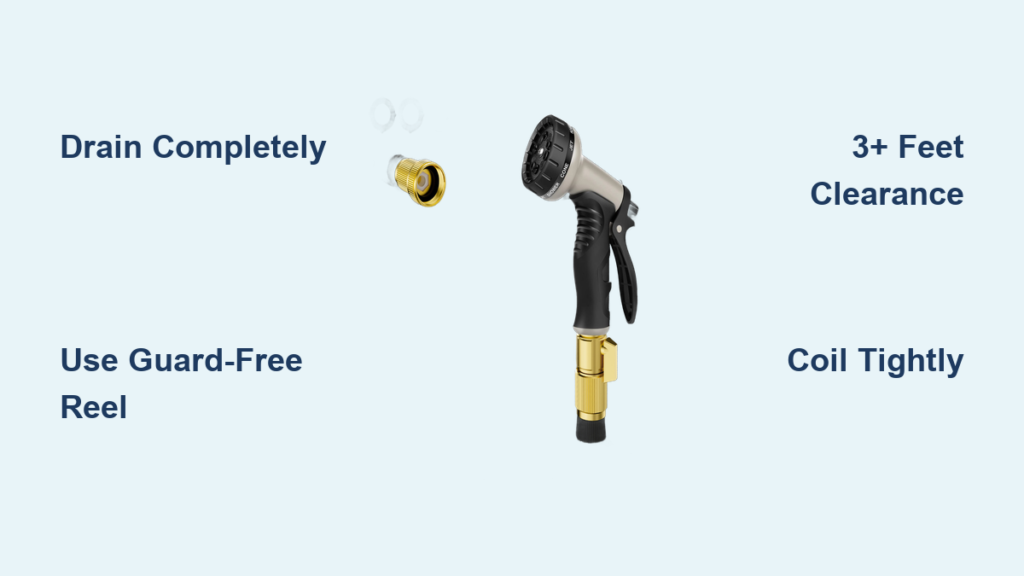
Push the brass female fitting into the hose end until it’s fully seated. Slide the compression nut over the hose and thread it onto the fitting.
Pro Tip: Dip the fitting in water to reduce friction during insertion.
Attach to the Spigot
Screw the new fitting onto the spigot by hand first. Once snug, give it a quarter-turn with pliers—no more. Over-tightening causes future seizing.
Check: Turn on the water to test for leaks. If it drips, tighten slightly or add another wrap of tape.
Prevent Future Hose Seizing
Avoid repeat issues with simple seasonal habits and maintenance. A few minutes of care can save hours of struggle later.
Disconnect Before Winter
Always remove hoses before freezing temperatures. Trapped water expands and damages both hose and spigot.
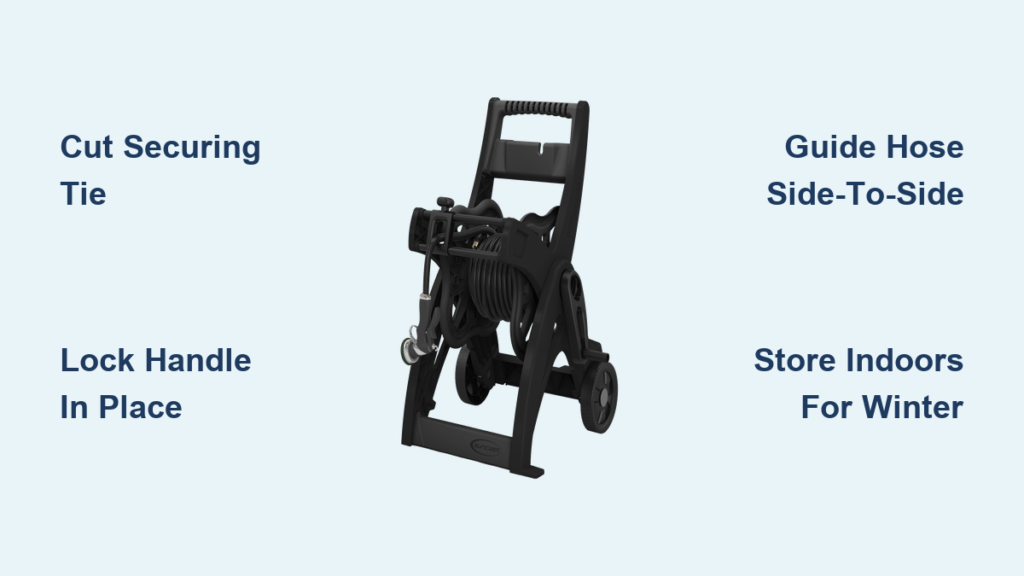
Pro Tip: Store hoses indoors or in a garage to extend their life.
Use Silicone Lubricant Regularly
Apply a silicone-based lubricant to the spigot threads every few months. It protects against rust and keeps connections smooth.
Avoid WD-40 on rubber—it degrades rubber O-rings and seals.
Install a Hose Bib Cover
In cold climates, use an insulating cap to protect the spigot from freezing and debris.
Choose Quality Fittings
Invest in solid brass hose ends instead of cheap zinc or aluminum. They resist corrosion and last years longer.
Warning: Never overtighten. Hand-tight is enough—plumbing tape does the sealing, not brute force.
Troubleshoot Common Post-Removal Issues
Even after successful removal, problems can arise. Here’s how to fix them fast.
Faucet Leaks After Reattachment
Cause: Too little or misapplied Teflon tape.
Fix: Remove the hose, clean the threads, and rewrap with 3–4 fresh layers of tape, clockwise.
Hose Won’t Screw On
Cause: Cross-threading or debris in the threads.
Fix: Start by hand, aligning the fitting straight. If it binds, remove and clean both parts.
Corrosion Returns Quickly
Cause: Lack of maintenance or poor-quality parts.
Fix: Switch to brass fittings, apply silicone lube seasonally, and disconnect during winter.
Spigot Turns with the Hose
Cause: The mounting nut behind the wall is loose.
Fix: Have a helper hold the spigot body while you unscrew the hose. Consider tightening the internal nut if this happens often.
Frequently Asked Questions About Removing a Stuck Garden Hose
Why won’t my garden hose come off the spigot?
Mineral buildup, rust, or over-tightening can fuse the hose fitting to the spigot threads. Penetrating oil, heat, or cutting methods can free it safely.
Can I use WD-40 to remove a stuck garden hose?
WD-40 can help with light corrosion, but it’s not a true penetrating oil. For heavy rust, use PB Blaster instead. Never use WD-40 on rubber parts—it degrades seals.
How do I remove a hose without damaging the spigot?
Start with penetrating oil and leverage. If cutting is needed, use a 45° angle cut or slice the retaining ring—never cut parallel to the threads.
Should I replace the hose end after removal?
Yes. Reusing a corroded or damaged fitting increases the risk of future seizing. Install a new brass connector for a reliable seal.
How can I prevent my garden hose from getting stuck again?
Disconnect before winter, apply silicone lubricant to threads, use Teflon tape, and avoid overtightening. Store hoses indoors to prevent freezing and corrosion.
What tools do I need to remove a stuck garden hose?
Essential tools include PB Blaster, locking pliers, a hacksaw, flathead screwdriver, wire brush, and Teflon tape. A helper is crucial for stabilizing the spigot.
Key Takeaways for Removing a Stuck Garden Hose
Start with penetrating oil like PB Blaster and allow time for it to work. Use locking pliers with leverage and always have a helper stabilize the faucet. If that fails, apply gentle heat to expand the metal before attempting to turn it. Resort to cutting methods only when necessary—use a 45° angle cut or slice the retaining ring to preserve the spigot. After removal, clean the threads, inspect for damage, and apply 3–4 layers of Teflon tape before attaching a new brass fitting. Prevent future issues by disconnecting hoses in winter, using silicone lubricant, and avoiding cheap fittings. Keep this guide handy for your next outdoor maintenance session.