A garden path does more than connect two points—it transforms your landscape into an inviting journey. Knowing how to make a garden path the right way ensures it’s durable, functional, and beautiful for years. Whether you’re walking to a vegetable bed or strolling through fragrant herbs at dusk, a well-built path protects your soil, guides foot traffic, and enhances your garden’s flow. This guide walks you through every step: planning the route, choosing materials, installing edging, building a stable base, and finishing with professional results. You’ll learn how to avoid common mistakes like sinking paths, weed invasions, and tripping hazards—plus smart upgrades like future-proofing for lighting. With clear, actionable steps based on proven techniques, you’ll create a path that feels like it’s always belonged.
Plan Path Purpose and Width
Define How the Path Will Be Used
Before digging, ask: What will this path carry? A narrow trail for evening walks needs different planning than one used for wheelbarrows full of compost. If you’re moving tools or heavy loads, the path must support equipment. A 24-inch-wide walkway works for one person, but if a wheelbarrow will pass through, aim for at least 30 inches—ideally 3.5 to 4 feet. Wider paths (48 inches or more) allow two people to walk side by side and improve accessibility for wheelchairs or walkers. Think ahead: Will you add benches, planters, or lighting later? Planning now prevents costly changes down the road. Consider how the path connects key areas—is it linking your back door to a shed, guiding visitors to a seating area, or framing a view? These details shape the best route and structure.
Choose the Right Path Width
Width affects both usability and garden feel. Too narrow, and the path feels cramped. Too wide, and it dominates the space. For most home gardens, 42 inches (3.5 feet) is ideal. It’s wide enough for comfortable walking and light equipment, yet narrow enough to maintain an intimate, garden-like atmosphere. Use this standard unless your needs differ. For pure pedestrian use, 24–30 inches is sufficient. For wheelbarrow access, never go below 30 inches—36 inches is safer. If the path serves as a main garden artery or must meet accessibility standards, go 48 inches or wider. When planning curves, ensure the inside radius isn’t too tight—allow at least 2 feet of clearance so mowers or carts can turn smoothly. Remember: the width includes the entire walking surface, not just the infill. Edging will define the final boundary, so factor that in during layout.
Layout the Path Route
Mark the Centerline First
Start by marking the centerline of your path. This gives you a clear guide for the overall route before defining the edges. Use a garden hose, string line, or flexible landscaping tape to lay out the shape on the ground. For a natural look, use soft, sweeping curves that follow the yard’s contours. Avoid sharp angles—they look out of place in most gardens and can create tripping hazards or erosion spots. Once the centerline feels right, mark both edges. Use landscape marking paint for visibility. Wet the ground first—damp soil helps the paint adhere and stay visible during construction. This simple step prevents fading and smudging. Keep the path aligned with key features: a door, a gate, or a focal point like a birdbath or tree. Step back often to view the layout from different angles. Does it guide the eye where you want? Does it feel balanced? Adjust as needed before finalizing.
Add Planter Strips for Soft Edges
For a more integrated look, add a 2-foot-wide planter strip along one or both sides of the path. This softens the hard edge of the walking surface and creates space for planting. Use the strip for low-growing ground covers, fragrant herbs like thyme or lavender, or seasonal flowers that spill gently onto the path. The plants blur the boundary between hardscape and garden, making the path feel like part of the landscape. Planter strips also serve a practical purpose: they provide room for future expansion. If you later decide to widen the path or add lighting, you won’t need to dig up established plants. They also help with drainage by absorbing excess water. When marking the layout, include the planter strip in your total footprint. This means a 42-inch path with two 2-foot planter strips needs a total cleared width of 8.5 feet.
Prepare the Site
Clear Vegetation and Debris
Once the layout is set, clear the entire path area. Remove all grass, sod, mulch, roots, and organic debris from the full width of the path and edging zones. Don’t just cut the grass—dig it out. Leftover vegetation will decompose, causing the path to sink over time. Use a flat shovel or sod cutter for large areas. For weeds with deep roots, a digging fork helps pull them out completely. Clear beyond the walking surface to include edging and planter areas. If landscape fabric was previously installed, remove it—old fabric can interfere with drainage and new construction. This step ensures a clean, stable base. Skipping it leads to uneven settling and weed growth later. Work systematically from one end to the other, piling debris for composting or disposal.
Locate Underground Utilities
Never skip this step. Before any digging, call your local utility locator service (like 811 in the U.S.) to mark underground lines. Hitting a gas line, water pipe, or electrical cable can be dangerous and expensive. Even if you think the path is clear, utilities can run in unexpected places. Marked lines include gas, electric, water, sewer, and communication cables. Wait for professionals to respond—don’t guess. Once lines are marked, plan your path to avoid them. If the route must cross a utility, dig carefully by hand and maintain a safe distance. This precaution protects you, your property, and your neighbors. It’s a small delay that prevents major problems.
Excavate to Proper Depth
Dig 6 Inches for Decomposed Granite
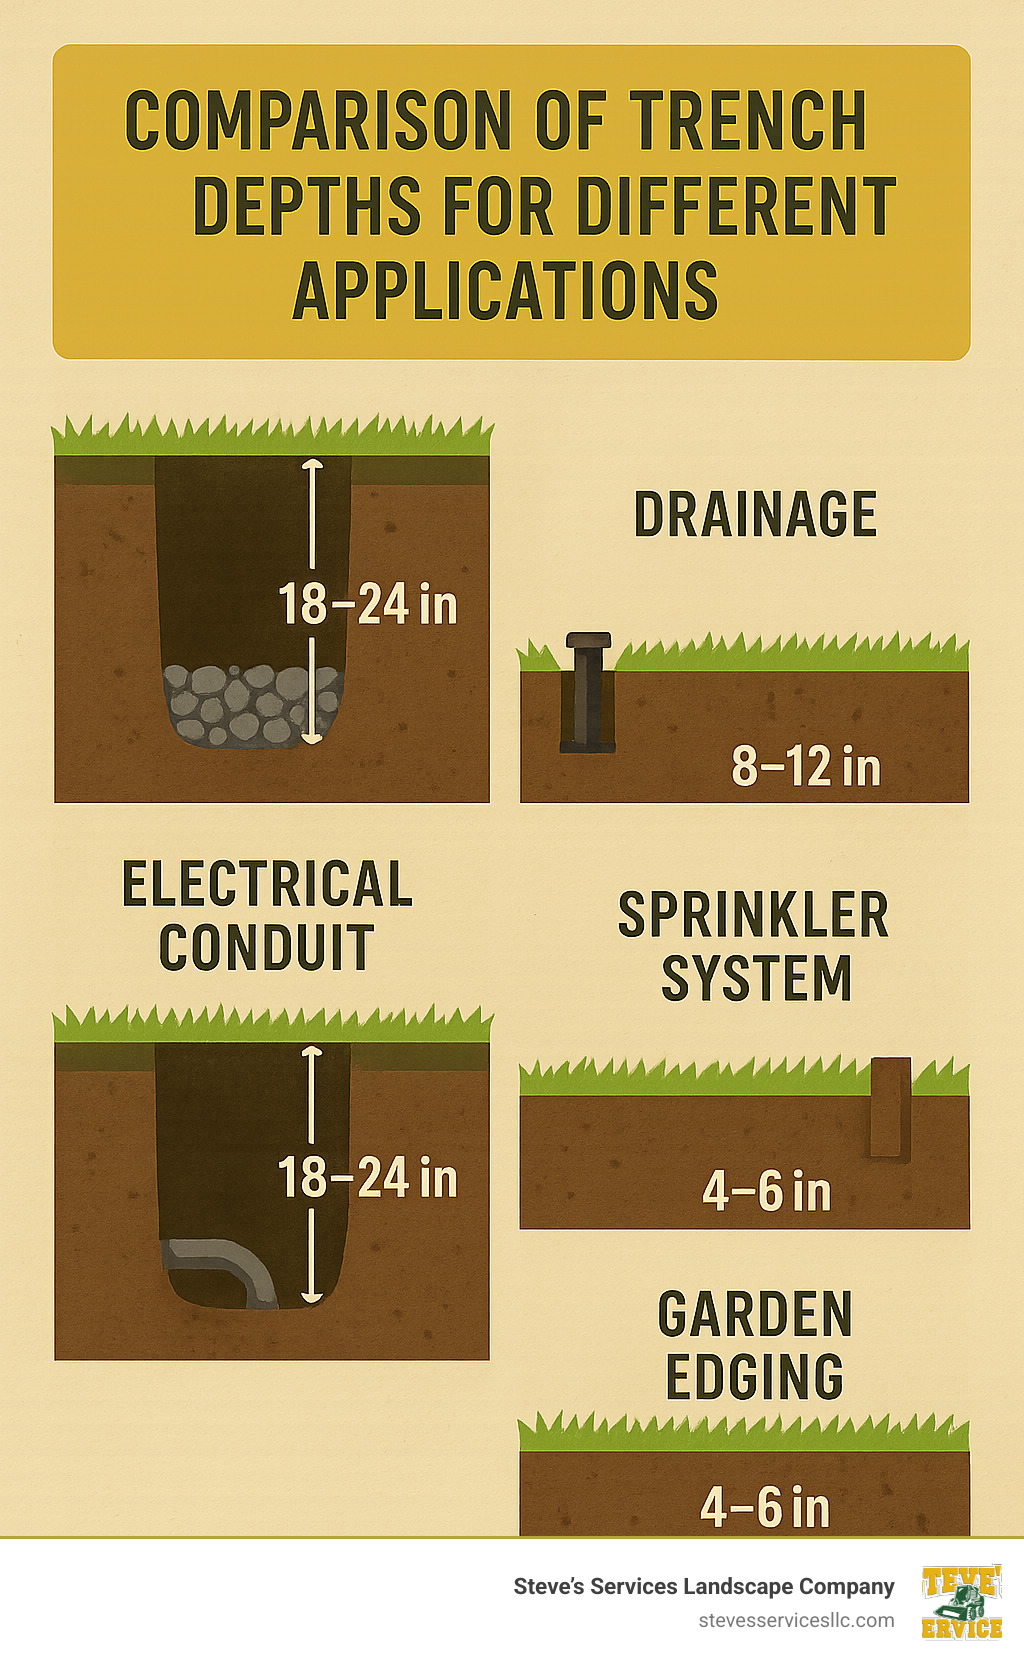
For decomposed granite (DG) paths, excavate to a total depth of 6 inches. This allows space for a 3-inch base layer and a 2–3 inch DG surface. Use a flat-edged spade to cut clean edges along the marked lines. Remove soil evenly across the width. Keep the bottom as level as possible. If the ground slopes, fill low spots with excess soil from higher areas. A slight crown (higher in the center) helps shed water on wide paths. For transitions to patios or flagstone landings, lower the soil by 3 inches to account for the final surface height. This ensures a flush, trip-free connection. Set aside excavated soil for use in planter strips or elsewhere in the garden. Avoid piling it on the path area—this can compact the base.
Dig 4 Inches for Gravel Paths
Gravel paths require less depth—4 inches is standard. This depth supports a stable gravel layer without over-excavating. Level the base carefully during digging. Uneven spots lead to thin areas where gravel wears down quickly. Use a rake to smooth the surface, then tamp lightly by foot or with a hand tamper. If the soil is soft or clay-heavy, consider adding extra base material for stability. For paths with pavers, the 4-inch depth includes space for the pavers and gravel fill. Ensure the trench is wide enough to accommodate edging on both sides. Check depth frequently with a measuring stick or ruler. Consistency is key—variations cause uneven wear and settling.
Install Durable Edging

Choose the Right Edging Material
Edging keeps infill material in place and defines the path’s look. Avoid cheap black plastic—it cracks, pulls up, and fails within a few years. Instead, choose from these proven options:
- Natural stone: Blends beautifully with gardens, lasts decades, and resists shifting. Ideal for cottage or woodland styles.
- Brick: Offers a formal, structured look. Use in running bond or soldier course patterns.
- Cedar 2x4s: Rustic and affordable. Cut to length and secure with bolts.
- Composite: Low-maintenance and modern. Mimics wood or stone.
- Railroad ties: Heavy-duty for high-traffic zones. Use food-safe alternatives near vegetable gardens.
Match the edging to your home and garden style. A brick path with brick edging feels cohesive. A DG path with stone edging looks natural.
Set Stone Edging Correctly
For natural stone, lay pieces with the flat side facing inward toward the path. This creates a smooth edge and prevents tripping. Fit stones together like puzzle pieces—interlocking joints resist movement. Press each stone into the soil so the top is level with the surrounding ground. Use a rubber mallet to seat them firmly. For curves, use smaller stones or split larger ones for better fit. Fill gaps between stones with small gravel or soil. Backfill behind the edging with soil to lock it in place. This prevents lateral pressure from pushing stones outward over time.
Secure Cedar 2×4 Edging
For cedar wood edging, cut 2×4 boards to match the path length. Install them along the trench edges, flush with the ground surface. Secure with bolts driven through the wood into the soil. For extra stability, attach the boards to rebar stakes or use landscape spikes. This prevents shifting from foot traffic or frost heave. Allow slight gaps between boards for expansion. Cedar weathers to a silver-gray patina and lasts 5–10 years with no treatment. For longer life, apply a natural wood sealant every few years.
Install a Sleeve for Future Utilities
Add a PVC sleeve or conduit during edging installation. Place a 1–2 inch pipe beneath the path, running the full length or to key areas. Cap both ends to keep out dirt. This allows you to run low-voltage lighting or irrigation lines later—without digging up the path. It’s a five-minute step that saves hours of work down the road. Mark the sleeve location on your landscape plan. This future-proofing is especially useful for long or remote paths where access is limited.
Build a Stable Base
Add 3 Inches of Class 2 Base
For DG paths, spread a 3-inch layer of Class 2 base—crushed 3/4-inch rock with fines (small particles that help bind the material). This layer provides drainage, prevents frost heave, and supports the surface. Use a rake to spread evenly. Then, compact thoroughly with a plate compactor. Lightly moisten the base before compaction—damp material locks together better than dry. Make multiple passes for full density. Check for level and adjust by adding or removing material. A solid base prevents sinking and extends the path’s life. Skip this step, and your path will develop ruts and potholes within a season.
Lay Landscape Fabric for Gravel
For gravel paths, install landscape fabric over the leveled trench. This blocks weeds while allowing water to drain. Extend the fabric up the sides of the trench to prevent edge weeds. Overlap seams by 6–12 inches to stop weeds from sneaking through. Secure edges temporarily with landscape staples or rocks. Do not use fabric under DG unless weed pressure is severe—some gardeners prefer direct soil contact for better compaction. If used, ensure the fabric is well-anchored to prevent shifting during infill. Fabric is a small cost that pays off in reduced maintenance.
Install the Infill Material

Spread and Level Decomposed Granite
Pour decomposed granite over the compacted base. Natural DG is affordable and DIY-friendly; stabilized DG (mixed with polymer or psyllium) is firmer but avoid it in wet climates—it can become slippery. Spread DG to a depth of 2–3 inches. Use a 2×4 board as a screed—drag it across the path to level the surface and remove excess. Work in sections for long paths. Keep the DG slightly above the edging at first—compaction will lower it. For a smooth finish, mist the surface with water to help the material settle. Let it sit for a day before final compaction.
Fill Gravel Between Pavers
For gravel paths with pavers, place concrete or base pavers over the fabric-lined trench. Use a level to ensure they’re flat. Adjust height by adding or removing base material underneath. Space pavers evenly—typically 6–12 inches apart—for gravel infill. Then, fill the gaps with angular gravel—it locks together better than rounded pea gravel. Fill to just below the top of the edging to prevent spillage. Angular gravel stays in place underfoot. Rounded gravel shifts and is best for decorative borders, not walking surfaces.
Create Seamless Transitions
Install Flagstone Landings
At key points—like a patio entrance or greenhouse door—add flagstone landings. Lay a 2–3 inch base of compacted DG in the landing area. Set flagstones individually, using a level to ensure they’re flat. Adjust height by adding or removing DG beneath. Fill gaps between stones with DG and tamp firmly. Grade the path up to meet the flagstone surface—no step should exist. This creates a smooth, safe transition. Flagstone adds visual interest and durability at high-traffic junctions.
Compact and Finish
Tamp the Surface Thoroughly
Final compaction is critical. Use a plate compactor for large areas or a hand tamper for small paths. Compact the DG or gravel after initial settling. Repeat after rain or heavy use. Proper tamping locks particles together, prevents washout, and creates a firm walking surface. On DG paths, light watering before compaction helps bind the material. Avoid overwatering—this can cause erosion. Let the path cure for a few days before regular use.
Check for Gaps and Levelness
After compaction, inspect the entire path. Ensure:
– No gaps between gravel and edging
– All pavers are level
– Surface is even and stable
– Transitions to hardscapes are flush
– Drainage directs water away
Top off low spots with additional material and recompact. A well-finished path feels solid underfoot and looks intentional.
Maintain the Path Long-Term
Keep Extra Material on Hand
Store a 5-gallon bucket of extra DG or gravel in a dry place. High-traffic areas and rain events can displace material. Having touch-up material ready makes repairs quick. Add it to low spots, then tamp. Annual maintenance is minimal—rake gravel to redistribute, pull weeds, and top off as needed. A properly built path improves with age, becoming firmer and more integrated.
Address Issues Promptly
If you notice washout, sinking, or edging failure, fix it early. Replenish material, improve compaction, or reinforce edging. For persistent weeds, check landscape fabric integrity. In wet climates, avoid stabilized DG—opt for gravel or natural DG instead. With basic care, your garden path will remain functional and beautiful for years.
Frequently Asked Questions About Garden Paths
What is the best width for a garden path?
A 42-inch (3.5-foot) width is ideal for most residential gardens. It allows comfortable walking, fits wheelbarrows, and maintains an intimate feel. For single-person use, 24–30 inches is sufficient. For accessibility or two-way traffic, go 48 inches or wider.
Can I build a garden path without edging?
You can, but it’s not recommended. Without edging, gravel or DG will spread into the lawn, weeds will invade, and the path will lose its defined shape. Durable edging like stone or cedar keeps the path neat and reduces long-term maintenance.
How deep should I dig for a gravel path?
Dig to a depth of 4 inches for a standard gravel path. This allows room for a stable gravel layer and proper drainage. If using pavers, include space for them and the gravel infill. Always level the base to prevent thin spots and uneven wear.
Is decomposed granite better than gravel?
It depends on your needs. Decomposed granite compacts into a firm, natural-looking surface and works well in dry climates. Gravel is more permeable and less prone to compaction issues. Avoid stabilized DG in wet areas—it can become slippery. Natural DG is cheaper and easier to repair.
How do I stop weeds from growing in my garden path?
Install landscape fabric under gravel paths and along edges. Overlap seams by 6–12 inches and secure with staples. For DG paths, a solid base and proper compaction reduce weed growth. Pull weeds early and consider using pre-emergent herbicides sparingly.
Can I add lighting to my garden path later?
Yes, but it’s easier to plan ahead. Install a PVC sleeve under the path during construction. This allows you to run low-voltage wires later without digging. Solar lights are another option for paths without buried conduit.
Key Takeaways for Building a Durable Garden Path
Building a garden path is a rewarding DIY project that enhances both function and beauty. By planning carefully, preparing a solid base, installing durable edging, and choosing the right materials, you create a lasting feature that invites exploration and protects your garden. Whether you choose decomposed granite or gravel, the key is attention to detail—from layout to compaction. Follow these steps, and your path won’t just connect spaces—it will become a destination in itself. Keep extra material on hand, address issues early, and consider future upgrades like lighting sleeves. With proper care, your garden path will age gracefully, becoming firmer and more integrated with each passing season.