
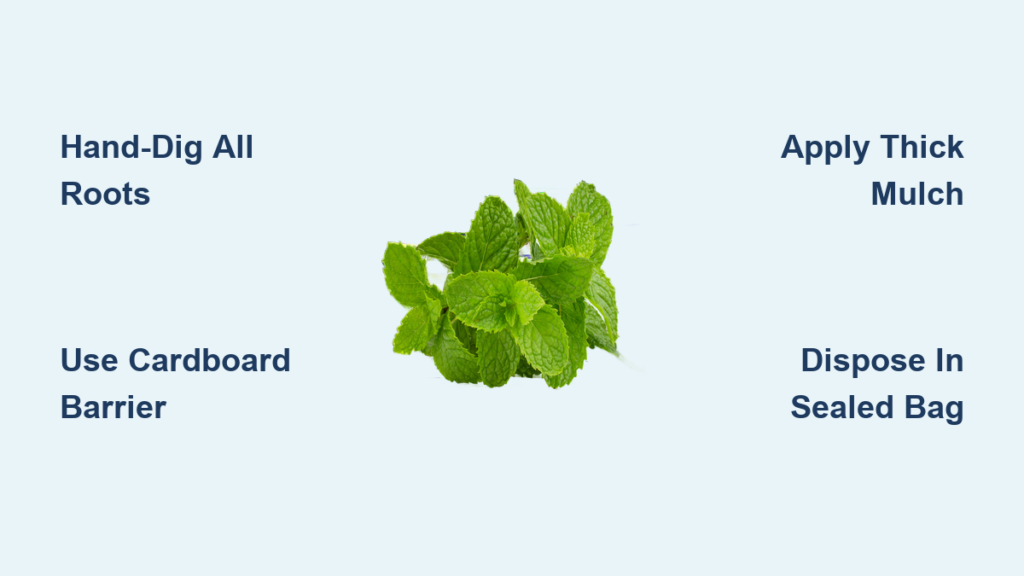
Mint is a beloved herb for teas, desserts, and garden fragrance—but when it escapes its boundaries, it transforms into a relentless invader. Known for spreading aggressively through underground rhizomes, mint can quickly dominate flower beds, strangle perennials, and return from the tiniest root fragment. If you’re searching for how to remove mint from garden soil for good, you need more than a quick pull; you need a strategic plan. This guide reveals proven, eco-friendly methods—from complete hand-digging to long-term smothering—that eliminate mint without harming your soil. You’ll also learn how to prevent regrowth and safely enjoy mint in the future—without risking another garden takeover.
You’ll discover why tilling makes the problem worse, why composting mint is a dangerous mistake, and how to use cardboard and mulch to starve out stubborn patches. Whether you’re dealing with peppermint, lemon balm, or mountain mint, this step-by-step approach ensures lasting results.
Remove Mint by Hand-Digging Every Root
Hand-digging is the most effective way to eliminate mint—if done thoroughly. Since mint spreads via underground rhizomes that travel far beyond visible growth, missing even a 1-inch root piece can lead to regrowth weeks later.
Extract All Rhizomes and Stems Completely
Begin by using a garden fork or spade to loosen the soil around the entire mint patch. Gently lift each plant, shaking off excess dirt to expose hidden roots. Inspect every clump carefully and remove all white or light-brown rhizomes, which grow horizontally beneath the surface. Focus on root tips, where new shoots emerge.
For heavily infested areas, screen the soil through a mesh sieve to catch small root fragments. This extra step dramatically improves success. After removal, place all plant material—roots, stems, and leaves—into a sealed trash bag. Do not leave any behind, even if they appear dry or lifeless.
Never Use a Tiller in Infested Soil
Avoid tilling at all costs. Tilling chops up rhizomes, turning one plant into dozens of new ones. Each fragment can regenerate, making the infestation worse. Instead, dig manually with precision. Mark the treated area and revisit every two weeks. Pull any new green shoots immediately—they signal surviving roots below.
Smother Mint with Cardboard and Thick Mulch
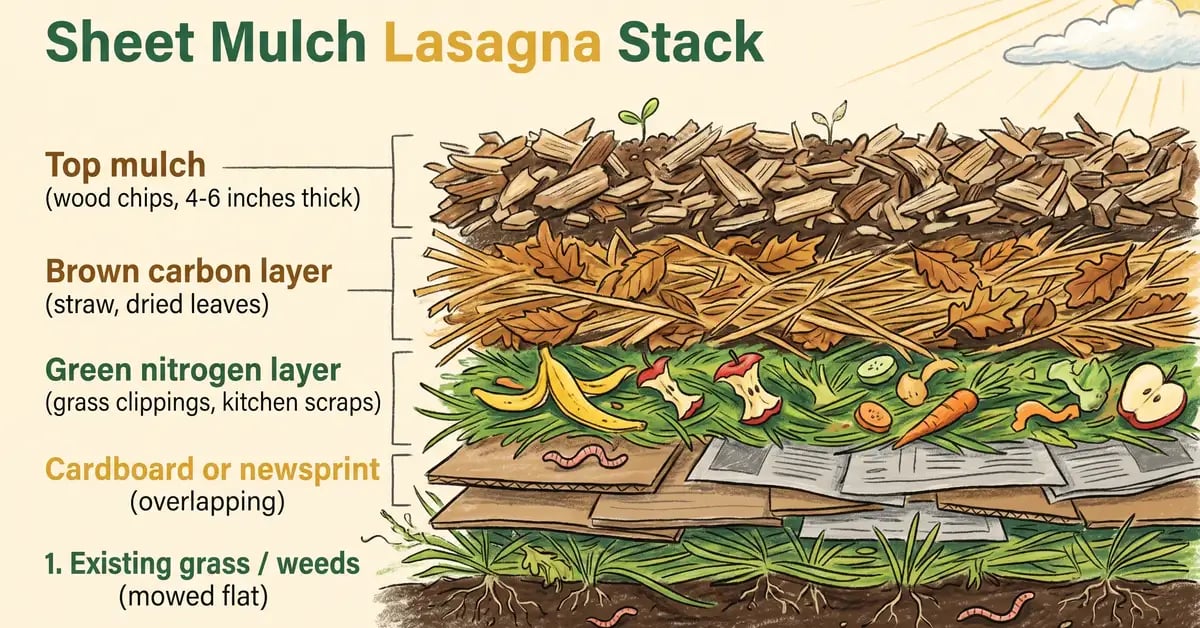
When hand-digging isn’t enough, smothering cuts off sunlight and starves the root system over time. This non-chemical method protects soil health and beneficial organisms.
Cover Soil with Overlapping Cardboard
After removing visible mint, lay down thick cardboard or 8–10 layers of newspaper over the area. Ensure all pieces overlap by at least 6 inches to eliminate light gaps. Mint relies on sunlight to photosynthesize—without it, the plant weakens and dies.
Remove or relocate any desirable plants before applying the barrier. Press the cardboard flat against the soil and wet it down to prevent wind lift. Avoid plastic, as it doesn’t decompose and harms soil structure.
Apply 6–8 Inches of Organic Mulch
Top the cardboard with 6–8 inches of organic mulch such as straw, leaves, or pine needles. This adds weight, improves appearance, and enhances suppression. As the mulch breaks down, it enriches the soil.
Leave the area undisturbed for a full growing season (about 12 months). Do not poke holes or pull back layers—this lets in light and triggers regrowth. For added benefit, plant vining crops like pumpkins, winter squash, or cucumbers through small slits. Their dense foliage blocks sunlight and discourages mint resurgence.
Use Herbicides Only as a Last Resort
If manual and smothering methods fail, selective herbicides may help—but they come with risks and should be used sparingly in edible or ornamental gardens.
Choose Selective Broadleaf Herbicides
Opt for a selective herbicide that targets broadleaf weeds without harming grass. Check the label to confirm effectiveness against mint. Products containing triclopyr or dicamba are often recommended.
Apply in early spring when mint is actively growing and most vulnerable. Spray only on calm days to prevent drift, and shield nearby plants with cardboard or plastic. Never spray near edibles or ornamental flowers.
Minimize Chemical Impact on Soil
Herbicides can damage soil microbes and affect nearby plants through root uptake. Because mint regenerates from roots, multiple applications may be needed—increasing environmental harm. Reserve chemicals for extreme cases after exhausting safer methods.
Prevent Mint from Returning to Your Garden
Eliminating mint is only half the battle. Preventing regrowth ensures your garden stays balanced and healthy long-term.
Grow Mint in Containers to Stop Spread

The safest way to enjoy mint is in a container at least 12 inches deep with drainage holes. Place it on a patio, deck, or raised bed to avoid ground contact.
For a natural look, submerge the pot in the garden. Bury it up to the rim so it blends in, but keep the sides above soil level to block rhizome escape. This allows you to grow mint in a bed safely.
Install Deep Root Barriers in Ground Beds
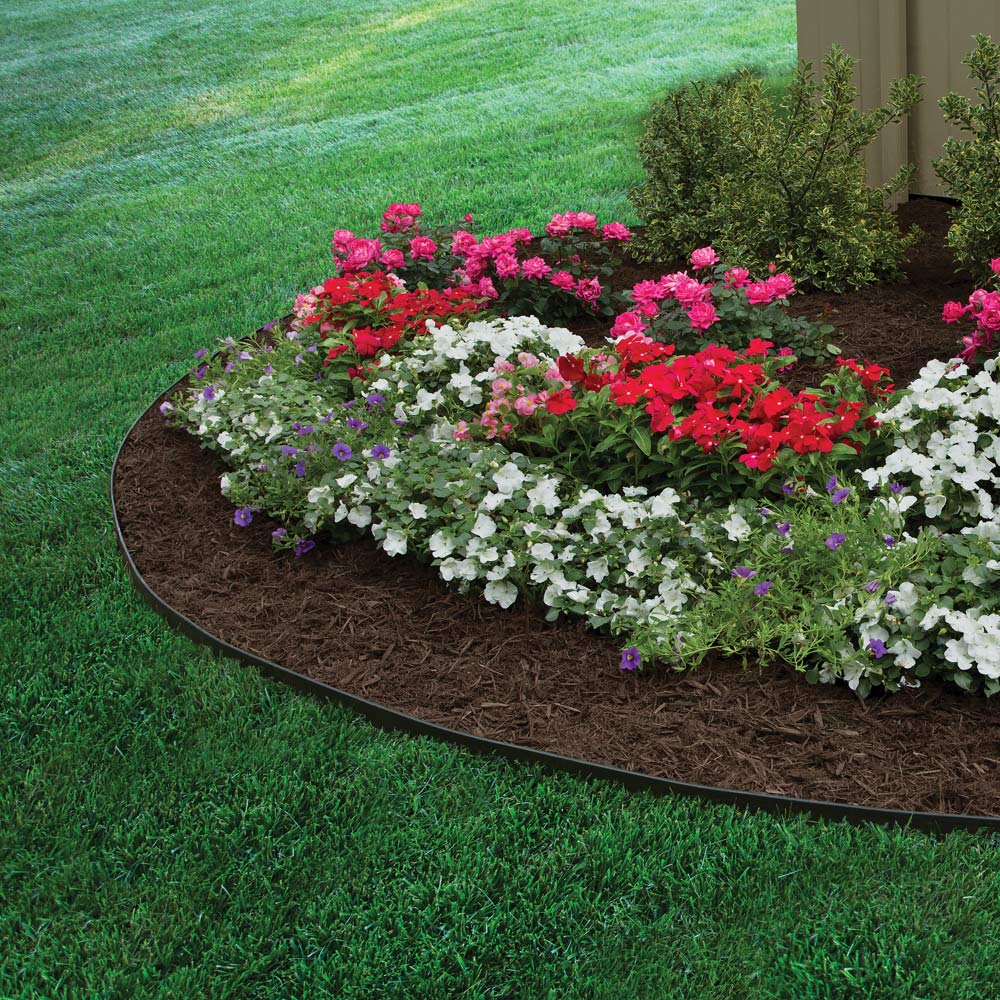
If planting mint directly in soil, install a root barrier at least 18 inches deep. Use rigid plastic edging or landscape fabric buried around the planting zone. Overlap seams and extend 1–2 inches above soil to prevent rhizomes from climbing over.
Inspect the barrier annually for breaches. Even a small gap can allow mint to escape and reinfest your garden.
Stop Mint from Spreading by Seed
While rhizomes are the main threat, some varieties like lemon balm and mountain mint spread by seed. Preventing seed production is essential for full control.
Cut Off Flower Buds Before They Mature
Monitor plants closely in late spring and summer. When flower buds appear, snip off the entire seed head before it develops viable seeds. Use clean pruners and cut just above a leaf node to encourage bushier growth.
Dispose of seed heads in sealed trash—do not drop them on the soil. Despite one source suggesting burial to prevent wind dispersal, this risks accidental rooting. When in doubt, bag it.
Harvest Mint Frequently to Prevent Flowering
Regular harvesting keeps mint productive and stops flowering. Cut stems just above a leaf pair to stimulate branching. Use the leaves fresh, dry them, or freeze in oil for cooking.
Frequent harvesting reduces energy available for flowering and seed production, gradually weakening the plant.
Never Compost Mint—Dispose of It Safely

One of the biggest mistakes gardeners make is composting mint. Roots and stems can survive and regrow, even in hot compost piles.
Bag All Mint Material for Disposal
Always place mint debris—roots, stems, leaves, and seed heads—into sealed plastic bags before discarding. Do not add to yard waste bins unless your municipality treats waste at high temperatures.
Even dried vines from fall cleanup can resprout in spring if left in compost or piled near the garden. When in doubt, throw it out.
Monitor the Area for Months After Treatment
Mint is persistent. Even after removal, check the treated area every 2–3 weeks for new shoots.
Pull New Shoots Immediately to Starve Roots
If green stems appear, pull them by hand as soon as possible. Small shoots have limited energy reserves—removing them weakens the root system. Repeat weekly until no new growth emerges.
Continue monitoring for at least one full year after treatment. Rhizomes can remain dormant for months before resurfacing.
Frequently Asked Questions About Removing Mint from Garden
Can I just pull mint out by hand?
Yes, but only if you remove every single root fragment. Mint regrows from even 1-inch pieces of rhizome left in the soil. Hand-pulling works best when combined with soil screening and follow-up monitoring.
How long does it take to kill mint completely?
It typically takes 6 to 12 months to fully eliminate mint. Smothering with cardboard and mulch requires a full growing season. Even after treatment, monitor for new shoots for at least one year.
Will vinegar or boiling water kill mint roots?
Vinegar and boiling water may kill the top growth, but they rarely destroy deep rhizomes. These methods often lead to regrowth. For lasting results, combine physical removal with smothering.
Can I plant vegetables where mint was removed?
Yes, especially vining crops like pumpkins, squash, or cucumbers. Plant them through slits in the cardboard layer. Their dense foliage helps suppress any mint that tries to return.
Why shouldn’t I compost mint?
Mint roots and stems can survive composting and resprout in your garden later. Even dried material can revive when conditions are right. Always dispose of mint in sealed trash to avoid reinfestation.
How do I grow mint safely without it spreading?
Grow mint in a container at least 12 inches deep. Submerge the pot in the garden for a natural look, but keep the rim above soil level. This contains rhizomes while allowing you to enjoy fresh leaves.
Key Takeaways for Successfully Removing Mint from Garden
To permanently remove mint from your garden, combine complete hand-digging with long-term smothering using cardboard and mulch. Never till the soil—this spreads rhizomes and worsens the problem. Avoid composting any mint material, as roots can survive and regrow. Instead, dispose of all plant parts in sealed bags.
Prevent future invasions by growing mint in containers or installing deep root barriers. Monitor treated areas every few weeks for at least a year, pulling new shoots immediately. With patience and consistent action, you can reclaim your garden and enjoy mint—on your terms.



