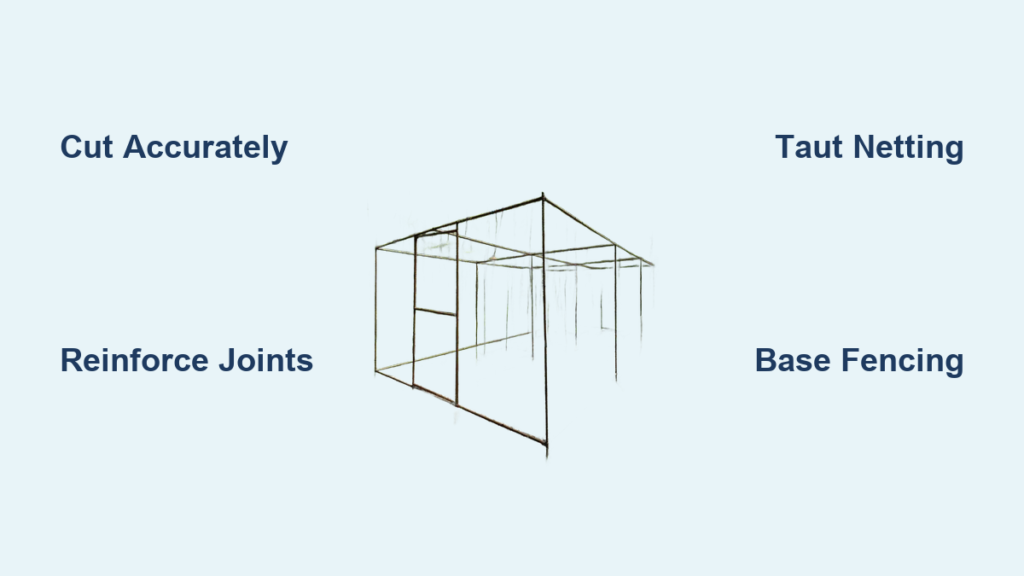
You’ve nurtured your seedlings, enriched the soil, and carefully arranged your plants—only to find squirrels digging up seeds, birds pecking at berries, or deer grazing on lettuce. A PVC garden cage is your best defense: lightweight, affordable, and built to last 10–15 years. Using simple PVC pipes, connectors, and garden netting or chicken wire, you can create a custom-fit enclosure that keeps pests out while letting in sunlight, rain, and fresh air. With materials costing under $50, this DIY solution pays for itself in just one protected harvest. Whether you’re covering a small raised bed or constructing a walk-in enclosure, this guide walks you through every step—from precise cutting and assembly to securing netting and reinforcing against wind.
You’ll learn how to choose the right pipe size, cut accurately for a flush fit, assemble a stable frame without glue, and install durable covering that resists sagging and animal pressure. We’ll also cover essential upgrades like base fencing to stop burrowers and zip-tie reinforcement for long-term durability. By the end, you’ll have a reliable, invisible shield around your garden that works season after season.
Choose the Right PVC Pipe Size for Your Garden
Match Pipe Diameter to Garden Dimensions and Wind Exposure
For most standard raised beds up to 4 feet tall, ½-inch diameter PVC pipe is ideal. It’s lightweight, easy to cut, and cost-effective. Buy 10-foot lengths—they’re efficient for cutting into 38-inch and 30-inch sections with minimal waste. This size works perfectly for beds up to 80 inches long.
If your garden spans a larger area—like a 12×20-foot plot—or you live in a windy region, upgrade to ¾-inch PVC pipe. The thicker walls resist bending and improve stability under animal pressure or strong gusts. In high-wind zones or for walk-in enclosures over 6 feet tall, consider 1-inch or 1.5-inch PVC for near-rigid support without the weight of metal frames.
Avoid Sizing Mistakes That Cause Poor Fit
PVC fittings take up space—about ¼ inch per joint—so your cuts must account for this. A common mistake is cutting pipes too long, resulting in a frame that won’t fit inside your raised bed. Always subtract connector width from your total dimension. For example, in a 40-inch-wide bed, use 37.5-inch cross pieces to allow room for the fittings.
Test-fit one corner before cutting all pieces. A snug, wobble-free fit ensures the cage sits securely and won’t collapse under pressure. Misaligned joints lead to sagging netting and weak spots where pests can enter.
Gather All Materials and Tools Before Starting
Create a Complete Shopping List
For an 80×40-inch raised bed cage using ½-inch PVC:
- PVC pipes: Cut from 10-foot lengths
- 3 × 38-inch (long base supports)
- 2 × 37.5-inch (short base supports)
- 4 × 30-inch (vertical supports)
- 2 × 24-inch (top roof supports)
-
4 × 3–6 inch (corner height extensions)
-
Fittings:
- 6 × three-way connectors (corners)
- 6 × T-connectors (center supports)
- 2 × 135° elbows (roof slope)
-
2 × X-connectors (center bracing)
-
Covering:
-
4-foot-wide roll of fine-mesh chicken wire or heavy-duty multi-species netting
-
Fasteners:
-
100+ heavy-duty 4-inch zip ties
-
Optional:
- 2-foot-tall galvanized fencing for base protection
- Black PVC paint for UV resistance
For modular 4×4-foot sections, replace T- and three-way connectors with 16 corner connectors.
Use the Right Tools for Clean, Accurate Work
- PVC pipe cutter: Delivers square, clean cuts for tight joints (a hacksaw works but requires filing)
- Measuring tape and marker: Mark every cut clearly
- Rubber mallet: Tap fittings together without cracking PVC
- Gloves: Essential—chicken wire is sharp and can cut skin
Organize all materials before starting. Label cut pieces by length to avoid confusion during assembly.
Design for Stability and Perfect Fit
Ensure the Frame Sits Flush Inside the Raised Bed
The cage should sit inside the raised bed frame, not on top. This lowers the center of gravity and prevents tipping. For an 80-inch-long bed, use three 38-inch horizontal supports—they total 114 inches, leaving a 6-inch scrap perfect for vertical extensions at corners.
Account for joint space: each T-connector adds about 1 inch of internal width. So three 38-inch pieces with two T-connectors in between create a 114-inch span minus 1 inch for joints = 113-inch effective length, which fits snugly in an 80-inch bed when combined with corner offsets.
Reinforce Against Wind and Lateral Movement
Use X-connectors at the center of long sides to prevent racking. These cross-braces lock the frame into a rigid rectangle. In large enclosures, add diagonal supports using 45-degree elbows or zip-tie netting tightly to act as tension members.
For walk-in structures over 6 feet tall, consider painting the PVC black. Dark colors absorb less UV radiation, reducing sun damage and brittleness over time.
Assemble the Base Frame First
Build the Bottom Rectangle with Corner and Center Supports
Start with the four bottom corners: insert three-way connectors at each end. Attach 38-inch horizontal pipes to form the rectangle. These run the length of the bed.
Next, install T-connectors in the middle of each long side. These will hold the vertical supports and top frame. Slide a 30-inch vertical pipe into each T-connector—this gives you a 2.5-foot cage height, ideal for most vegetables.
Place X-connectors at the center of the base frame for added rigidity. These accept short cross-pieces that tie the two long sides together, preventing racking.
Add Vertical Extensions at Corners
Cut 3–6 inch pieces from leftover pipe and insert them into the top openings of the corner three-way connectors. These small extensions raise the top frame slightly, improving structural alignment and giving the roof a subtle slope when paired with 135° elbows.
Tap all joints firmly with a rubber mallet. A tight fit eliminates wobble—no glue needed. The weight of the netting and friction in the joints will keep everything secure.
Construct the Top Frame With a Sloped Roof

Use 135° Elbows for Rain Runoff and Strength
At each top corner, attach a 135-degree elbow to the vertical extension piece. These fittings create a gentle roof slope that sheds rain and snow, preventing water pooling.
From the elbow, connect a 24-inch horizontal top piece (adjust based on your bed width). This runs from corner to center, meeting the T-connector from the opposite side.
Use T-connectors at the peak of each long side to join the two roof sections. Add X-connectors at the center for overhead bracing—this supports netting and resists sagging.
Check for Level and Square Alignment
After assembling the top frame, walk around and tap each joint with a rubber mallet. A solid thud means it’s tight; a hollow sound suggests a loose fit. Disassemble and reseat any weak connections.
Ensure the entire frame is level and square. Measure diagonally from corner to corner—both measurements should be equal. If not, gently twist the frame until it squares up.
Install Chicken Wire or Netting Securely
Wrap Wire Tightly With Zip Ties Every 8 Inches
Unroll a 4-foot-wide roll of chicken wire and drape it over one side of the cage. Pull it taut—no sagging—and wrap it around the back. Overlap the two ends in the center for strength.
Secure the wire every 8 inches with heavy-duty zip ties. Thread each tie through the mesh and around the PVC pipe. At corners, wrap the wire around the pipe and tie it on the inside to prevent gaps.
For extra durability, reinforce all joints where wire meets fittings. Add a second zip tie at each corner and T-connector.
Choose Netting for Large Walk-In Enclosures
For cages 12×20 feet or larger, use multi-species deterrent netting—it’s stronger and less visible than chicken wire. Drape it over the frame with help (a second person makes this easier).
Overlap netting sections by at least 6 inches and zip-tie through both layers. At the door, fold the netting around the back of the PVC and secure tightly—this reduces gaps to less than an inch.
Pull netting taut during installation. Loose fabric flaps in wind, wears out faster, and gives pests a foothold.
Add Base Protection to Block Burrowing Pests
Install Galvanized Fencing Around the Perimeter
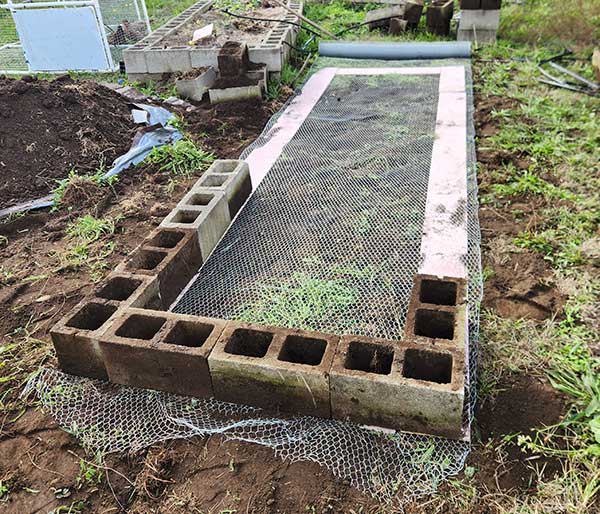
Even the best cage fails if animals dig underneath. Prevent this with a 2-foot-tall galvanized fence installed around the base.
Stake the fencing into the ground every 2 feet. Bury the bottom 3–6 inches or bend it outward in an “L” shape to deter tunneling.
Create a Continuous Barrier From Soil to Sky
Tie the bottom edge of the netting to the top of the galvanized fence using zip ties. This forms a seamless barrier from sky to soil.
This setup also protects pets—dogs and cats can’t see clear netting and often walk into it. The metal fence acts as a visible boundary, preventing injuries and tears.
In urban gardens or small spaces, this base layer is optional—but highly recommended if you’ve seen signs of moles, rats, or digging squirrels.
Finalize With Inspection and Smart Upgrades
Secure All Stress Points and Trim Excess
Walk the entire perimeter and add extra zip ties at every corner, joint, and connector. These stress points bear the most load.
Use scissors or wire cutters to trim zip tie tails flush. Long ends snag clothing and can injure plants or hands during harvest.
Check that netting is taut and free of flaps. Adjust or re-tie any loose sections.
Add Practical Upgrades for Longevity and Usability
- Stepping stones near the door keep feet dry and reduce mud tracking
- A padlock or latch secures the door against raccoons and curious pets
- Paint the PVC black to reduce UV degradation and blend with garden soil
- Small brackets at corners add reinforcement in high-wind areas
These small touches extend the cage’s life and improve usability.
Frequently Asked Questions About PVC Garden Cages
Can I build a PVC garden cage without glue?
Yes. Tight-fitting joints and the weight of the netting keep the frame secure. Use a rubber mallet to tap fittings together firmly—no glue needed for most designs.
How do I prevent animals from digging under the cage?
Install 2-foot-tall galvanized fencing around the base. Stake it into the ground and bury the bottom 3–6 inches or bend it outward in an “L” shape to block tunneling.
What size PVC pipe should I use for a large garden?
For gardens over 12×20 feet or in windy areas, use ¾-inch or larger PVC pipe. This provides better stability and resists flexing under wind load.
How long does a PVC garden cage last?
With proper construction, a PVC garden cage lasts 10–15 years or more. Chicken wire may show minor rust at joints but remains functional. Painting PVC black helps resist UV damage.
Can I reuse the cage for different garden beds?
Yes. The modular design allows you to disassemble and reconfigure the frame for different bed sizes. Replace individual pipes or fittings as needed.
Does the cage block sunlight or airflow?
No. Chicken wire and garden netting allow full sunlight, rain, and air circulation while keeping pests out. Plants grow naturally inside the protected space.
Key Takeaways for Building a Durable PVC Garden Cage
A well-built PVC garden cage is a long-term investment in your harvest. By choosing the right pipe size, cutting accurately to fit your bed, reinforcing joints, and securing netting tightly, you create a structure that lasts over a decade with minimal upkeep. The key principles are precision in measurement, tight joints, taut covering, and base protection against burrowers.
Start small with a single raised bed, follow the fit and stability guidelines, and scale up as needed. Whether you’re protecting seedlings from birds or tomatoes from squirrels, this DIY solution pays for itself in just one saved harvest. With under $50 in materials and a weekend of work, you’ll have an invisible shield that lets your garden thrive—season after season.