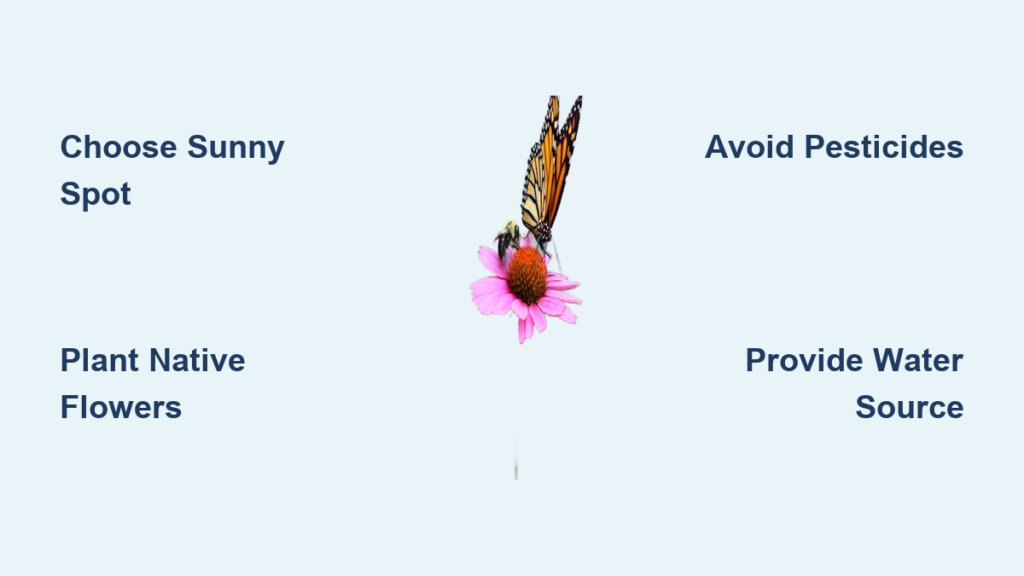
Imagine stepping into your backyard and being greeted by fluttering butterflies, buzzing bees, and the gentle hum of nature thriving at your doorstep. Creating a pollinator garden is more than just planting flowers—it’s a powerful way to support declining bee populations, boost local biodiversity, and turn your outdoor space into a living sanctuary. With the simple act of choosing the right plants and layout, you can help reverse habitat loss and pesticide damage that threaten essential pollinators. This guide walks you through every step—from site selection to seasonal care—so you can build a vibrant, low-maintenance garden that attracts and sustains pollinators year after year.
You don’t need a large yard or gardening expertise to make an impact. Even small spaces like balconies, window boxes, or community plots can become vital rest stops for bees, hummingbirds, and beneficial insects. By focusing on native plants, continuous bloom cycles, and chemical-free practices, your garden becomes part of a larger ecological solution. In the following sections, you’ll learn how to assess your space, choose the best plants, avoid common mistakes, and maintain a thriving habitat that supports pollinators from spring through fall.
Choose the Right Location for Your Pollinator Garden
Get at Least 6 Hours of Sun Daily
Pollinator-friendly plants thrive in full sun. Most flowering species that attract bees and butterflies require 6–8 hours of direct sunlight daily to produce abundant nectar and pollen. Observe your yard throughout the day to identify the sunniest spots—south- or west-facing areas are often ideal.
Avoid shaded zones under trees or near tall structures unless you’re specifically planting for shade-tolerant pollinators like certain native bees and moths.
Test Your Soil Type Before Planting
Healthy soil supports healthy blooms. Most pollinator plants prefer well-drained soil and struggle in waterlogged conditions. Perform a simple percolation test:
• Dig a hole 12 inches deep
• Fill with water and let it drain
• Refill and time how long it takes to empty
If it drains in 4–12 hours, your soil is suitable. If slower, consider raised beds or amend with compost to improve structure.
Avoid Converting Chemically Treated Lawn Areas
Traditional lawns treated with herbicides and synthetic fertilizers are harmful to pollinators. These chemicals kill beneficial plants like clover and dandelions—key early-season food sources—and can poison bees through contaminated pollen.
Instead, convert underused lawn space into a chemical-free zone. Remove grass using sheet mulching (cardboard + mulch) or solarization (clear plastic over soil in summer), then prepare the bed for native planting.
Select Native Plants for Continuous Bloom
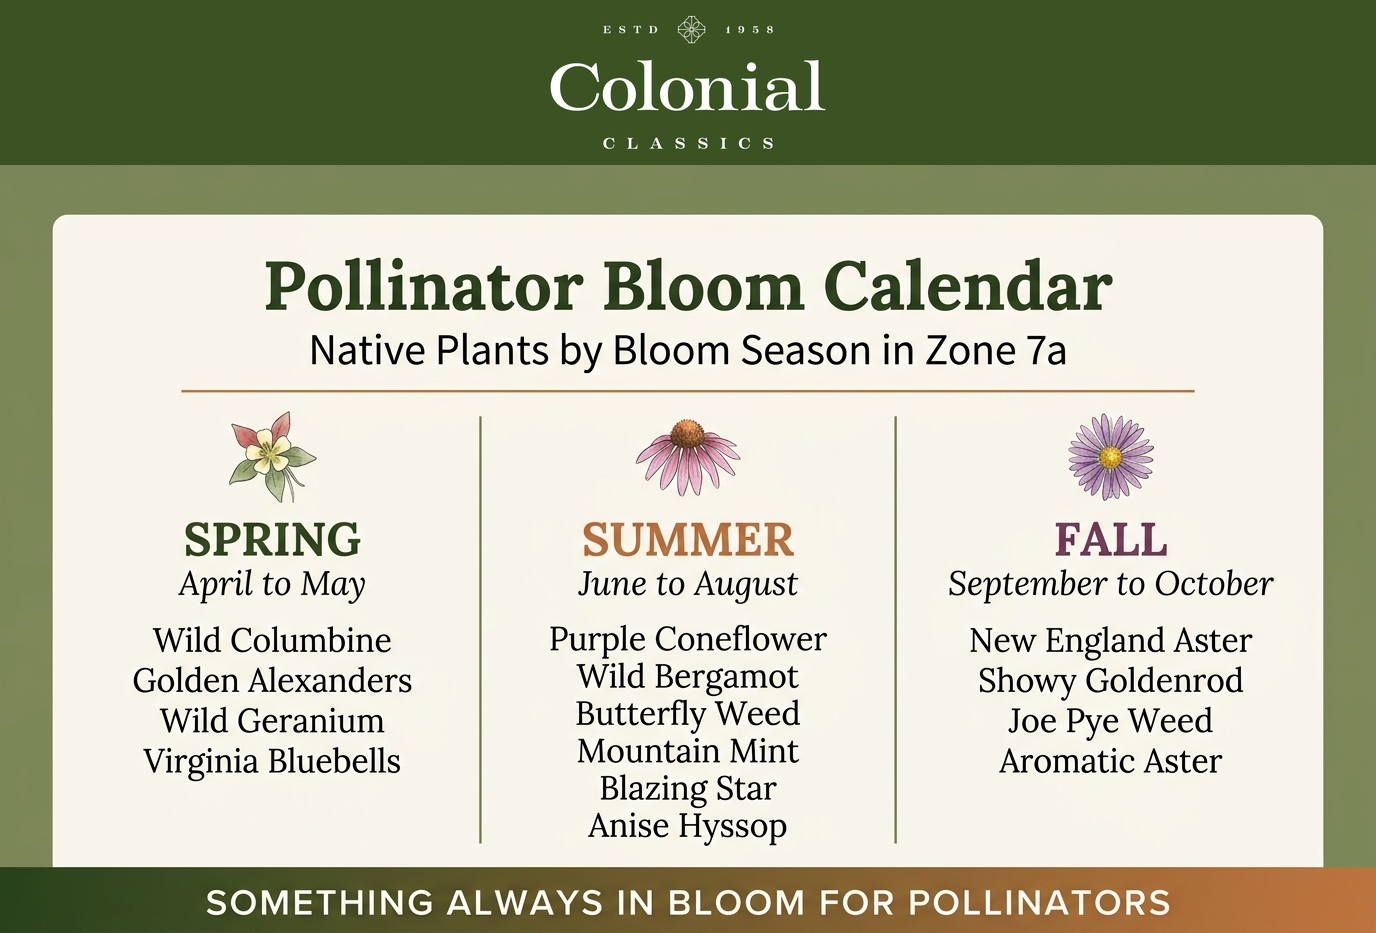
Pick Flowers That Bloom in Each Season
A successful pollinator garden provides food from early spring to late fall. Choose plants with staggered bloom times so there’s always something flowering.
Spring bloomers:
• Wild columbine (Aquilegia canadensis)
• Virginia bluebells (Mertensia virginica)
Summer bloomers:
• Black-eyed Susan (Rudbeckia hirta)
• Bee balm (Monarda fistulosa)
Fall bloomers:
• Goldenrod (Solidago spp.)
• Asters (Symphyotrichum spp.)
Aim for at least 3–4 species blooming in each season to ensure consistent nectar availability.
Include Different Flower Shapes and Colors
Pollinators are drawn to specific flower shapes and colors based on their feeding habits.
• Bees prefer blue, purple, and yellow flowers with tubular or flat shapes (e.g., lavender, coneflower)
• Butterflies seek red, orange, and pink flat-topped flowers they can land on (e.g., milkweed, yarrow)
• Hummingbirds are attracted to tubular red blooms (e.g., cardinal flower, trumpet vine)
Planting a variety ensures you support a diverse range of pollinators, not just honeybees.
Prioritize Native Over Exotic Plant Species
Native plants are co-evolved with local pollinators and offer superior nutrition. They also require less water, fertilizer, and maintenance than non-native ornamentals.
For example:
• Milkweed (Asclepias spp.) is the only host plant for monarch butterfly larvae
• New England aster supports over 100 native bee species
Use regional native plant databases (like the Xerces Society or Lady Bird Johnson Wildflower Center) to find species suited to your USDA zone.
Design for Habitat and Shelter

Group Plants in Clusters of 3–5
Planting in drifts or clusters (not single specimens) makes it easier for pollinators to locate and feed efficiently. Bees use visual cues—seeing a mass of the same color helps them recognize food sources from a distance.
Aim for clumps of 3–5 plants per species, with at least 3 feet between clusters for airflow and growth.
Leave Some Bare Ground for Ground-Nesting Bees
Over 70% of native bees are ground nesters. They need patches of bare, undisturbed soil to dig tunnels for their young.
Avoid mulching every inch of your garden. Designate sunny, sloped, or sandy areas (especially south-facing) as nesting zones. These should be free of foot traffic and vegetation.
Add Nesting Structures for Solitary Bees
Install bee hotels or drill holes in untreated wood (¼-inch diameter, 3–6 inches deep) to support cavity-nesting bees like mason and leafcutter bees.
Place structures:
• 3–6 feet above ground
• Facing southeast for morning sun
• Under a small roof to prevent rain damage
Clean or replace nesting tubes annually to prevent mold and parasites.
Avoid Pesticides and Harmful Chemicals
Use Natural Pest Control Methods
Chemical insecticides like neonicotinoids are lethal to bees—even in small doses. Instead, manage pests with eco-friendly alternatives.
Try:
• Hand-picking larger insects like Japanese beetles
• Spraying aphids with water or insecticidal soap
• Encouraging predator insects like ladybugs and lacewings
Healthy, diverse plantings naturally resist pests—biodiversity is your best defense.
Skip Synthetic Fertilizers
Over-fertilizing promotes leafy growth at the expense of flowers, reducing nectar production. It can also leach into waterways and harm aquatic life.
Use compost or aged manure instead. These enrich soil slowly and support beneficial microbes without polluting.
Watch for “Pesticide-Free” Plant Labels
Even plants labeled “bee-friendly” may have been treated with systemic pesticides at nurseries. Always ask: “Was this grown without neonics?”
Look for certified organic or pollinator-safe labels from trusted suppliers.
Provide Water Sources Safely

Set Up Shallow Water Dishes for Pollinators
Pollinators need water for hydration and cooling—but they can’t swim. A deep birdbath is a death trap.
Create a safe watering station:
• Use a shallow dish or pie plate
• Fill with pebbles or marbles (½ inch above water line)
• Place in a sunny, quiet area
Refill daily to prevent stagnation and mosquito breeding.
Avoid Standing Water Without Landing Spots
Never leave bare standing water—it attracts mosquitoes and drowns bees. If using a fountain or pond, ensure there are emergent rocks or floating corks for insects to land on.
A dripping faucet or mister near flowers also provides moisture without pooling.
Maintain Your Garden Sustainably
Deadhead Wisely to Extend Blooms
Removing spent flowers (deadheading) encourages many plants to rebloom. But not all plants need it.
• Do deadhead: coneflowers, salvias, zinnias
• Don’t deadhead: goldenrod, asters, milkweed (seeds feed birds and overwintering insects)
Leave some seed heads intact in fall to support wildlife and reduce spring cleanup.
Delay Fall Cleanup for Overwintering Insects
Many pollinators spend winter in plant stems and leaf litter. Cutting everything down in autumn destroys their habitat.
Instead:
• Wait until spring, when temperatures consistently reach 50°F
• Leave stems 12–18 inches tall
• Rake leaves into garden edges, not lawns
This “leave the leaves” approach supports native bees, butterflies, and beneficial beetles.
Mulch with Natural Materials Only
Use shredded leaves, pine needles, or untreated wood chips to suppress weeds and retain moisture.
Avoid:
• Plastic mulch (blocks nesting bees)
• Cocoa bean hulls (toxic to dogs)
• Excessive mulch (more than 2–3 inches smothers soil life)
Apply mulch in rings around plants, keeping it away from stems to prevent rot.
Expand Your Pollinator Garden’s Impact Beyond Your Yard
Connect with Neighbors to Build Habitat Corridors
Pollinators travel best through connected green corridors. Talk to neighbors about planting pollinator-friendly species to create a collective habitat network.
Even a few adjacent yards can form a mini wildlife corridor that supports migration and reproduction.
Join a Certification Program for Recognition
Get recognized for your efforts by certifying your garden:
• National Wildlife Federation’s Certified Wildlife Habitat
• Xerces Society’s Bee Better Certified
• Pollinator Partnership’s Bee Smart Garden
These programs offer signage, resources, and community support.
Educate Others with Garden Signage
Place a small sign like:
“This is a Pollinator Garden – No Pesticides Used”
to inspire others and protect your space from chemical drift.
Add QR codes linking to local native plant guides or conservation groups.
Frequently Asked Questions About Creating a Pollinator Garden
What is the easiest way to start a pollinator garden?
Begin by choosing a sunny spot with well-drained soil and planting 3–5 native flowering species that bloom at different times. Avoid chemicals and add a shallow water dish with pebbles. Even a small container garden on a balcony can make a difference.
Which plants attract the most pollinators?
Bees love coneflowers, bee balm, and lavender. Butterflies rely on milkweed and yarrow. Hummingbirds flock to cardinal flower and trumpet vine. A mix of native, season-long bloomers attracts the widest variety.
Do I need to water my pollinator garden every day?
Once established, most native plants are drought-tolerant and need little watering. Water deeply but infrequently during the first growing season. After that, rainfall is usually sufficient.
Can I have a pollinator garden in a small space?
Yes. Use containers with native wildflowers, herbs like oregano and thyme, or window boxes with bee balm and salvia. Even a few square feet can serve as a vital rest stop for pollinators.
How do I keep my pollinator garden safe from pesticides?
Avoid all synthetic insecticides, especially neonicotinoids. Buy plants labeled “grown without neonics” or certified organic. Encourage natural pest control by planting diverse species and attracting beneficial insects.
Should I remove dead plants in the fall?
No. Delay fall cleanup until spring. Many pollinators overwinter in hollow stems and leaf litter. Leaving plants standing protects them and reduces garden maintenance next year.
Key Takeaways for Building a Successful Pollinator Garden
Creating a pollinator garden is one of the most effective, joyful ways to support the environment. By choosing native plants, eliminating chemicals, and designing for shelter and water, you turn your space into a lifeline for bees, butterflies, and countless unseen species. Start small, grow sustainably, and watch your garden come alive—not just with color and movement, but with purpose. Every bloom you plant helps rebuild the web of life, one pollinator at a time.