
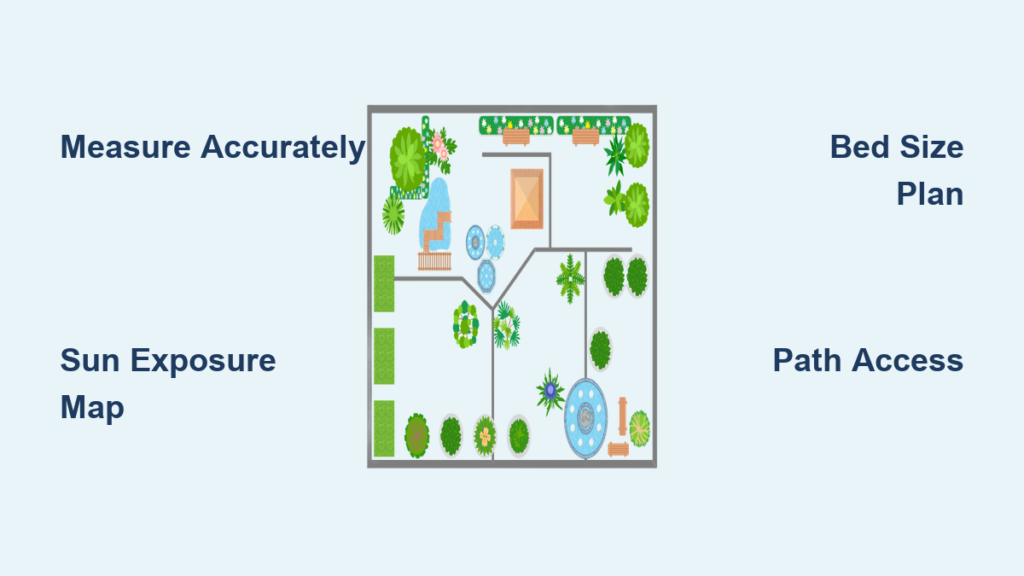
Laying out a garden the right way starts long before you plant a single seed. Without a clear plan, even the most enthusiastic gardener can end up with poor yields, wasted space, and constant frustration. A well-designed garden layout maximizes sunlight, simplifies maintenance, and ensures every crop thrives where it’s planted.
The secret lies in creating a baseline garden plan—a to-scale drawing that maps your space, sun patterns, and access points. This blueprint helps you avoid common mistakes like planting delicate greens 100 feet from your back door or building beds too narrow for a wheelbarrow. Whether you’re designing a small kitchen garden or a multi-zone homestead, this guide walks you through the exact steps used by experienced gardeners in Scotland, California, and Finland to build productive, sustainable gardens.
Create a Baseline Garden Plan

A precise, scaled drawing of your yard is the foundation of any successful garden. This plan captures permanent features, sun exposure, and accurate measurements so you can design with confidence.
Measure Using Triangulation
To plot features accurately, use triangulation—a simple method that avoids guesswork. Choose two fixed, perpendicular reference points like a house wall and fence. Then measure the distance from each point to every feature in your yard—compost bins, trees, sheds, or existing beds.
For example, if a garden arch is 8 ft from the house and 5 ft from the fence, it goes where those two lines intersect on your plan. This technique ensures accuracy without expensive tools. Use a 30-meter (100-foot) measuring tape, notepad, and pencil to record all measurements. Double-check each one before transferring them to your final layout.
Draw to Scale on Graph Paper
Choose a scale that fits your space—1 square = 1 foot works well for most home gardens. Start by drawing your reference walls or fences, then plot all other elements using your triangulated data.
- Use pencil first—mistakes are inevitable
- Finalize with pen once satisfied
- Label zones, structures, and key features
Once complete, this plan becomes your living document for crop rotation, seasonal planting, and long-term garden evolution.
Choose the Right Garden Location
Where you place your garden affects harvest frequency, soil health, and daily maintenance. Avoid tucking it into a forgotten corner where it will be neglected.
Prioritize Proximity to the House
Gardens near the back door get seen daily, making watering, weeding, and harvesting effortless. This visibility turns gardening into a natural part of your routine. Place frequently harvested crops—like lettuce, herbs, cherry tomatoes, and green beans—in this high-traffic zone.
Use the open central area for an outdoor kitchen or gathering space, integrating the garden into family life. The more you walk past it, the more care it will receive.
Match Crops to Permaculture Zones
Apply permaculture zoning to optimize placement:
- Zone 1 (closest): Daily-use vegetables and herbs
- Zone 2: Weekly-harvest crops (carrots, beets, cabbage)
- Zone 3: Low-maintenance or once-a-year harvests (potatoes, corn, perennial vegetables)
If your garden is 100 feet from the house (like in the California case study), focus on crops needing less attention. Don’t plant delicate greens that require daily picking.
Design Garden Beds by Type and Size
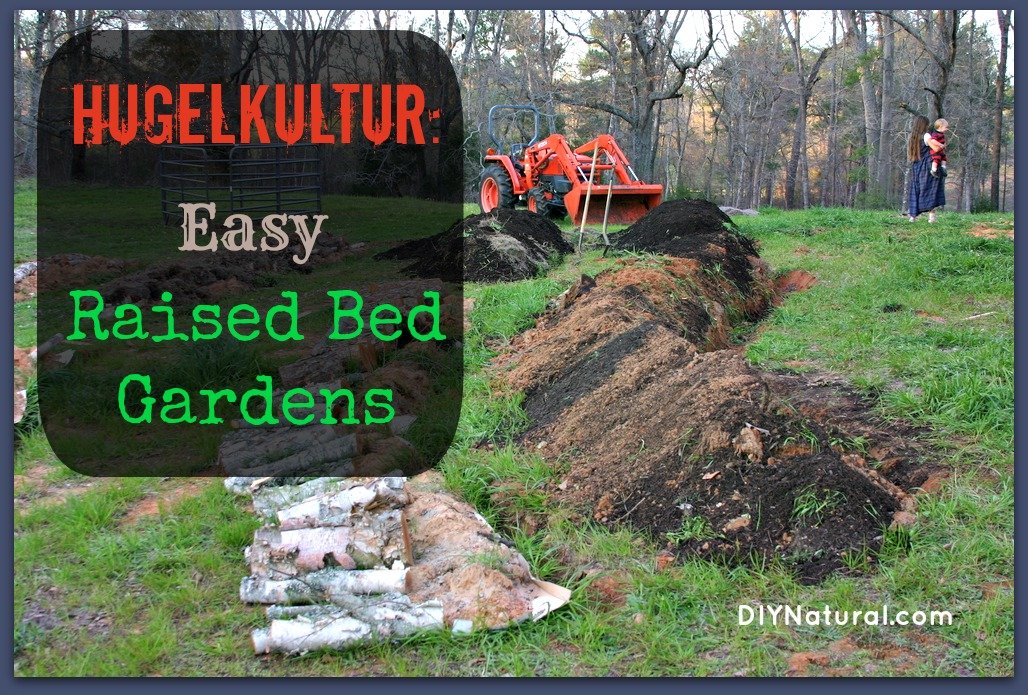
Your bed type influences soil warmth, drainage, and accessibility. Choose based on climate, materials, and how much maintenance you want.
Build Raised Beds for Drainage and Warmth
Raised beds (12–18 inches high) are ideal in damp or compacted soils. They warm up faster in spring and improve root growth. Construct them from:
- Reclaimed planks
- Local lumber (e.g., incense cedar)
- Unedged mounds for no-dig gardens
In Scotland’s damp climate, unedged raised beds help soil dry and warm faster—critical for early planting.
Space Beds for Equipment Access
Allow 5 feet between beds if using a wheelbarrow or garden tractor. This width accommodates turning radius and prevents soil compaction from stepping on beds.
For smaller spaces, 3-foot-wide beds with 18-inch paths work well for hand tools and kneeling access.
Consider Alternative Bed Types
- In-ground beds: Good for root crops like potatoes, but require strong crop rotation to avoid soil fatigue
- Hugelkultur: Raised beds built over buried wood; retain moisture and build fertility over time
- No-dig beds: Layer compost and mulch directly on grass (e.g., Ruth Stout method); suppress weeds and feed soil life
Plan for Sun, Slope, and Climate
Sunlight, wind, and rainfall dictate what will thrive. Ignoring these factors leads to poor growth and frustration.
Map Sun Exposure Accurately
Use a compass app to mark north on your plan. Track how sunlight moves across the space throughout the day.
- South-facing areas (in the Northern Hemisphere) get the most sun—ideal for tomatoes, peppers, squash
- East gets morning sun—good for leafy greens
- West has hot afternoon sun—suitable for heat-tolerant crops
- North is shadiest—best for shade-loving plants like mint or hostas
Note obstructions: a birch tree in Finland blocked southeast sun, reducing growing potential.
Manage Slope and Drainage
On sloped land, build beds across the contour (not up and down) to prevent erosion. Adjust bed height: 40 cm at the back, 30 cm at the front, as done in Finland.
For flat areas, ensure slight grading away from structures to avoid water pooling.
Protect from Wind and Heat
- Windbreaks: Use wattle fences, currant bushes, or trellises with peas/beans
- Shade: In hot climates (like California), use shade cloth or plant tall crops (corn, sunflowers) to shield delicate plants
- Microclimates: A south-facing wall creates warmth—great for fruit trees or cold-sensitive herbs
Protect Your Garden from Pests and Animals
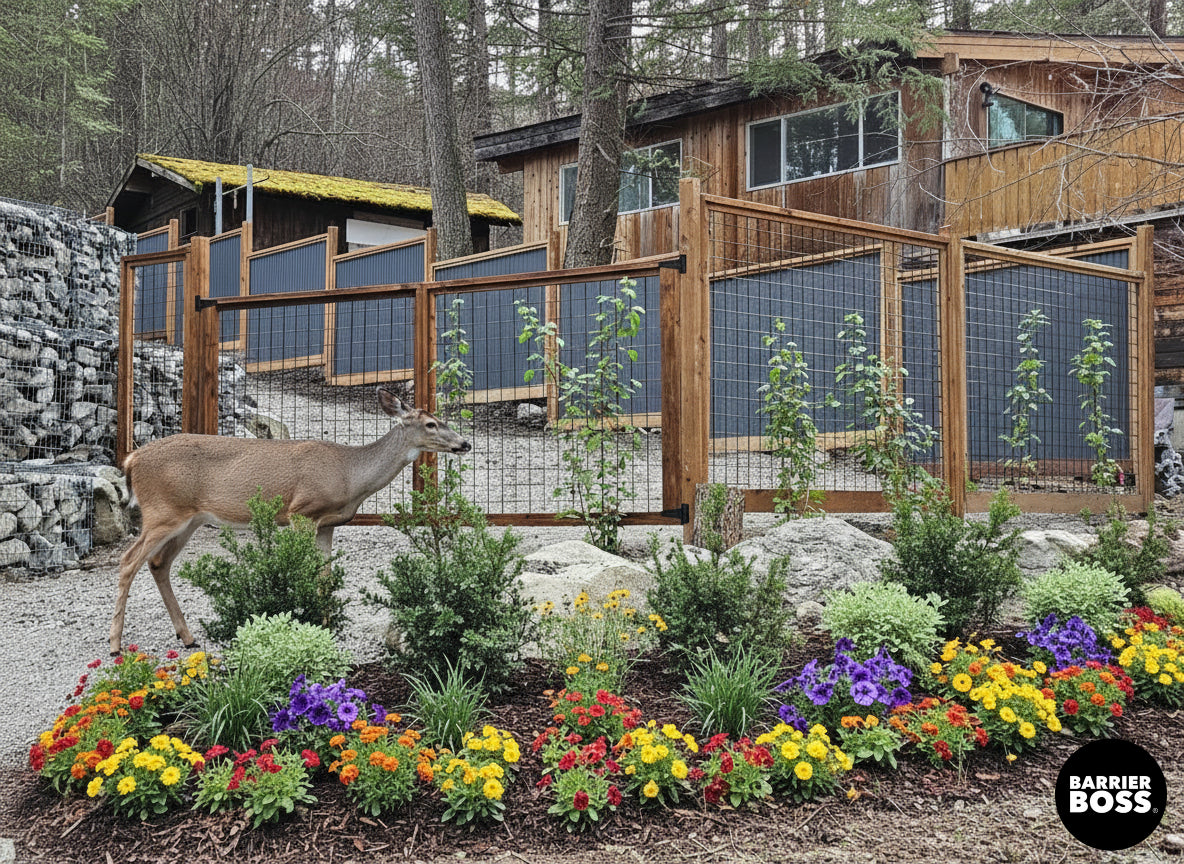
Plan protection early—after planting is too late.
Install Deer Fencing Before Planting
In areas with heavy deer pressure (10+ seen daily), a 2-acre deer fence is essential. Build it before installing beds. Consider reserving adjacent land for wildlife to reduce browsing pressure.
Use 8-foot-tall fencing or electric options if deer jump.
Exclude Smaller Critters Strategically
- Rabbits and rodents: Use wattle fencing (as in Scotland) or hardware cloth around beds
- Moles: Accept their presence if possible; they aerate soil but may disturb roots
- Dogs: Low wattle fences keep pets out without blocking views
Some gardeners choose coexistence—no fence, but avoid tempting crops like young lettuce.
Prepare Soil the Natural Way
Healthy soil grows healthy plants. Skip tilling and work with nature to build fertility over time.
Start Sheet Mulching in Advance
If planning in spring, begin sheet mulching in summer or fall. Layer cardboard, compost, manure, and straw directly on grass. Let worms and microbes break it down over months.
This no-dig method produces rich soil by planting season—with less labor than digging.
Make and Use Compost
Create compost from local materials: goat manure and straw (as in California), kitchen scraps, or grass clippings. Aim for 2.5 cubic yards for a medium-sized garden.
Use compost to top-dress beds or brew Aerated Compost Tea (AACT) with a worm bag for liquid fertilizer.
Rotate Crops and Use Green Manures
Avoid planting the same family (e.g., tomatoes, peppers, potatoes) in the same spot yearly. Rotate crops to prevent disease and nutrient depletion.
Fill empty beds with green manures like clover or vetch. They fix nitrogen and prevent weeds.
Design Paths and Access Points
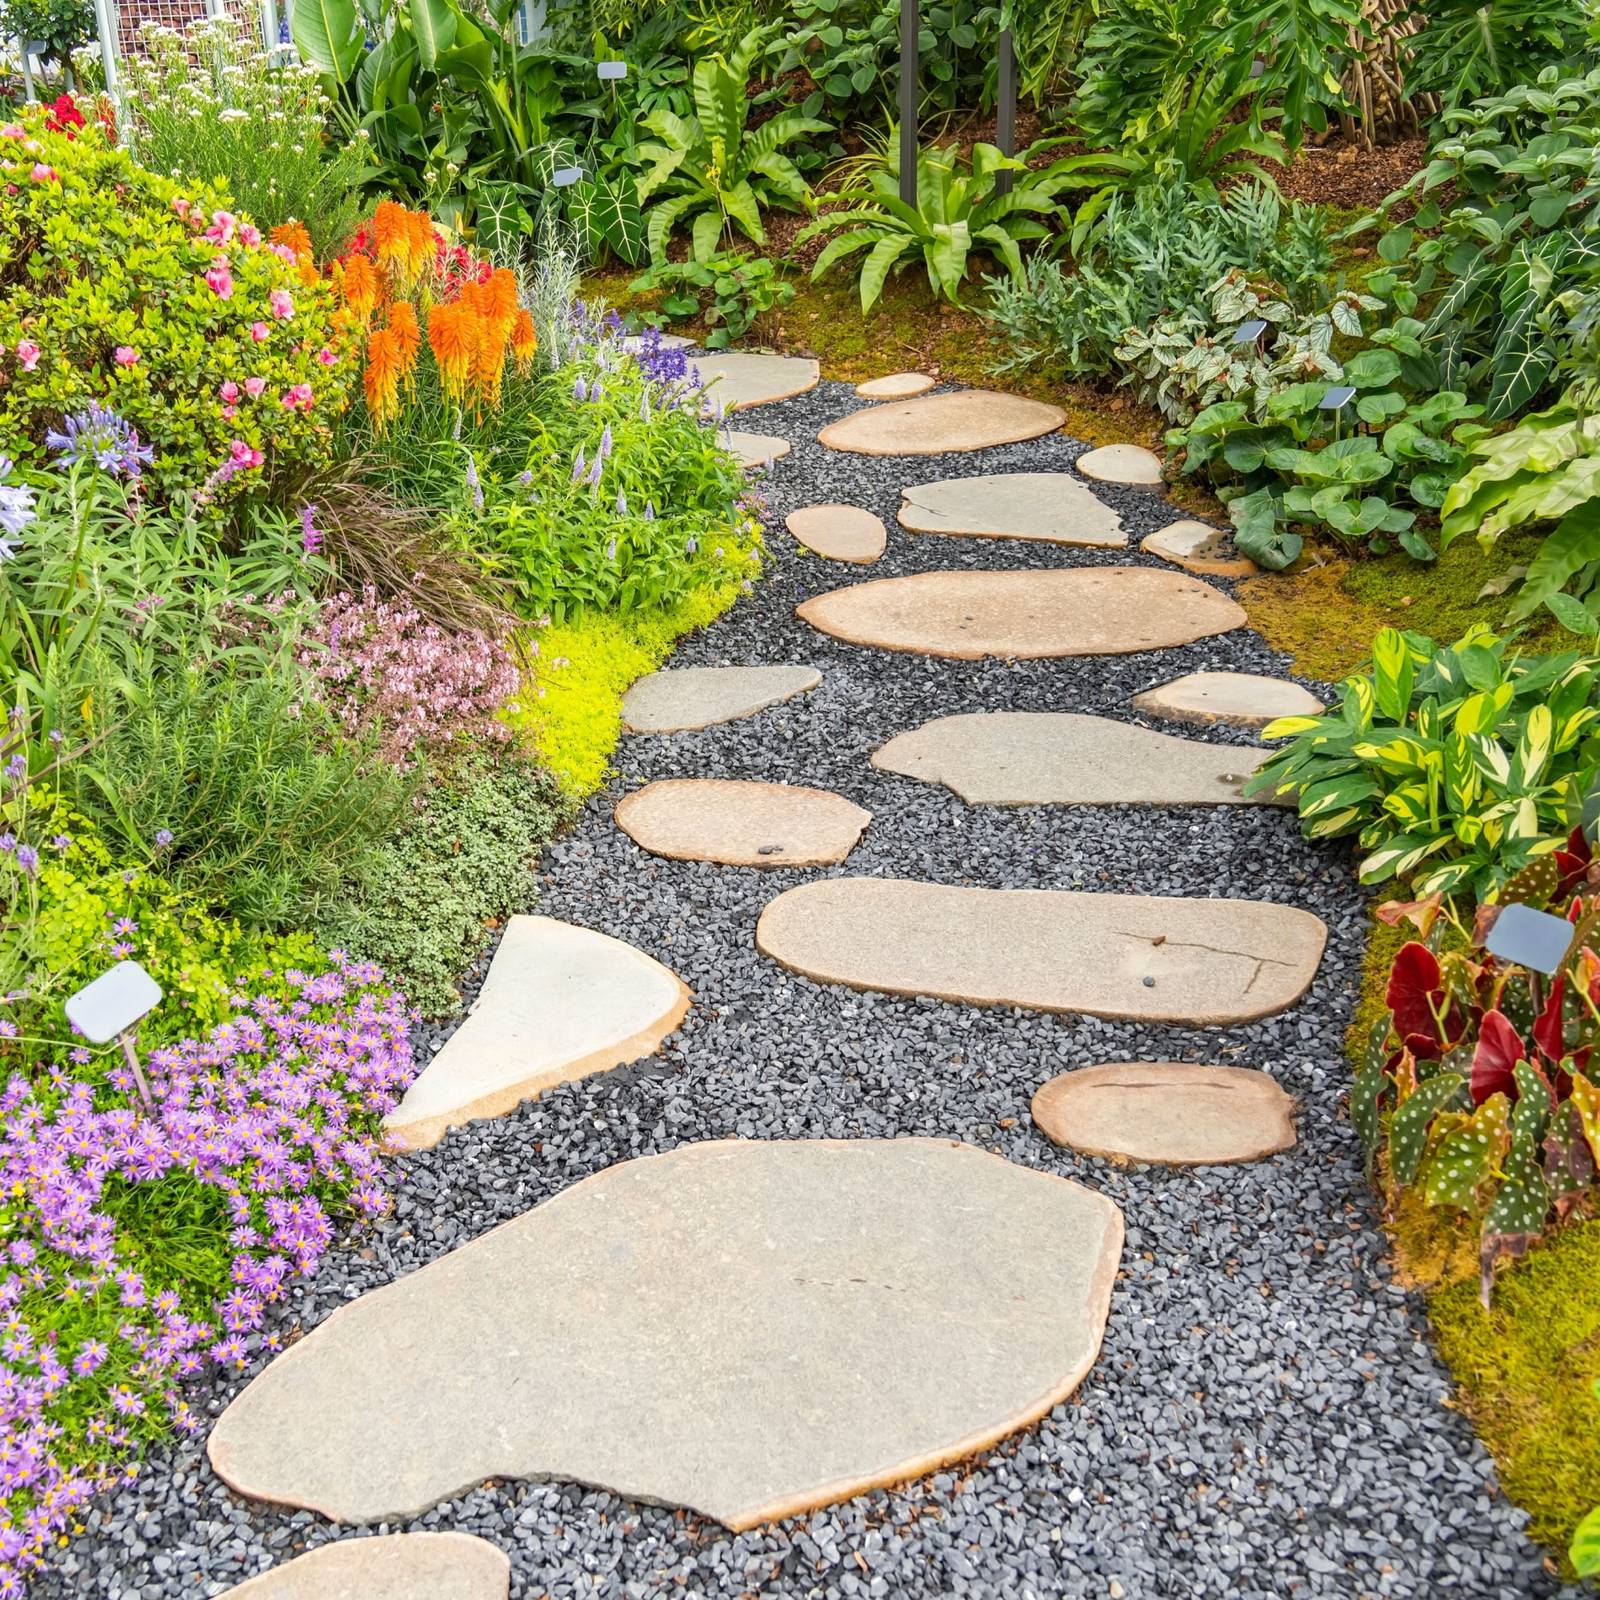
Paths aren’t just for walking—they define the garden’s flow and protect soil.
Shape Paths to Fit the Space
Use an inverted S-shape or curved paths to guide movement through larger gardens. In small spaces, straight, perpendicular paths maximize access.
Avoid stepping on beds—compacted soil harms roots and drainage.
Use Durable Path Materials
- Gravel: Long-lasting, good drainage
- Mulch: Cheap and natural, but needs replenishing
- Flagstone or bricks: Decorative, but costly
Ensure all beds are reachable without walking on soil.
Use Design Tools to Visualize Layout
Turn your sketch into a clear, actionable plan using simple or digital tools.
Draw with Graph Paper and Compass
Traditional tools work perfectly:
– Graph paper for scaling
– Ruler and pencil for clean lines
– Compass app to mark north
This low-tech method is accurate and accessible.
Try SketchUp for 3D Planning
For complex designs, use SketchUp to create 3D models. Visualize bed heights, trellises, and polytunnels. Helpful for presenting ideas or planning expansions.
Maintain a Living Garden Plan
Your garden will change—your plan should too.
Update the Plan Annually
After each season, note:
– What grew well
– Where pests appeared
– Which crops failed
Use this to adjust next year’s layout.
Plan Five Years Ahead
Think long-term:
– Where will new berry bushes go?
– Can the garden expand?
– When will trees shade current beds?
A five-year vision prevents overcrowding and wasted effort.
Avoid Common Garden Layout Mistakes
Even experienced gardeners make preventable errors. Know what to avoid.
Don’t “Eyeball It”
Guessing distances leads to misaligned beds and wasted space. Always measure and plot.
Don’t Place High-Maintenance Crops Far Away
Tomatoes need daily checking for pests and watering. If your garden is 100 feet from the house, grow potatoes instead—harvested once.
Don’t Ignore Soil Health
Growing potatoes year after year without rotation (as in Finland) depletes soil. Use crop rotation, compost, and green manures to keep soil alive.
Don’t Forget Water Access
Ensure a hose reaches all beds or install rainwater collection from roofs. In dry climates, 53 inches of rain in six months means long dry spells—plan irrigation early.
Frequently Asked Questions About Garden Layout
How do I start planning my garden layout?
Begin by measuring your space using triangulation and drawing a to-scale plan on graph paper. Include permanent features, sun exposure, and access points. This baseline plan guides all future decisions about beds, paths, and plant placement.
What is the best size for garden beds?
For most home gardens, 4 feet wide by 8–12 feet long works well. This width allows easy access from both sides without stepping on the soil. If using a wheelbarrow or tractor, leave 5 feet between beds for maneuverability.
How do I choose the best spot for my garden?
Pick a location close to your house for daily access. Prioritize south-facing areas for maximum sun. Avoid low spots that collect water and areas shaded by trees or buildings. Test the soil and ensure water access is nearby.
Can I layout a garden without raised beds?
Yes. In-ground beds work well for root crops and in areas with good native soil. Just ensure proper crop rotation and add compost regularly. No-dig sheet mulching is an excellent method for converting grass into fertile in-ground beds.
How do I protect my garden from animals?
Install deer fencing before planting if deer are common. Use wattle fencing or hardware cloth for rabbits and rodents. Consider productive windbreaks like currant bushes or pea trellises that double as protection and food.
Should I rotate crops in my garden layout?
Yes. Rotate plant families each year to prevent disease and nutrient depletion. For example, don’t plant tomatoes where peppers grew last year. Use green manures like clover in off-seasons to restore nitrogen and prevent weeds.
Key Takeaways for Designing Your Garden Layout
A successful garden starts with a clear, to-scale plan that includes measurements, sun patterns, and access points. Use triangulation to plot features accurately and place high-maintenance crops near your back door for easy care. Raised beds improve drainage and warmth, especially in damp climates, while proper spacing ensures equipment can move freely.
Protect your garden early with fencing and windbreaks, and build soil health naturally through composting, crop rotation, and sheet mulching. Update your plan each year and think five years ahead to avoid overcrowding.
Now that you know how to layout a garden the right way, grab your measuring tape, graph paper, and compass app—and start designing the garden you’ve always wanted.



