Chicken manure is one of the most powerful natural fertilizers available to home gardeners. Packed with nitrogen, phosphorus, potassium, and organic matter, it boosts soil fertility, improves structure, and supports healthy plant growth. But raw chicken manure can burn plants and carry harmful pathogens like E. coli and Salmonella. To use it safely and effectively, you must compost or age it properly before applying it to your garden.
For every 10 backyard hens, you’ll collect about three-quarters of a cubic yard of manure and bedding per year—enough to fill a 3x3x2-foot pile. Left untreated, that waste can attract pests, smell foul, and introduce weed seeds or disease. But when managed correctly, it becomes black gold for your soil. This guide shows you exactly how to compost, store, and apply chicken manure safely—whether you’re growing garlic, chillies, or leafy greens.
Compost Before Use
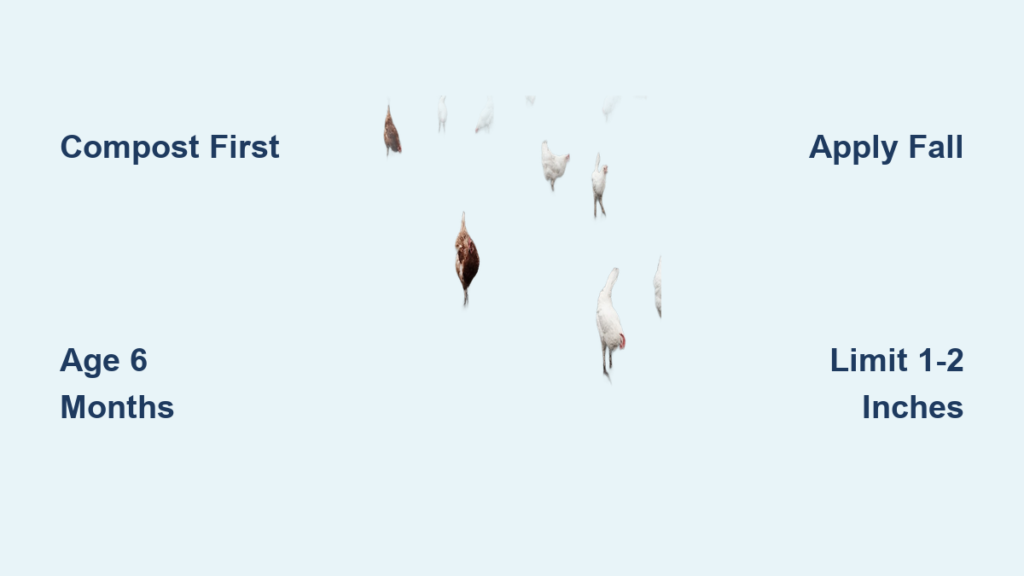
Raw chicken manure is too hot for direct garden use. High levels of ammonia and nitrogen can damage roots and kill seedlings. Composting transforms it into a safe, slow-release fertilizer that feeds plants over time.
Why Composting Is Essential
Composting eliminates risks associated with fresh manure. At temperatures between 140°F and 160°F, harmful pathogens like Salmonella and E. coli are destroyed. Weed seeds are also killed if the pile heats sufficiently. The process stabilizes nutrients, preventing leaching and reducing odor.
Composted manure improves soil structure, increases water retention, and feeds beneficial microbes. Unlike synthetic fertilizers, it builds long-term soil health instead of providing a short nutrient spike.
Hot Composting: Fast Results in 18 Days
For gardeners who want finished compost quickly, the Berkeley method delivers results in under three weeks.
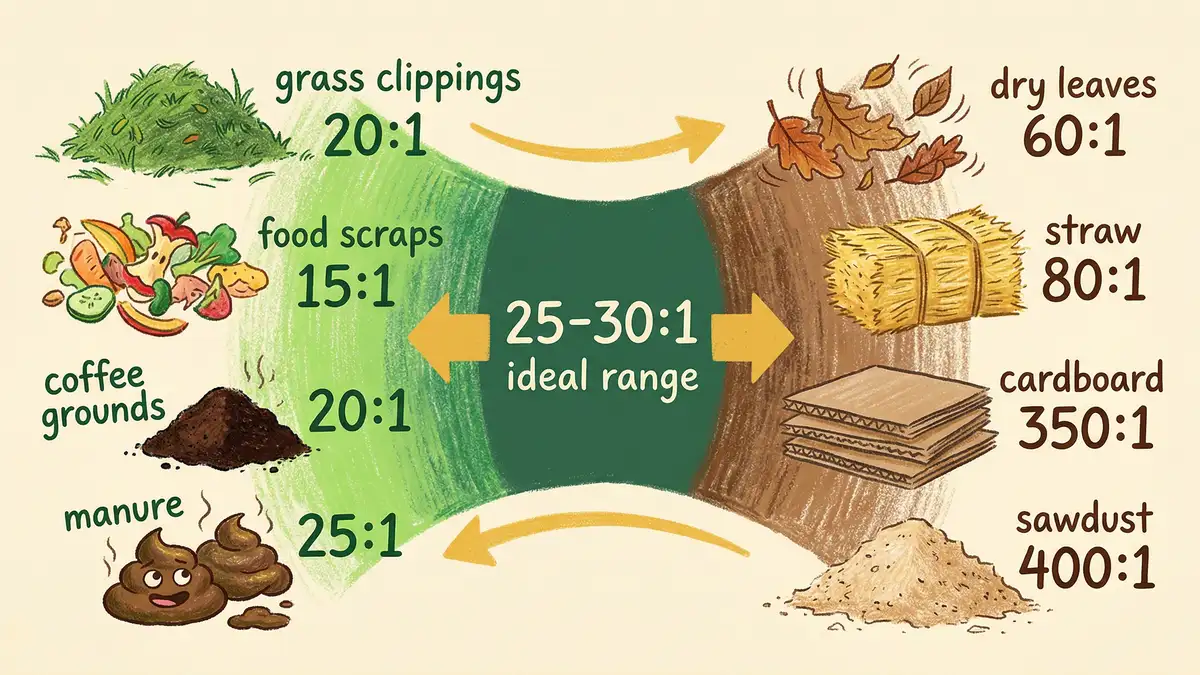
Maintain a 25:1 Carbon-to-Nitrogen Ratio
Use 3 parts carbon-rich bedding (straw, wood shavings, dry leaves) to 1 part nitrogen-rich manure. This balance fuels microbial activity without excess ammonia.
Build a 4x3x3-Foot Pile
A pile of this size retains heat effectively. Smaller piles cool too fast; larger ones may lack oxygen in the center.
Keep Moisture at 50%
The pile should feel like a damp sponge—wet but not dripping. Too dry slows decomposition; too wet causes foul odors.
Turn Every Other Day After Day 4
Let the pile heat up for four days, then turn it on days 5, 7, 9, 11, 13, 15, and 17. Turning reintroduces oxygen and ensures even breakdown.
Finished by Day 18
By day 18, the pile should be warm (not hot), earthy-smelling, and crumbly. It may host earthworms—proof of healthy decomposition.
Pro Tip: Add compost activators like comfrey, fish emulsion, or diluted human urine to speed up the process.
Cold Composting: Low Effort, Long Wait
If you lack time or space for frequent turning, cold composting works—but takes 6 to 12 months.
Simply pile manure and bedding and let nature take over. No turning is required, but decomposition is slower and less reliable for killing pathogens.
To reduce odor and pests:
• Cover fresh additions with carbon material
• Avoid adding meat, dairy, or oily foods
• Keep the pile well-drained
Always cure cold compost for at least 80–120 days before using on food crops. Apply it in the fall so it breaks down fully before spring planting.
Age Manure Safely
If composting isn’t possible, aging is a viable alternative—but less effective than hot composting.
How Aging Reduces Risk
Aging allows pathogens to die off naturally due to drying, temperature shifts, and lack of nutrients. However, it does not actively kill bacteria or weed seeds like hot composting does.
To age manure:
• Spread it in a dry, covered area
• Protect from rain to prevent nutrient leaching
• Let it sit for at least 6 months
After aging, the material should look dark and soil-like. Never apply manure younger than 80 days to edible crops.
Dry Manure to Prevent Odors
If you can’t turn a compost pile weekly, dry the manure first.
After cleaning the coop:
• Spread manure thinly on a tarp
• Leave in full sun for several days
• Flip occasionally to ensure even drying
Dry manure stops microbial activity, eliminating odors. Once dry, store it in a sealed container or add it to a compost pile later.
Store Manure Properly
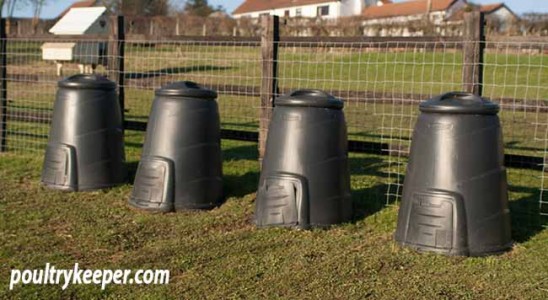
Improper storage leads to runoff, odors, and contamination risks.
Isolate From Gardens and Play Areas
Store manure in a covered, elevated location away from vegetable beds, water sources, and children’s play zones. This prevents nutrient runoff and accidental exposure.
A 3x3x2-foot bin is sufficient for 10 hens’ annual output. Line it with wood chips or straw to absorb moisture.
Prevent Liquid Runoff
Ensure the storage area drains well. Standing liquid breeds pathogens and creates foul smells. Use gravel or a slatted floor to improve airflow and drainage.
Keep Out of Reach
Always secure manure from pets, livestock, and children. Use a latched bin or fenced enclosure.
Apply at the Right Time

Timing your application prevents contamination and maximizes nutrient uptake.
Fall Application: Safest and Most Effective
Apply composted manure in fall or winter. This gives it months to integrate into the soil before planting.
Benefits:
• Pathogens further degrade over winter
• Nutrients stabilize
• Soil structure improves before spring
Fall is ideal for garlic, which benefits from manure mulch applied after planting.
Spring: Apply 4–6 Weeks Before Planting
If applying in spring, do so 4 to 6 weeks before sowing or transplanting. This allows time for any residual ammonia to dissipate and nutrients to become plant-available.
Avoid applying manure just before planting seeds or seedlings—they’re most vulnerable to burn.
Respect Harvest Intervals
To reduce foodborne illness risk:
• Non-ground-contact crops (tomatoes, peppers, trellised cucumbers): Apply no later than 90 days before harvest
• Ground-contact crops (lettuce, strawberries, carrots): Apply no later than 120 days before harvest
These guidelines are especially important for at-risk individuals, including pregnant women, young children, and those with compromised immune systems.
Use the Right Amount
Even composted manure can harm soil if overapplied.
Limit to 1–2 Inches Per 100 Square Feet
A thin layer—1 to 2 inches—spread over 100 square feet is sufficient. More than that risks nutrient overload, especially nitrogen and phosphorus.
Overloading can:
• Alter soil pH
• Inhibit seed germination
• Cause nutrient runoff into waterways
Mix Into Top 6–8 Inches of Soil
Work composted manure into the top 6 to 8 inches of soil using a fork or tiller. This ensures even distribution and prevents surface crusting.
Avoid leaving manure on the soil surface, where rain can wash nutrients away.
Try the Deep Litter Method
Turn your coop into a composting system with the deep litter method.
Add Bedding Instead of Cleaning
Instead of removing manure weekly, add 3–4 inches of fresh bedding (straw or wood shavings) every few months. Over time, beneficial microbes break down waste.
Benefits:
• Reduces cleaning to twice a year (spring and fall)
• Suppresses coccidiosis, mites, and lice
• Builds immunity in chicks
Remove and Compost Annually
When cleaning, remove the entire bedding layer and add it to your compost pile or hugelkultur bed. It will finish breaking down off-site.
For small flocks, Eglu coops make this easy with removable trays that slide out in seconds.
Fertilize in Place for Perennials
Skip composting for non-edible or low-risk plants.
Use Aged Manure Around Trees and Shrubs
Spread well-aged manure (cured 80+ days) around fruit trees, ornamentals, or perennial herbs. Lightly mix it into the topsoil.
This method:
• Saves compost space
• Feeds deep-rooted plants slowly
• Avoids food safety concerns
Never use fresh manure near edibles.
Grow Better Garlic and Chillies
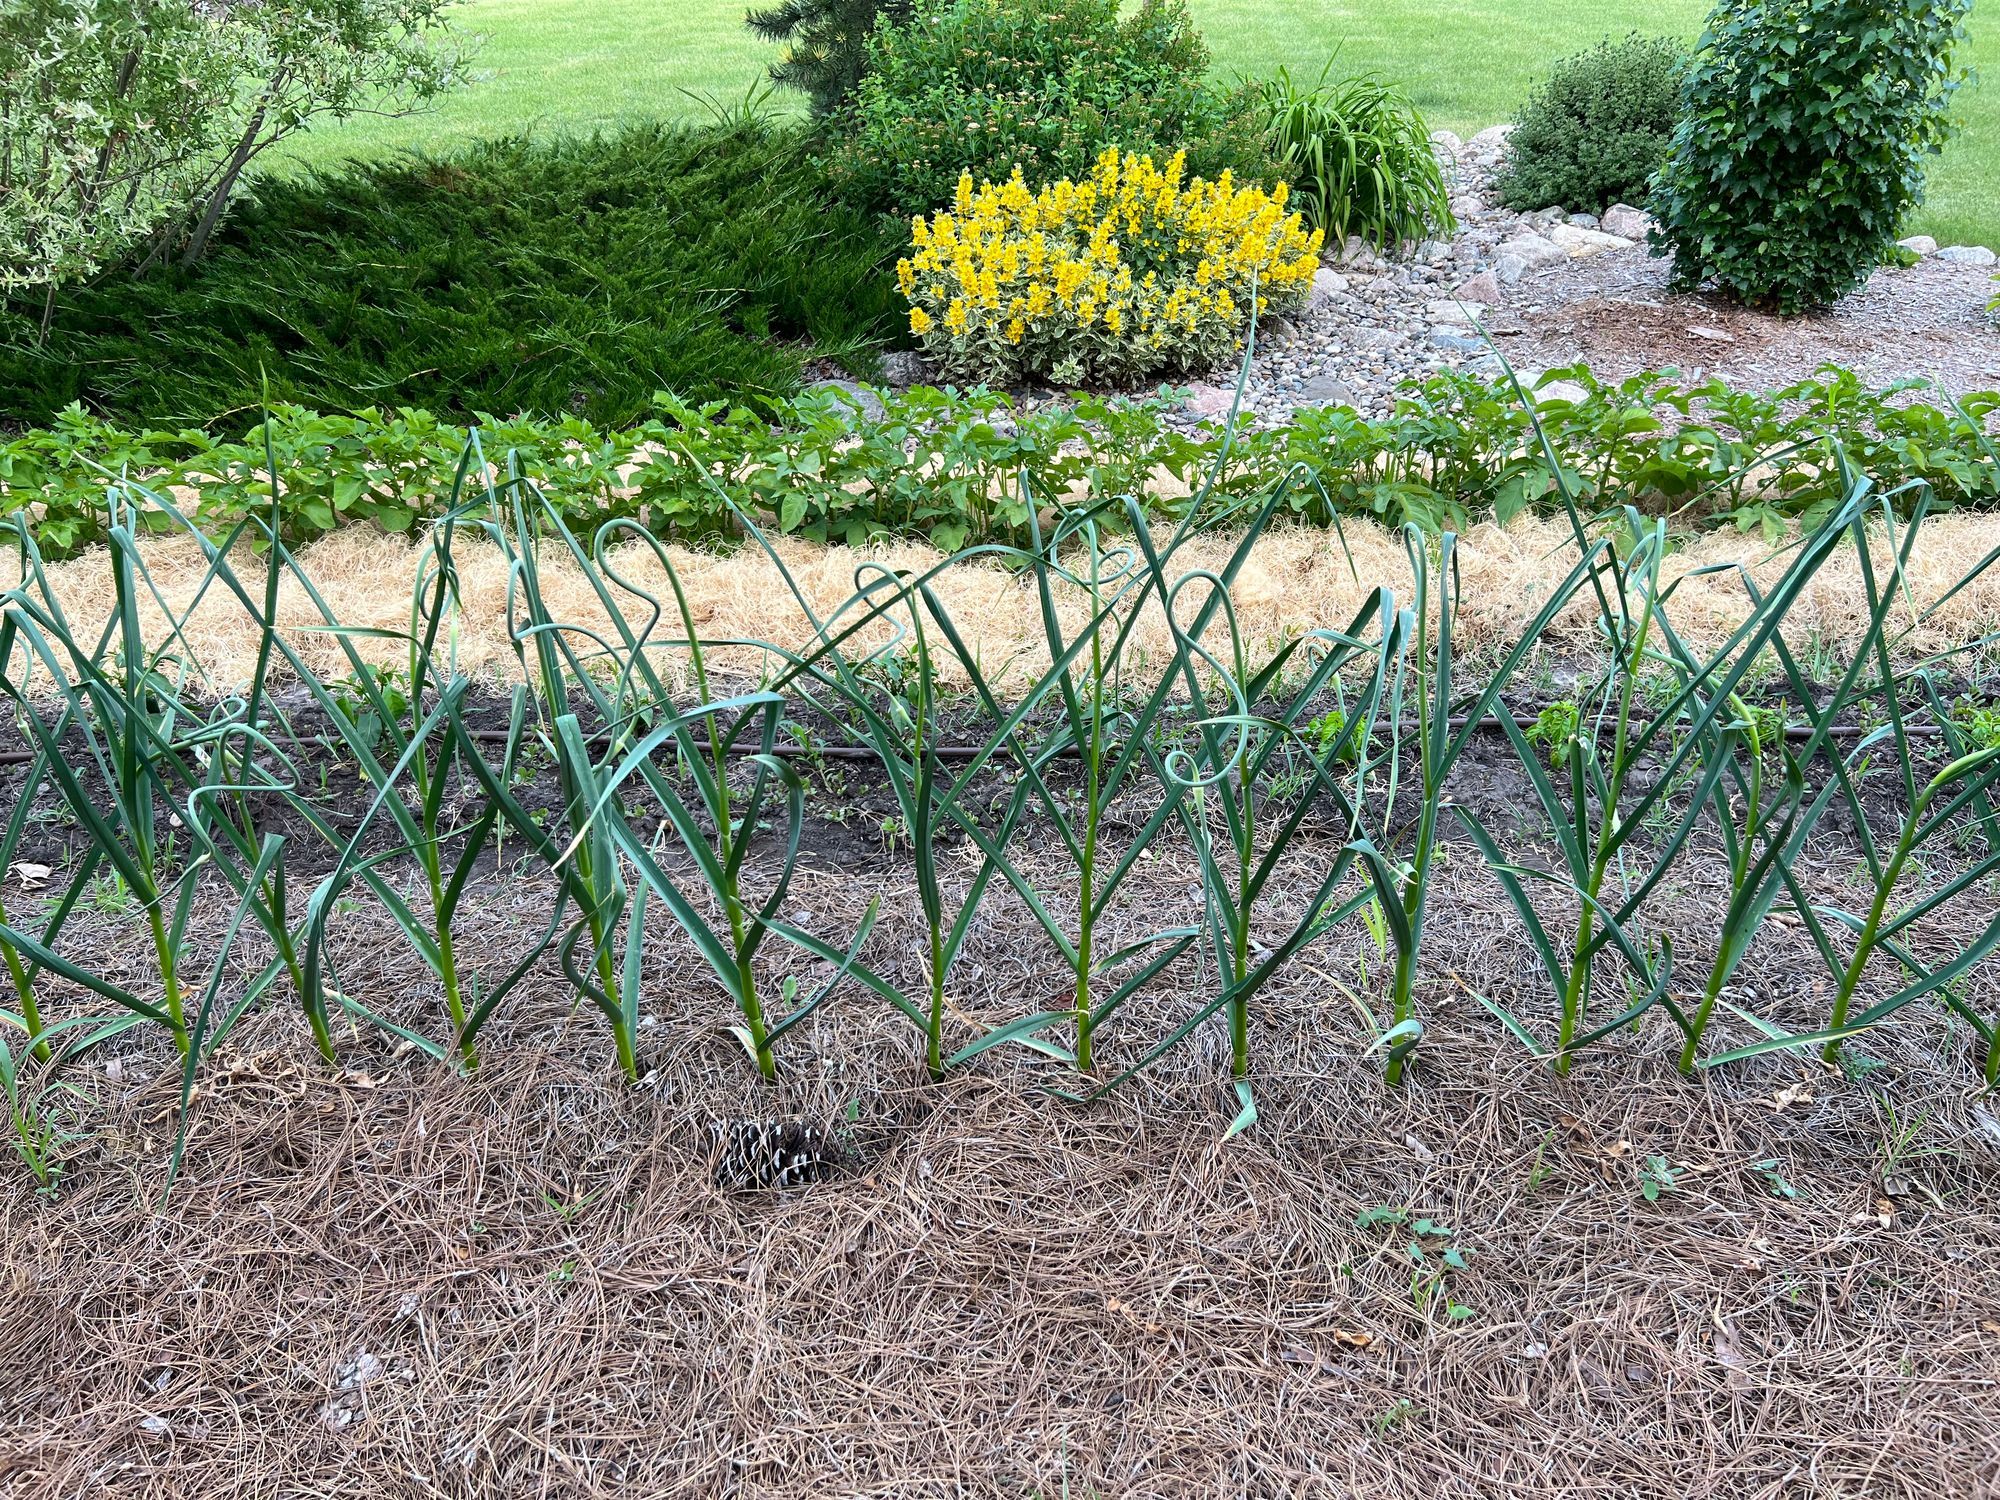
Tailor your manure use to specific crops for best results.
Mulch Garlic With Manure in Fall
Apply composted chicken manure as mulch around garlic after planting in autumn. By harvest time in summer, it will be fully broken down.
Avoid direct contact with cloves. Use only composted or aged material.
Prepare Chilli Beds With Biochar and Manure
One gardener achieved a bumper chilli crop using:
• Raised beds with biochar
• Chicken manure pellets
• A “urine smoothie” compost activator
For best results:
• Compost manure with wood chips and biochar to balance nitrogen
• Turn pile regularly with an earth auger
• Aim for finished compost by early June planting
Biochar buffers excess nitrogen and improves soil carbon retention.
Prevent Common Problems
Even experienced gardeners make mistakes with chicken manure.
Avoid Plant Burn
Burn occurs when fresh manure contacts roots. Symptoms include yellowing leaves, stunted growth, and plant death.
Fix: Always use composted or aged manure. Wait at least 80 days after aging before applying.
Stop Foul Odors
Sewage-like smells mean the pile lacks oxygen.
Fix: Turn the pile weekly. Ensure proper drainage. Add dry carbon materials like leaves or cardboard.
Eliminate Weed Seeds
Weed seeds survive in cold or improperly managed compost.
Fix: Use hot composting (140°F+). Avoid feeding chickens processed grains or mixed seeds—viable seeds pass through their digestive tract.
One gardener reported a 20-year weed battle from contaminated manure.
Monitor Soil pH
Laying hen manure often contains calcium supplements, which can raise soil pH over time.
Fix: Test soil annually. If pH rises above 7.5, reduce manure use or apply sulfur to lower it.
Prevent Nitrogen Runoff
Store manure uphill from gardens and comfrey hedges. Use covered bins to keep out rain.
Runoff can pollute water and over-fertilize plants.
Frequently Asked Questions About Using Chicken Manure in the Garden
Can I use fresh chicken manure in my garden?
No. Fresh chicken manure is too high in ammonia and nitrogen and will burn plant roots. Always compost or age it for at least 6 months before use.
How long does it take to compost chicken manure?
With hot composting (Berkeley method), you can have finished compost in 18 days. Cold composting takes 6 to 12 months. Always cure compost for at least 80–120 days before using on edible crops.
Can chicken manure make me sick?
Yes, if used improperly. Raw manure may contain E. coli, Salmonella, and other pathogens. Proper composting at 140°F–160°F kills these bacteria. Always wear gloves and wash vegetables thoroughly.
How much chicken manure should I apply to my garden?
Apply no more than 1–2 inches of composted manure per 100 square feet. Mix it into the top 6–8 inches of soil to avoid nutrient runoff and plant burn.
Can I use chicken manure on all plants?
Yes—once composted or aged. It’s safe for garlic, chillies, tomatoes, and leafy greens. Avoid fresh manure on any plant, especially root crops and seedlings.
Does chicken manure affect soil pH?
Yes. Laying hen manure often contains calcium supplements that can raise soil pH over time. Test your soil annually and adjust with sulfur if pH exceeds 7.5.
Key Takeaways for Using Chicken Manure in the Garden
Chicken manure, when composted or aged properly, is a powerhouse for garden soil. It builds fertility, improves texture, and reduces the need for synthetic fertilizers. The key is patience: never apply fresh manure, and always respect composting timelines and harvest intervals.
For fastest results, use the Berkeley hot composting method. For low effort, try cold composting or the deep litter method. Apply in fall when possible, limit to 1–2 inches per 100 sq ft, and always mix into the soil.
Test your soil yearly, especially if using manure regularly. And never forget safety: wear gloves, wash produce, and keep manure away from kids and pets. With these practices, you’ll turn waste into wealth and grow healthier, more productive plants year after year.