
You’ve seen them in modern backyard gardens—sleek, long-lasting raised beds with corrugated metal sides and clean wood caps. But you don’t need to buy expensive planters. With basic tools and a weekend, you can build metal raised garden beds that last decades, reduce back strain, and boost your harvest.
These 26-inch-tall, 8×4-foot beds combine rot-resistant lumber and galvanized steel for strength and style. They’re designed to minimize soil costs using the “Lazy Man’s Lasagna” fill method and include smart upgrades like seating edges and pest-proof walls. This guide gives you every step—from cutting wood and attaching steel to filling and maintaining your bed—for a durable, high-yield garden that’s built once and lasts a lifetime.
Cut Lumber to Exact Dimensions
Prepare All Wooden Frame Components
Start by cutting your 2×4 treated pine or cedar into precise lengths for a square, sturdy frame:
- Two 96-inch (8-foot) boards – long side frames
- Two 43-inch boards – short ends (to fit inside long sides for a cleaner joint)
- Four 19-inch vertical supports – one at each corner and one in the center of each long side
- Two 96-inch and two 48-inch top cap boards – for edge protection and seating
Use a circular saw or miter saw for straight, accurate cuts. Label each piece as you go to avoid mix-ups during assembly.
Pro Tip: Cutting the short ends to 43 inches instead of 48 allows them to fit inside the long boards. This creates a stronger, more professional-looking joint and prevents wood splitting at the corners.
Assemble the Base Frame with Pocket Screws
Secure Vertical Supports for Maximum Strength
Use a Kreg Jig to drill pocket holes on both ends of each 19-inch vertical support. These hidden joints prevent exposed screws and increase durability.
Lay one 8-foot board flat and clamp the vertical supports in place:
– One at each end
– One in the center
Attach with 2.5″ pocket hole screws. Repeat for the second long side.
Now slide the 43-inch end pieces inside the long sides. Clamp tightly and secure with 2.5″ screws through the outer frame into the ends.
Common Mistake: Skipping clamps leads to misaligned corners. Always clamp before screwing to ensure a square frame.
Check for square by measuring diagonally from corner to corner. Both measurements should be equal. Adjust if needed before final tightening.
Attach the Top Cap for Safety and Comfort
Add a Finished Edge and Garden Seating
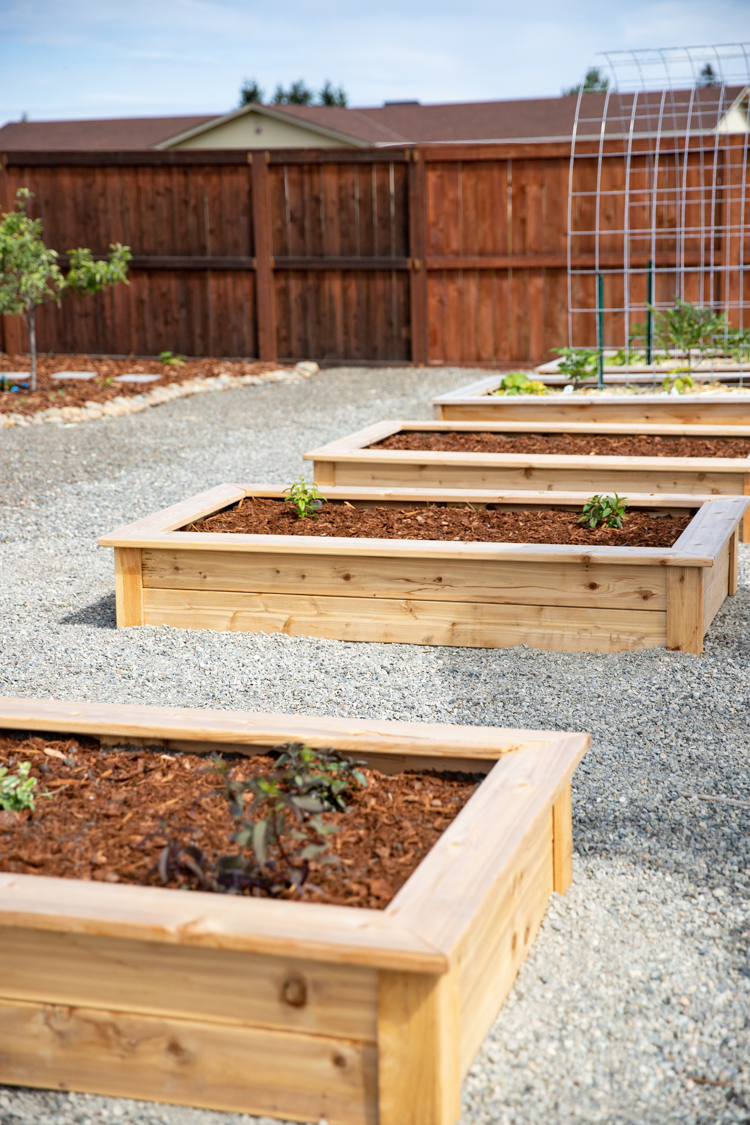
The top cap protects against sharp metal edges and doubles as a bench for weeding and planting.
Cut two 96-inch and two 48-inch boards from 2×4 lumber. Assemble them into a rectangular cap using 2.5″ pocket hole screws.
Place the cap on the frame with a 1-inch overhang on all sides. This overhang covers the steel edges and creates a smooth, safe surface.
Secure with 3″ coated deck screws driven from above, spaced every 12–16 inches.
Visual Cue: The finished top should show a uniform lip with no exposed wood ends or metal edges.
Seal All Wood Surfaces Against Moisture
Extend Lifespan with Waterproof Protection
Even pressure-treated wood absorbs moisture over time. Apply Thompson’s Water Seal (cedar color) or a similar water-repellent product to every surface—sides, ends, and top.
Use a paintbrush for even coverage. Pay extra attention to end grains, which soak up water fastest.
Let dry for 24 hours before moving to the next step. This sealant prevents rot, warping, and UV damage.
Expert Note: Reapply sealant every 1–2 years, especially on top edges exposed to rain.
Install Corrugated Steel Panels
Reinforce Sides for Durability and Pest Control
Measure each side and cut corrugated galvanized steel to size using tin snips, an angle grinder, or a metal-cutting blade.
Each panel should be:
– 26 inches tall (to match bed height)
– 96 inches long for long sides
– 43 inches long for short sides (to fit inside frame)
Wear gloves and eye protection. Deburr sharp edges with sandpaper.
Hold each panel so it sits under the 1-inch overhang of the top cap. This hides raw edges and gives a polished look.
Secure with 1″ self-tapping roofing screws, spaced every 6–8 inches along the frame and supports.
Pro Tip: Pre-drill pilot holes in the steel to prevent bending and ensure clean screw placement.
Repeat for all four sides. The steel resists burrowing pests, prevents soil erosion, and adds structural strength.
Level the Installation Site
Create a Stable, Even Base
Before placing the bed, prepare the ground. Use a shovel or tractor to remove high spots and fill in low areas.
Set the empty frame in place and check with a 4-foot level. Adjust the soil beneath until the bed is perfectly horizontal.
This prevents uneven settling and ensures proper drainage.
Bonus: Save the excavated topsoil for your middle fill layer—free and nutrient-rich.
Fill with the Lazy Man’s Lasagna Method

Save Money and Build Rich Soil Over Time
Filling a 26-inch-deep bed with 100% garden soil is costly. The Lazy Man’s Lasagna method cuts soil use by up to 50% while creating fertile, self-composting soil.
Bottom Layer: Woody Debris for Drainage
Fill the bottom 12–13 inches with:
• Sticks
• Branches
• Logs
• Yard trimmings
This layer improves airflow, prevents compaction, and slowly breaks down into nutrients.
Time Saver: Use storm debris or pruning waste—no need to buy materials.
Middle Layer: Native Topsoil
Add 6–8 inches of local topsoil over the debris. This can be soil you dug up during leveling.
It prevents garden soil from sinking into gaps and gives roots a transition zone.
Top Layer: Premium Garden Soil
Finish with 6–12 inches of high-quality garden soil. This is where seeds and transplants go.
Choose a mix rich in compost and organic matter. Avoid low-grade fill dirt.
Planting Ready: The top layer should be dark, loose, and crumbly.
Add Final Upgrades for Efficiency
Optimize Watering, Weeding, and Longevity
Once filled, install these smart upgrades:
Install Drip Irrigation or Soaker Hose
Lay a soaker hose or drip line just below the top layer. Connect to a timer for consistent, hands-free watering.
Why It Matters: Deep, even moisture reduces stress on plants and saves time.
Mulch Around the Perimeter
Apply 2–3 inches of mulch (straw, wood chips, or leaves) around the base.
Benefits:
• Retains moisture
• Suppresses weeds
• Protects wood from splashback
Do not pile mulch against the wood—it can trap moisture and cause rot.
Recheck Frame Stability
After filling, ensure all screws are tight. In windy or sloped areas, add ground stakes for extra support.
Maintain Your Metal Raised Garden Bed
Keep It Functional for 30+ Years
With minimal care, your bed will last decades.
Reapply Wood Sealant Annually
Inspect wood each spring. If water no longer beads up, reapply waterproof sealant.
Focus on top edges and any areas exposed to rain.
Top Off Settling Soil
As organic layers decompose, soil may sink. Add compost or garden soil every 1–2 years.
Clean Steel Panels
Wipe down metal sides with a damp cloth to remove dirt. No rust treatment is needed—galvanized steel resists corrosion for decades.
Build on a Budget with Smart Savings
Reduce Costs Without Sacrificing Quality
You don’t need all-new materials.
Use Scrap Lumber and Steel
Check construction sites, metal suppliers, or online marketplaces for leftover corrugated panels or treated 2x4s.
Harvest Free Fill Materials
• Bottom layer: Use fallen branches or hedge trimmings
• Middle layer: Reuse your own topsoil
• Top layer only: Buy premium soil (only 6–12 inches deep)
Savings: This method cuts soil costs by up to 50%.
Skip Liners and Gravel
No need for landscape fabric, concrete, or gravel. The layered fill provides natural drainage.
Best Plants for Deep Metal Raised Beds
Maximize Yield and Health
The 26-inch depth and excellent drainage make these beds ideal for:
Vegetables
• Tomatoes
• Carrots
• Peppers
• Zucchini
• Lettuce
Herbs
• Basil
• Thyme
• Oregano
• Cilantro
Flowers
• Marigolds
• Nasturtiums
• Zinnias
Pro Tip: Plant marigolds around the edges—they naturally repel pests.
The height keeps roots deep and soil warm, extending the growing season in spring and fall.
Troubleshoot Common Build Issues
Fix Problems Before They Worsen
Warped or Twisted Wood
Cause: Poor-quality or unsealed lumber
Fix: Use straight, kiln-dried or pressure-treated wood. Seal all sides before installation.
Uneven Settling
Cause: Soft or unlevel base
Fix: Compact soil and use a level during setup.
Soil Compaction
Cause: Overwatering or stepping in the bed
Fix: Never walk on the soil. Use mulch and compost to maintain looseness.
Rust on Steel (Rare)
Cause: Damaged galvanized coating
Fix: Touch up with a metal-safe rust inhibitor. Most corrugated steel lasts 25+ years without issue.
Customize with Design Upgrades
Adapt for Your Space and Needs
Smaller Beds for Patios
Build 4×4-foot versions for balconies. Same method, scaled down.
Double-Wide Beds with Center Path
Install two 4-foot beds side by side with a pathway in between for access from both sides.
Add a Trellis
Attach a metal or wood trellis to one long side for:
• Cucumbers
• Pole beans
• Peas
Secure with U-bolts or brackets to the top cap.
Why Metal Outlasts All-Wood Beds
Durability That Pays Off Long-Term
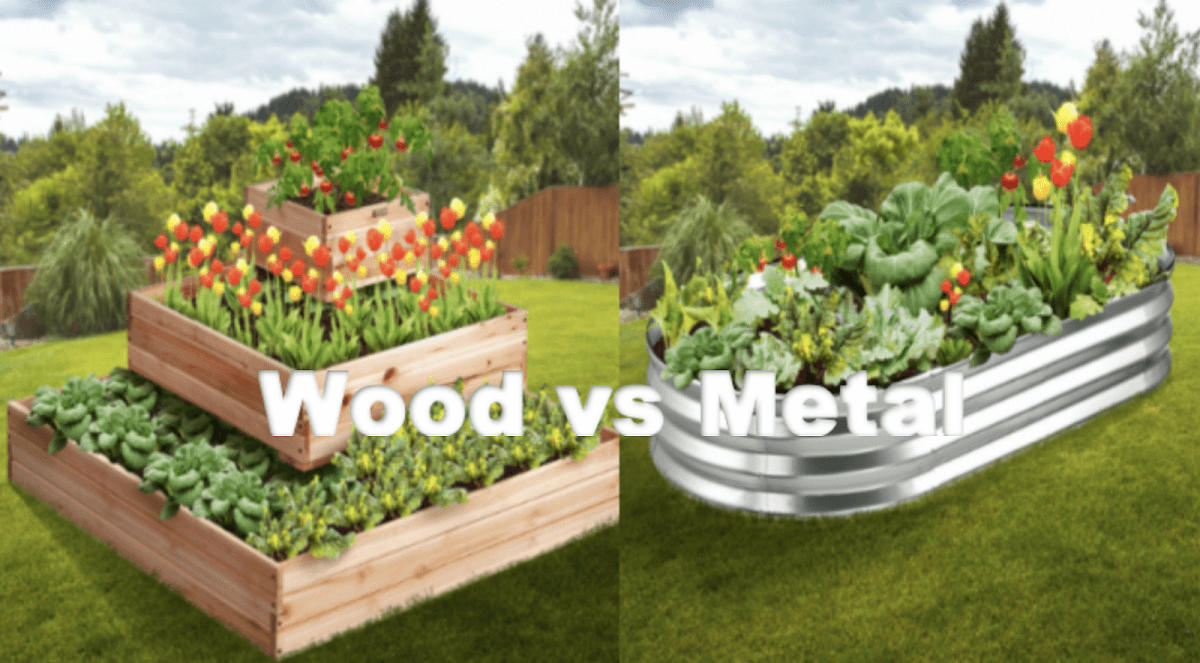
All-wood beds rot in 5–10 years. Metal-lined beds last 25–50+ years.
| Feature | All-Wood Bed | Wood + Metal Bed |
|---|---|---|
| Lifespan | 5–10 years | 25–50+ years |
| Pest Resistance | Low | High |
| Soil Erosion | Moderate | Minimal |
| Maintenance | High | Low |
| Aesthetic | Rustic | Modern, clean |
The steel doesn’t just protect—it enhances performance and appearance.
Frequently Asked Questions About Metal Raised Garden Beds
Can I use untreated wood for metal raised beds?
No. Use pressure-treated pine or cedar to resist rot and moisture. Untreated wood will decay within a few years, especially in contact with soil.
How deep should the topsoil layer be?
Aim for 6–12 inches of premium garden soil on top. This gives most vegetables enough depth to thrive while keeping costs low.
Do I need landscape fabric or a liner?
No. The layered fill provides natural drainage. Adding a liner can trap water and cause root rot. The steel already prevents burrowing pests.
Will the metal rust over time?
Galvanized corrugated steel is designed to resist rust for decades. Most beds show no significant corrosion even after 20+ years.
Can I build this bed on a slope?
Yes. Level the ground beneath the bed using soil or gravel. For steep slopes, consider terracing or anchoring with stakes.
How much does it cost to build one bed?
A single 8×4-foot bed costs $150–$300, depending on material quality. Using scrap steel and free fill materials can reduce costs by 40–50%.
Key Takeaways for Building Long-Lasting Metal Raised Garden Beds
Building metal raised garden beds is a one-time investment with lifelong benefits. You get:
• Less bending thanks to the 26-inch height
• Lower soil costs using the Lazy Man’s Lasagna method
• Fewer pests and weeds from clean, sealed design
• Decades of use from galvanized steel and sealed wood
Follow this guide: use internal end caps, seal all wood, attach steel under the cap, and fill in layers. Add drip irrigation and mulch for low-maintenance gardening.
Now grab your tools and start building. Your most productive, comfortable garden starts with a solid foundation.



