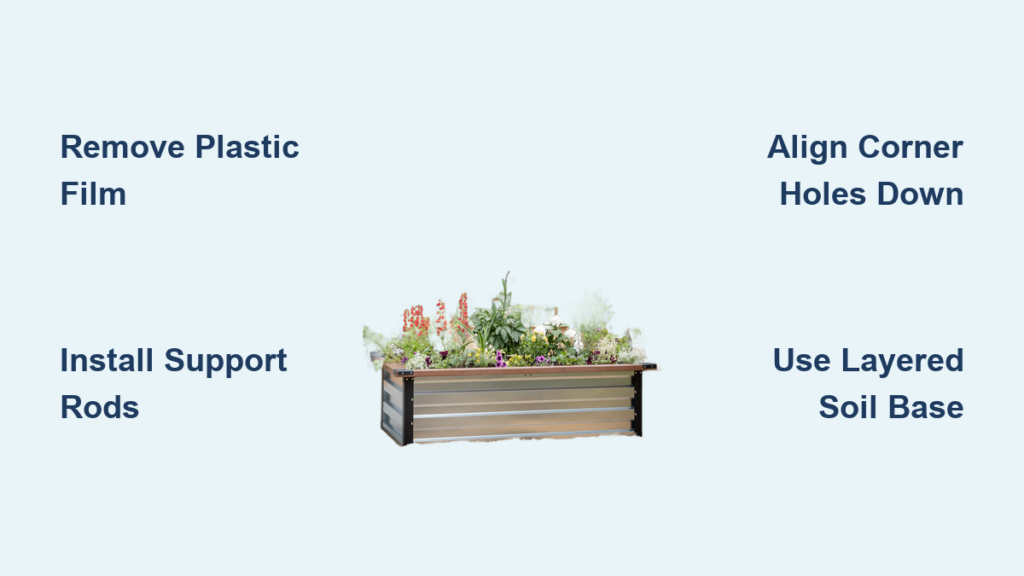
Putting together a galvanized raised garden bed takes less than an hour and transforms your yard into a productive growing space with minimal effort. These beds—made from stainless steel or galvanized metal—resist rust and last far longer than wooden alternatives. Most kits come pre-cut and pre-drilled, requiring only basic tools and careful assembly. Whether you’re building a Vegega 8-foot model or a Best Choice Products 6×3-foot bed, proper setup ensures stability, pest protection, and years of strong performance.
This guide walks you through every step of assembling your galvanized raised garden bed—from unboxing to planting—with real-world tips from verified models. You’ll learn how to orient panels correctly, install support rods, avoid common mistakes, and fill the bed efficiently to save money on soil. By the end, you’ll have a level, sturdy, and safe garden bed ready for compost, seeds, and full sun.
Unbox and Inventory All Components
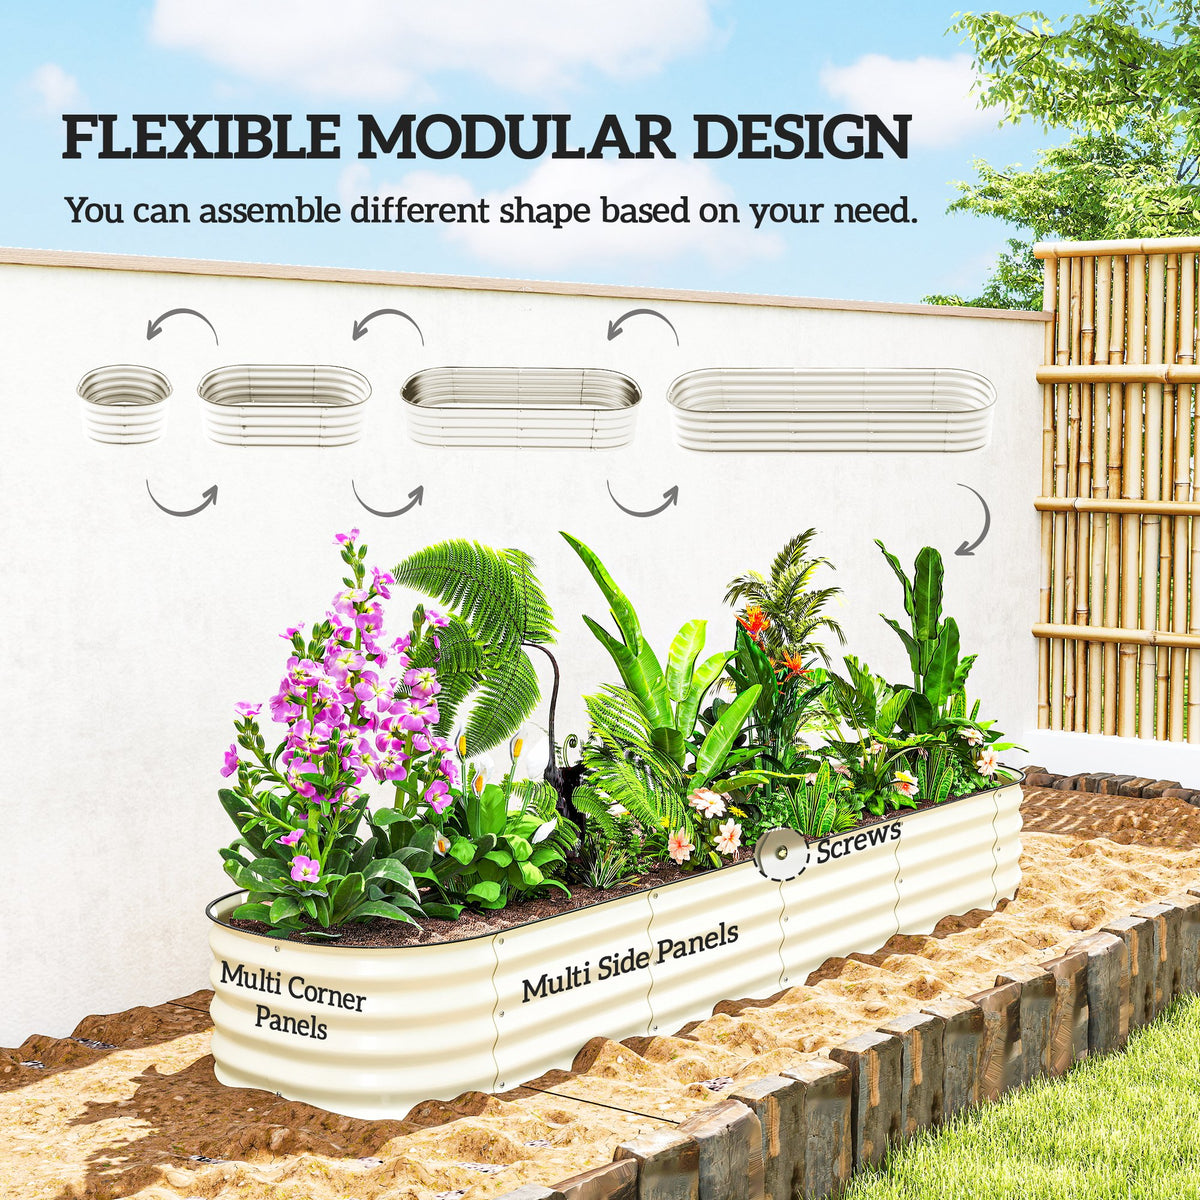
Before connecting any panels, lay out every part on a flat surface to verify contents and prevent missing pieces. Most galvanized raised bed kits include panels, fasteners, support elements, and safety edging. Cross-check each item with the included manual to ensure completeness.
Identify End Panels vs. Side Panels
End panels are shorter—often oval or rectangular—while side panels form the long sides of the bed. On models like the Vegega 8-foot bed, you’ll get two oval end panels and four side panels. For the Best Choice Products 6×3 model, expect two 3-foot side panels and two 2-foot end panels. These shapes create a rectangular frame that holds soil securely.
Check for Essential Hardware
Common components include:
• Bolts, wing nuts, and washers
• Screws for corner connectors
• Support rods or cross braces
• Rubberized top edging strip
• Stainless steel hardware cloth (for pest control)
• Specialized assembly tool (included with Vegega)
Keep small parts in a container to avoid loss. If anything is missing, contact the manufacturer before proceeding.
Prepare Tools and Choose a Flat Work Area
A smooth build starts with the right tools and a level surface. Assembling on uneven ground can lead to a warped frame, so pick a stable spot that matches your garden plan.
Gather These Essential Tools
• Phillips screwdriver – Required for tightening screws on most models
• Included assembly tool – Specific to brands like Vegega for quick fastening
• Rubber mallet – Helps press edging into place without damage
• Work gloves – Protect hands from sharp metal edges
• Spirit level – Ensures the bed sits evenly after placement
No power tools are needed—pre-drilled holes make alignment simple and precise.
Select a Stable, Level Surface
Assemble the bed on concrete, pavers, or compacted soil. Avoid grassy, sloped, or soft ground during construction. If placing the bed permanently, clear vegetation and debris first. A flat base prevents shifting and structural stress once filled with soil.
Connect Side and End Panels Correctly
Begin by forming the rectangular frame. Joining the long side panels to the shorter end panels sets the foundation for added supports and stability.
Align Pre-Drilled Holes Before Fastening
Match the holes on each panel carefully. Misalignment can strip screws or weaken joints. For the Vegega model, insert bolts through the side panel into the end panel, add washers, then secure with nuts. Each corner typically uses four fasteners for maximum strength.
Hand-Tighten First, Then Finalize with Tools
Start by tightening all connections by hand. This allows minor adjustments to keep the frame square. Once aligned, go back with a screwdriver to fully secure each bolt. Stop when snug—over-tightening can damage threads or warp metal.
Install Support Rods or Cross Braces

Soil pressure pushes outward on metal walls, which can cause bowing over time. Support rods or braces prevent deformation and maintain structural integrity.
Insert Horizontal Support Rods (Vegega Model)
On the Vegega 8-foot bed:
1. After attaching three panels, leave the third hole open on each side.
2. Slide the support rod into the gap.
3. Secure both ends with screws and washers.
4. Repeat on the opposite side before adding the final panel.
These rods run across the center, reinforcing the longest span and preventing bulging.
Attach Vertical Cross Support Brace (Best Choice Model)
The Best Choice Products bed uses a central brace:
1. Partially disassemble one side.
2. Slide the cross support into position.
3. Reattach screws and tighten with wing nuts.
4. Ensure the brace lies flat and flush.
This vertical support prevents warping in wider beds and adds long-term stability.
Secure Corner Connectors the Right Way
Some models use metal corner connectors instead of direct panel bolting. These pieces lock panels at 90-degree angles and provide anchor points for stakes.
Position Connectors with Holes Facing Down
Slide the corner piece over the panel ends. Critical tip: The hole at the bottom of each connector must face downward. This allows you to drive stakes through later for ground anchoring, preventing wind shift or settling.
Fasten Using Outer Screws Only
Insert screws through the outer flange of the connector into the panel edge. Tighten securely but avoid stripping the material. Repeat on all four corners to complete the box structure.
Apply the Protective Top Edging
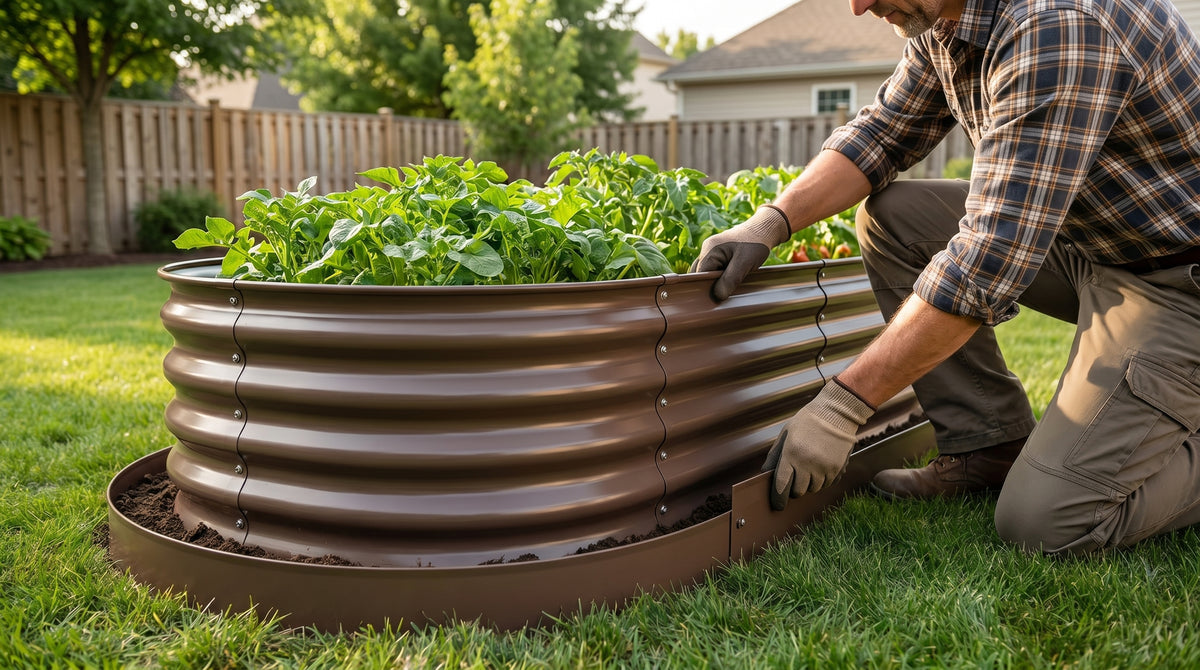
The rubberized edging strip covers sharp metal edges, making the bed safer—especially important in family gardens.
Stretch and Press the Edging Into Place
Start at one corner and work around the perimeter. The strip is flexible but firm; use your thumbs to press it firmly onto the top edge. For stubborn sections, a rubber mallet can help seat it fully.
Confirm Full Edge Coverage
Check that the edging covers every inch of exposed metal. Gaps can lead to cuts or accelerated wear. If your model includes an optional rubber sleeve instead, slide it over each corner post for hand protection.
Prepare the Base for Optimal Drainage and Pest Control

What you place under the bed affects root health, weed growth, and pest access. Choose a method based on your garden’s needs.
Lay Hardware Cloth to Block Burrowing Pests
If your kit includes stainless steel mesh, place it under the bed before filling. This barrier stops rodents from reaching roots. Extend the cloth slightly beyond the bed edges and secure with landscape pins.
Use Cardboard as a Biodegradable Weed Barrier
An eco-friendly alternative: lay overlapping cardboard sheets on the ground. It blocks weeds and decomposes in 4–5 weeks, enriching the soil. Add logs or branches underneath for organic matter buildup.
Fill With Soil Using a Cost-Saving Layered Method

Filling the entire bed with premium soil is expensive. A layered approach cuts costs while improving long-term fertility.
Add 6 Inches of Leaf Mulch First
Start with a base layer of mulched leaves—finely chopped by a lawnmower for faster breakdown. Whole leaves take longer to decompose. This layer adds organic matter and reduces the volume of soil needed.
Spray With Water to Compact the Base
Lightly hose the leaf layer to settle it and begin decomposition. Moisture activates microbes and prevents air pockets when topsoil is added.
Top With Half a Yard of Quality Soil
Fill to 1 inch below the rim to allow space for watering without overflow. For an 8-foot bed, this requires about half a cubic yard of bulk soil. Use a mix rich in compost for best results.
Fill Entirely With Compost for Immediate Planting
Want to plant right away? Skip the layered base and fill the bed completely with high-quality compost.
Why Compost Is Ideal for New Beds
Compost provides nutrients, improves drainage, and supports strong root development. It eliminates the need for synthetic fertilizers and creates an ideal environment for seedlings.
Water and Settle Before Planting
After filling, water thoroughly to eliminate air pockets. Soil will settle—check for low spots and top off with more compost as needed. Let it rest for 24 hours before planting.
Choose the Best Garden Location for Sun and Drainage
Even a perfectly assembled bed won’t thrive in the wrong spot. Sunlight, drainage, and future landscaping all matter.
Match Crops to Daily Sun Exposure
• Full sun (6+ hours): Tomatoes, peppers, squash
• Partial shade (3–6 hours): Lettuce, kale, herbs
• Heavy shade: Radishes, garlic, onions
Observe your yard throughout the day to identify light patterns before placing the bed.
Avoid Low-Lying, Wet Areas
Poor drainage leads to waterlogged roots and plant rot. Choose a slightly elevated or well-drained site. If necessary, raise the bed on gravel or pavers for better airflow.
Anchor the Bed to Prevent Movement
In windy areas or on soft soil, unanchored beds can shift or tilt over time.
Drive Stakes Through Downward-Facing Corner Holes
Use metal or wooden stakes through the downward-facing holes in corner connectors. Hammer them deep into the ground for stability. This also helps secure the bed during heavy rains or strong winds.
Recheck Level After Anchoring
Use a spirit level across the top edges after staking. Adjust stake depth if needed to keep the bed even. A level surface ensures uniform watering and root growth.
Maintain Long-Term Stability and Soil Health
A well-built bed lasts for years with minimal upkeep. Simple seasonal checks keep it performing at its best.
Tighten Fasteners at the Start of Each Season
Before planting, inspect all bolts, screws, and wing nuts. Soil vibration and weather changes can loosen connections. Re-tighten as needed to maintain rigidity.
Refresh Soil With 1–2 Inches of Compost Annually
Each spring, top off the bed with fresh compost. This replenishes nutrients and compensates for natural settling. Mix lightly into the top layer for best results.
Inspect Edging and Hardware Cloth Regularly
Check the rubber edging for cracks or detachment. Replace if worn. Similarly, examine the hardware cloth for gaps or rodent damage—repair with metal patching if necessary.
Frequently Asked Questions About Galvanized Raised Garden Beds
Can I assemble a galvanized raised garden bed by myself?
Yes, most models are designed for one-person assembly. Pre-drilled holes and lightweight panels make setup easy. For larger beds like the 8-foot Vegega model, a second person can help with alignment but isn’t required.
Do I need tools to put together a metal raised bed?
Only a Phillips screwdriver is essential for final tightening. Some models include a specialized tool. No power tools are needed—hand tightening is sufficient for secure connections.
Should I remove the plastic film before assembling?
Yes, always remove the plastic cling film from panels before assembly. This film protects the finish during shipping but prevents proper alignment and secure fastening if left on.
How do I stop the sides from bowing under soil pressure?
Install support rods (Vegega) or a cross brace (Best Choice Products) during assembly. These prevent outward bulging and maintain the bed’s shape over time.
Can I place a raised bed on grass or dirt?
Yes, but clear grass and level the ground first. Use cardboard or hardware cloth underneath to block weeds and pests. Avoid soft, sloped, or low-lying areas to prevent shifting and poor drainage.
How much soil do I need for an 8-foot galvanized raised bed?
For an 8-foot bed (2ft wide x 17in high), you’ll need approximately half a cubic yard of soil. Using a layered base of leaves and compost reduces the amount of topsoil required.
Key Takeaways for Assembling Your Galvanized Raised Garden Bed
• Always remove plastic film and orient panels with the coated side facing outward for weather resistance
• Use support rods or braces to prevent bowing under soil pressure
• Ensure corner connector holes face downward for future staking
• Fill with a layered base of leaves and compost to save on soil costs
• Water thoroughly after filling to eliminate air pockets and settle the soil
Now that your galvanized raised garden bed is assembled, anchored, and filled, it’s time to plant your favorite vegetables, herbs, or flowers. With proper care, this durable, low-maintenance bed will support healthy growth for years to come.