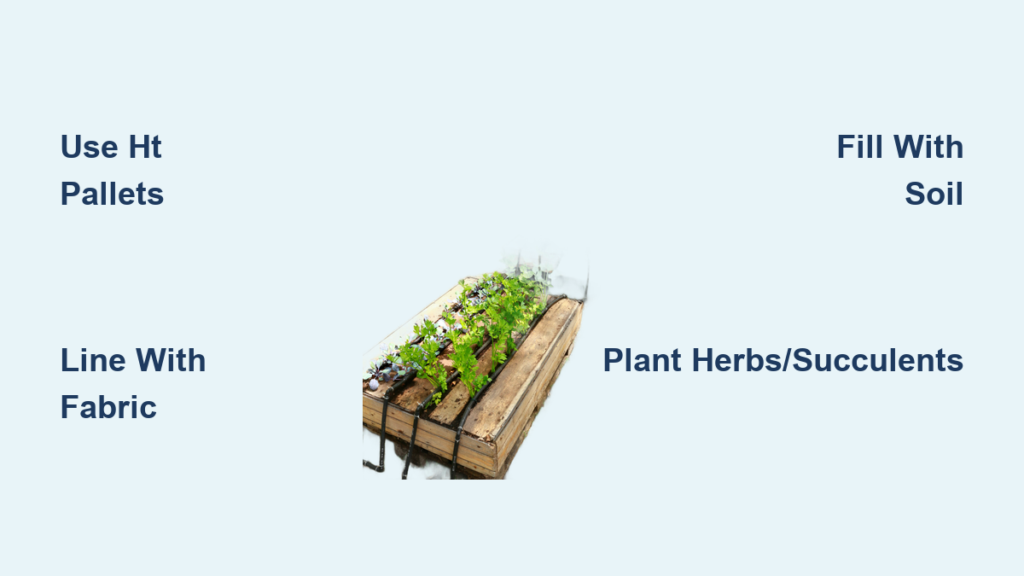
You don’t need a backyard or a big budget to grow fresh herbs, colorful flowers, or even vegetables. All you need is one sturdy wooden pallet and a few basic tools. Creating a pallet garden is a smart, sustainable way to transform unused space—like a balcony, patio, or tiny yard—into a thriving green oasis. Whether you’re planting succulents on a wall or growing basil for your next pizza, a pallet garden turns discarded materials into productive, beautiful planters. This guide walks you through three proven methods: a vertical pocket garden, a disassembled raised bed, and a half-pallet planter—each upcycled, low-cost, and beginner-friendly.
Pallet gardening is perfect for urban dwellers, renters, and anyone with limited space. In just a few hours, you can build a functional garden that grows real food and adds life to your outdoor area. With the right materials and simple tools, you’ll learn exactly how to create a pallet garden that lasts and thrives.
Choose a Safe, Heat-Treated Pallet
Before you build, you must pick the right pallet. Not all pallets are safe for growing food or ornamental plants.
Avoid Toxic “MB” Pallets
Only use pallets marked with “HT” (heat-treated). These were sanitized using high heat and are safe for gardening. Never use pallets labeled “MB”—this means they were treated with methyl bromide, a toxic chemical that can leach into soil and plants. Avoid any unmarked or questionable pallets.
Find Free Pallets Locally
You can often get pallets for free from:
• Warehouses
• Delivery docks
• Construction sites
• Recycling centers
• Local businesses (ask politely)
Look for pallets that are:
• Structurally sound
• Minimally warped
• Free of oil stains or strong odors
• Made of untreated softwood (common and easy to work with)
Prep Your Pallet Safely
Working with wood requires care. Protect yourself and preserve the material.
Wear Safety Gear
Always wear safety glasses when cutting or prying. Gloves help when handling rough wood or sharp chicken wire. Splinters and flying debris are real risks.
Use the Right Tools
Essential tools include:
• Circular saw or Sawzall (for clean cuts)
• Staple gun (½-inch staples)
• Drill and driver bits
• Clamps
• Tape measure and square guide
• Hammer and pry bar (optional)
Avoid prying nails if possible—cutting with a saw preserves wood integrity and prevents splitting.
Build a Vertical Pallet Garden
This method turns a full pallet into a living wall with planting pockets.
Remove Every Other Slat
Choose a pallet with closely spaced slats. Use a hammer and pry bar—or better, a Sawzall—to remove every other board. This creates space for soil pockets while keeping the structure stable.
Why this works: Wider gaps allow room for root growth and easier planting, especially for herbs and succulents.
Line With Landscape Fabric
Cut weed barrier fabric (also called landscape fabric) to twice the height of the pallet. Slice it lengthwise to create two long strips.
Staple Fabric to Form Pockets
- Start at the top corner, pulling the fabric taut.
- Staple it to the first slat.
- Pull down and staple to the next slat, creating a pouch.
- Repeat down one side, then do the same on the opposite side.
Pro tip: Overlap fabric edges slightly to prevent soil from escaping. Pull tight—sagging fabric leads to bulging pockets.
Assemble a Mini Raised Bed

Turn disassembled pallet wood into a compact, waist-friendly garden box.
Cut Boards Without Splitting
Instead of prying nails, use a skill saw to cut through fasteners flush with the wood. Set blade depth to match board thickness to avoid damaging lower layers.
Cut boards to a uniform length (e.g., 43 inches). Use the shortest board as a template.
Avoid cutting through knots—they weaken the wood.
Build the Frame Step by Step
You’ll need:
• 3 full boards for front
• 3 for back
• 3 half-boards (21.5″) for ends
Attach Center Braces
- Clamp three full boards together for one side.
- Measure height (e.g., 10.25″).
- Cut scrap wood to match and position in the center.
- Pre-drill holes to prevent splitting.
- Secure with two 1.25-inch screws per joint.
Repeat for the second side and both ends.
Join and Reinforce the Frame
Place the frame on a flat surface. Attach a bottom board (salvaged from the pallet) to the underside using screws at each corner.
Flip it over—the top should now be smooth and level.
Result: A 43″ x 21.5″ x 10.25″ raised bed—perfect for herbs, lettuce, or small veggies.
Make a Half-Pallet Planter
Ideal for small spaces, this method halves a pallet for a compact, stackable planter.
Cut Pallet in Half
Mark a center line. Use a circular saw to cut straight down the middle.
Key tip: Align the blade just outside your mark—the blade removes material, so cutting on the line shortens the piece.
Now you have two half-pallets—each can be used individually or stacked vertically.
Line With Weed Barrier
Cut landscape fabric to fit the inside. Fold edges over for durability.
Staple Fabric Securely
• Start at the back and work around.
• Pull taut to avoid gaps.
• Trim excess with scissors.
This stops soil from leaking and protects walls or floors.
Reinforce Base With Chicken Wire
Cut chicken wire slightly larger than the bottom opening.
Staple Wire to Underside
• Position over the base.
• Staple every few inches.
• Fold edges to prevent sharp points.
Wear gloves—chicken wire can cut skin.
Why reinforce? Prevents soil from falling through gaps and adds strength if stacking.
Fill and Plant Your Pallet Garden
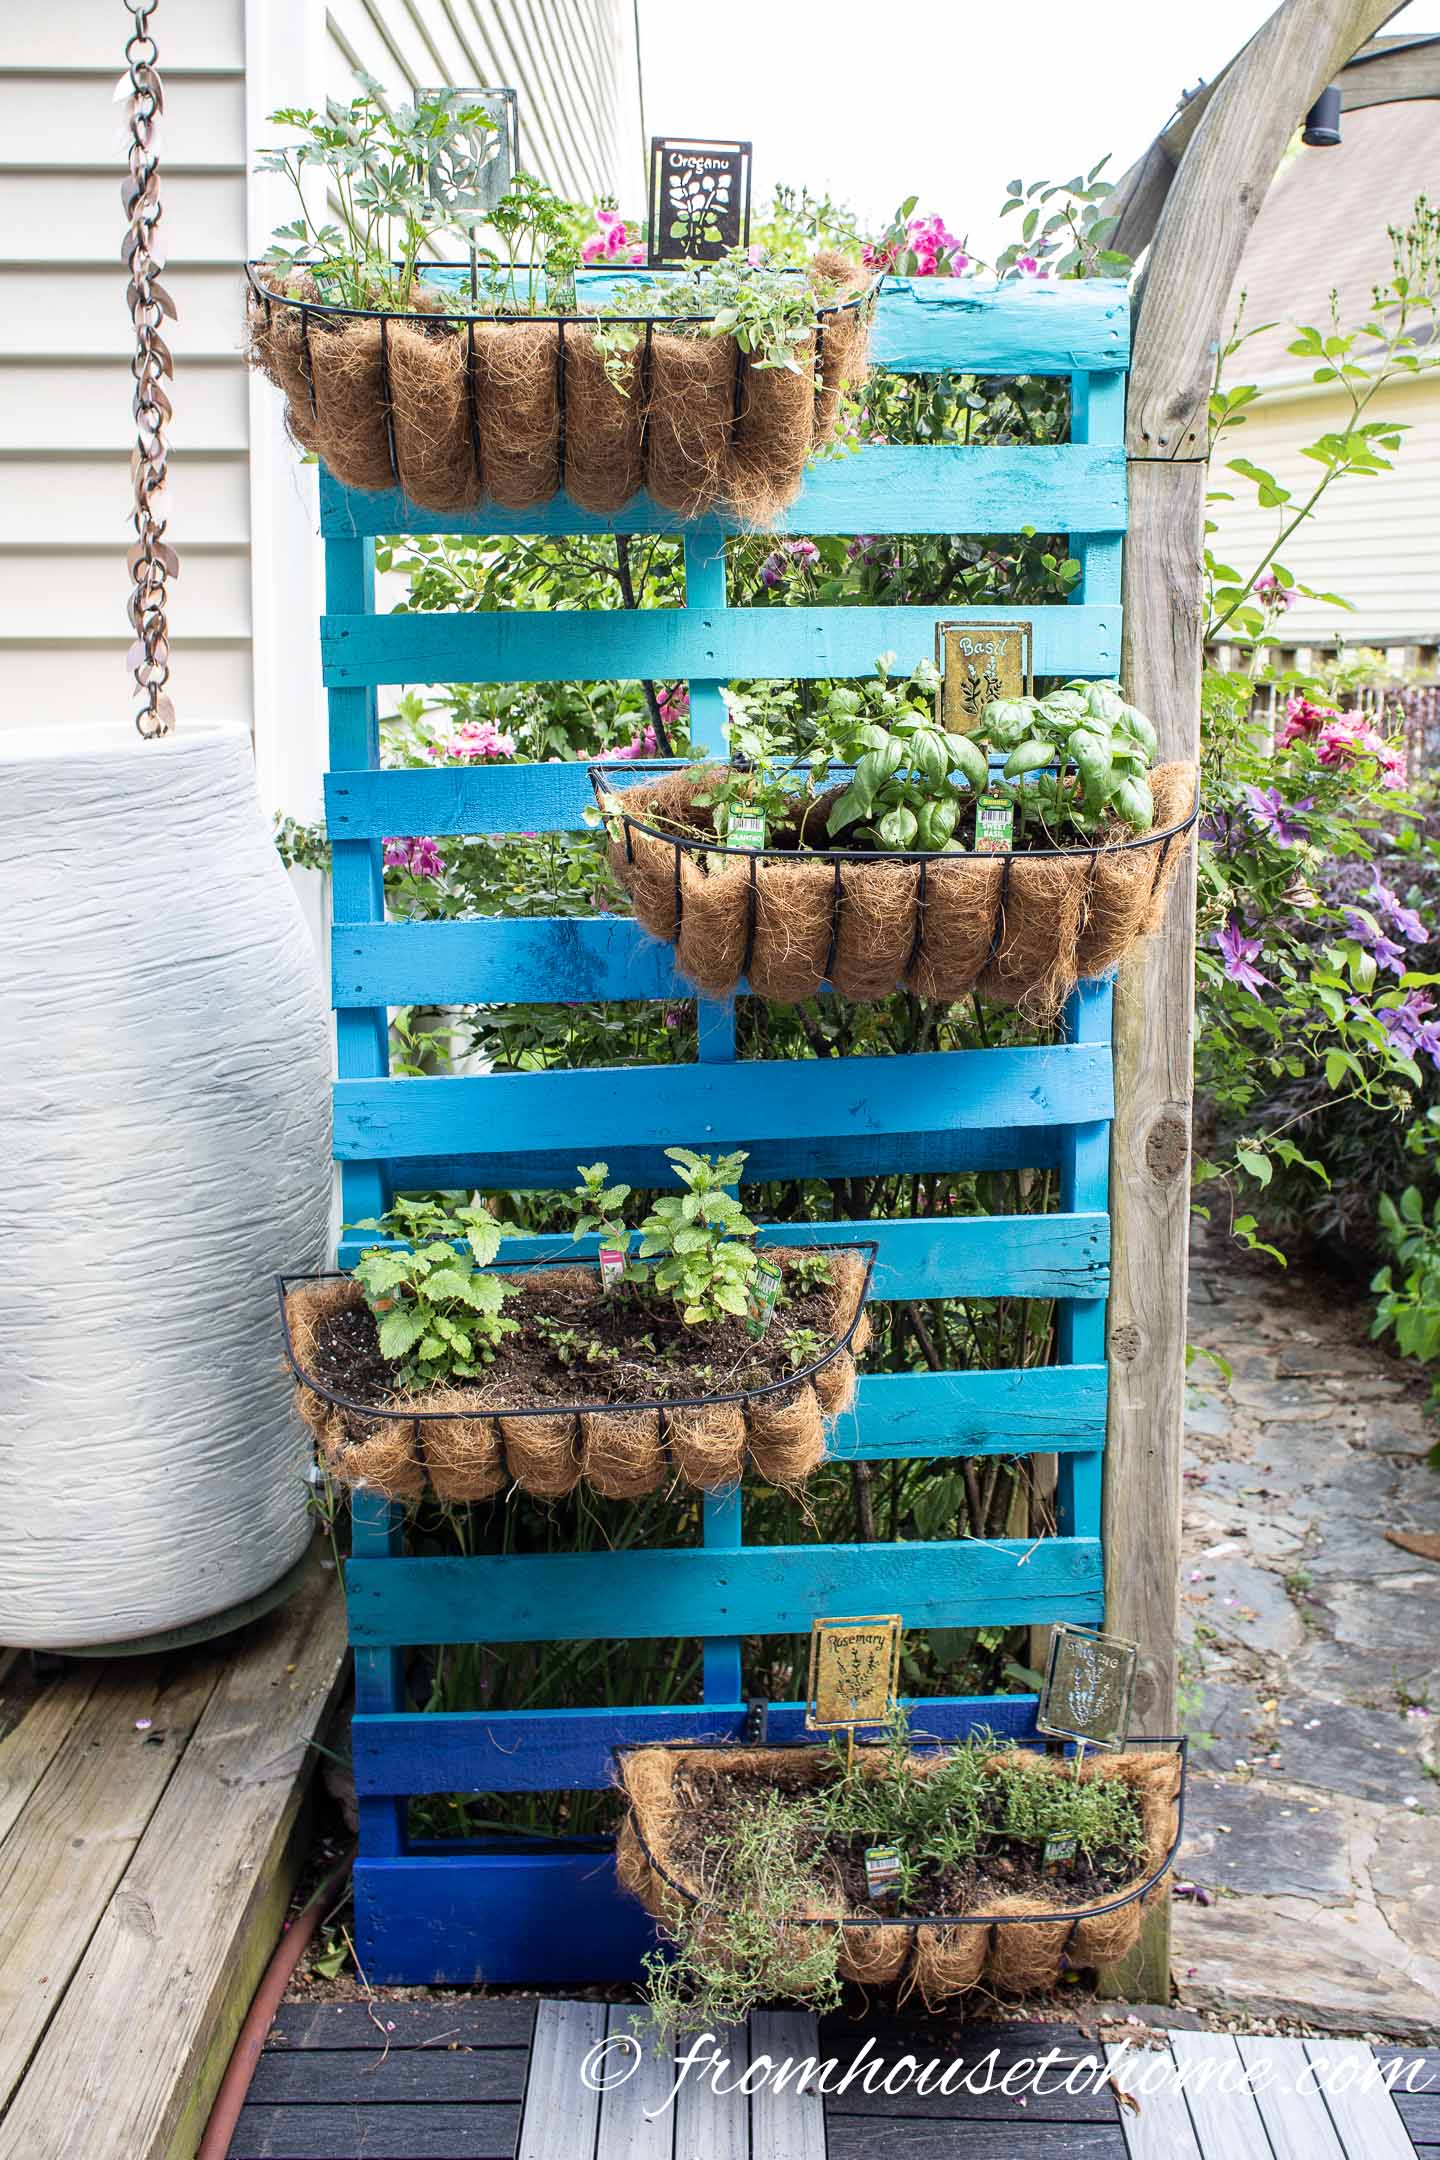
Now it’s time to bring your structure to life.
Use Quality Potting Soil
For vertical and half-pallet planters, use lightweight potting mix. For raised beds, garden soil or compost blend works well.
Fill Pockets ¾ Full
In vertical gardens, don’t overfill. Leave space for roots to grow and water to absorb. Pack soil gently into each pocket.
For raised beds, fill to the top and level the surface.
Choose the Right Plants
Match your planter type to plant needs.
Best for Vertical Gardens
• Succulents (thrive in shallow pockets)
• Herbs: thyme, mint, basil
• Flowers: petunias, alyssum
Best for Raised Beds
• Lettuce
• Chives
• Marigolds
• Small vegetables (radishes, green onions)
Best for Half-Pallet Planters
• Basil
• Thyme
• Marigolds
• Petunias
Avoid deep-rooted plants like carrots or tomatoes—pallets are too shallow.
Position for Sun and Water
Location and care make or break your garden.
Place in Full Sun
Most herbs and vegetables need 6+ hours of direct sunlight daily. Position your pallet garden where it gets morning or midday sun.
Avoid shaded areas under eaves or trees.
Water Wisely
After Planting
• Water lightly at first to settle soil.
• Then water thoroughly until it drains.
Ongoing Care
• Vertical gardens dry out fast—check daily in hot weather.
• Succulents need less water; herbs prefer consistent moisture.
• Don’t let soil dry completely.
Pro tip: Water from the top slowly, letting it soak through each layer in vertical designs.
Extend Lifespan With Upgrades
Make your pallet garden last longer with simple enhancements.
Apply Natural Wood Sealant
Untreated softwood weathers over time. Brush on linseed oil to protect against moisture and UV damage.
Not required, but it can extend life by 1–2 years.
Add Extra Fabric Lining
In raised beds, line the inside with landscape fabric before adding soil. This prevents leakage and reduces wood contact with damp soil.
Stack for Vertical Impact
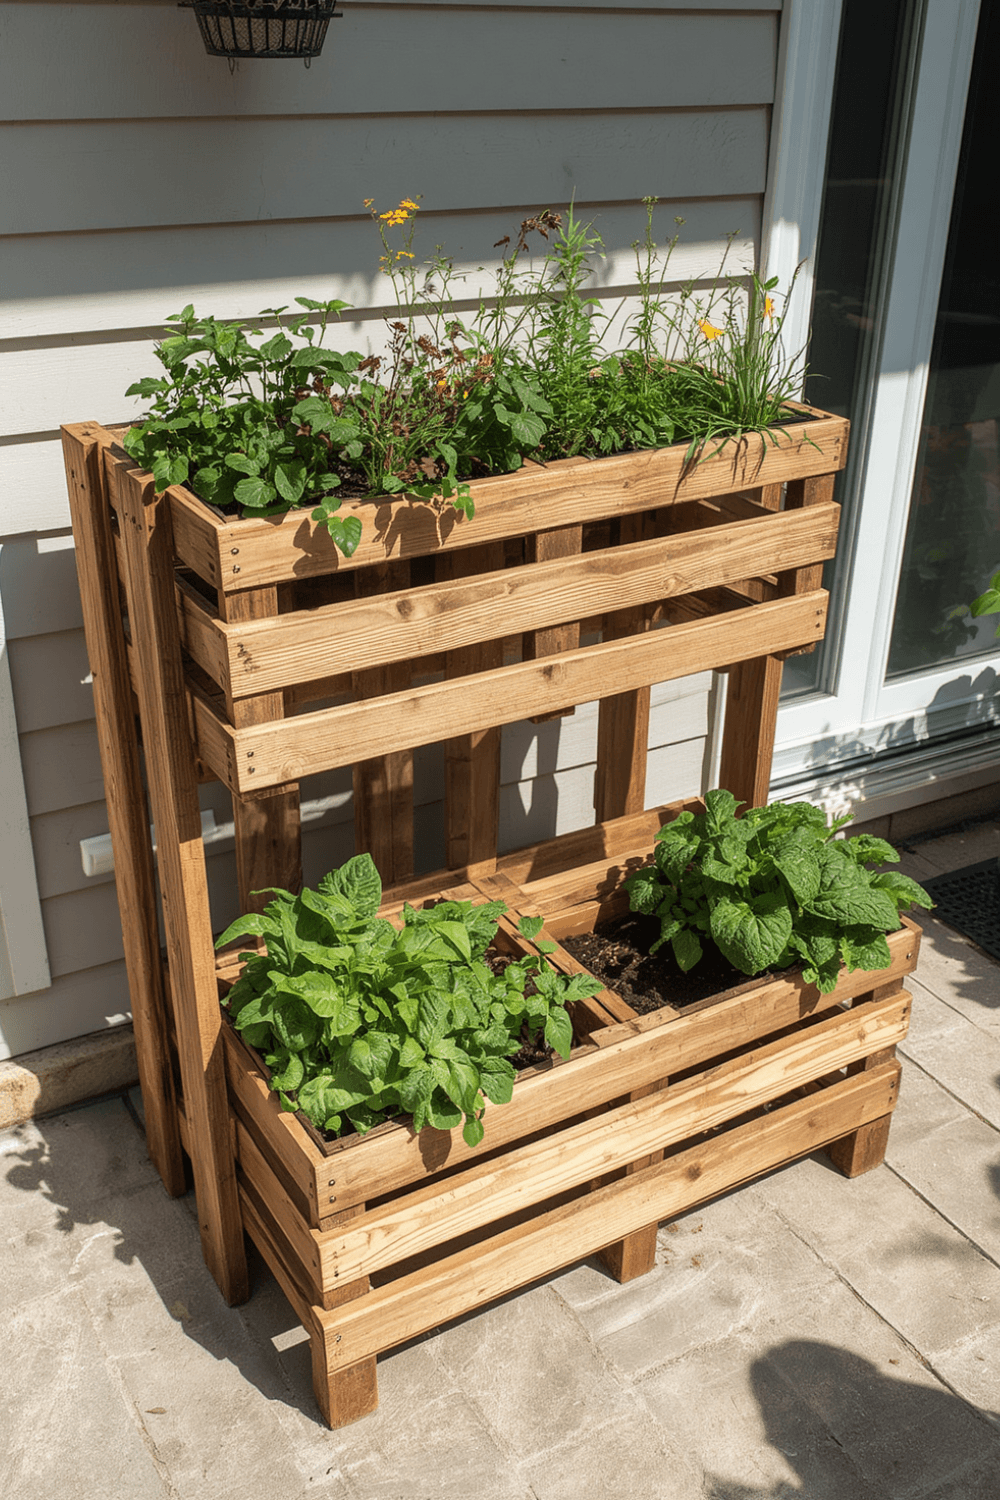
Turn two half-pallets into a tiered garden.
Stack and Secure
Place one planter on the ground, the second on top. Ensure stability.
Optional: Screw or strap them together if in a windy area.
Design idea: Grow trailing plants (like ivy or lobelia) on top, upright herbs below.
Avoid Common Mistakes
Even simple projects can go wrong. Steer clear of these pitfalls.
Never Use “MB” Pallets
Chemically treated wood contaminates soil—unsafe for edibles.
Don’t Skip Pre-Drilling
Softwood splits easily. Always pre-drill holes before screwing.
No Gaps in Fabric
Soil will spill out. Staple fabric tightly with no tears or loose spots.
Handle Chicken Wire Carefully
Sharp edges can cut hands. Wear gloves and fold exposed ends.
Frequently Asked Questions About Pallet Gardens
Can I grow vegetables in a pallet garden?
Yes, but only shallow-rooted varieties like lettuce, radishes, green onions, and herbs. Avoid deep-rooted plants like carrots or tomatoes.
How long does a pallet garden last?
An untreated pallet garden lasts 1–2 years outdoors. Applying linseed oil can extend its life. Inspect annually for rot or damage.
Do pallet gardens need drainage holes?
Not if lined properly with landscape fabric. The fabric allows water to escape while retaining soil. Chicken wire also aids drainage.
Can I paint or stain my pallet garden?
Yes, but use non-toxic, outdoor-safe sealants. Avoid paints with heavy metals or volatile chemicals, especially for edible gardens.
How do I stop my vertical pallet garden from bulging?
Staple landscape fabric tightly and fill pockets only ¾ full. Over time, roots will help stabilize the soil.
Is a pallet garden safe for growing herbs and vegetables?
Only if you use a heat-treated (HT) pallet. MB-treated or unmarked pallets may leach harmful chemicals into the soil and plants.
Key Takeaways for Creating a Pallet Garden
Creating a pallet garden is an affordable, eco-friendly way to grow fresh plants in small spaces. By choosing a safe HT-marked pallet, using proper tools, and following one of the three methods—vertical, raised bed, or half-pallet—you can build a functional garden in hours. Each design maximizes space, reduces waste, and supports herbs, flowers, and small vegetables.
Start with one method that matches your tools and space. Use quality soil, plant suitable species, and place your garden in full sun. With regular watering and light maintenance, your pallet garden will thrive season after season. The best part? You’re not just growing plants—you’re growing sustainability, self-reliance, and a deeper connection to your food.